
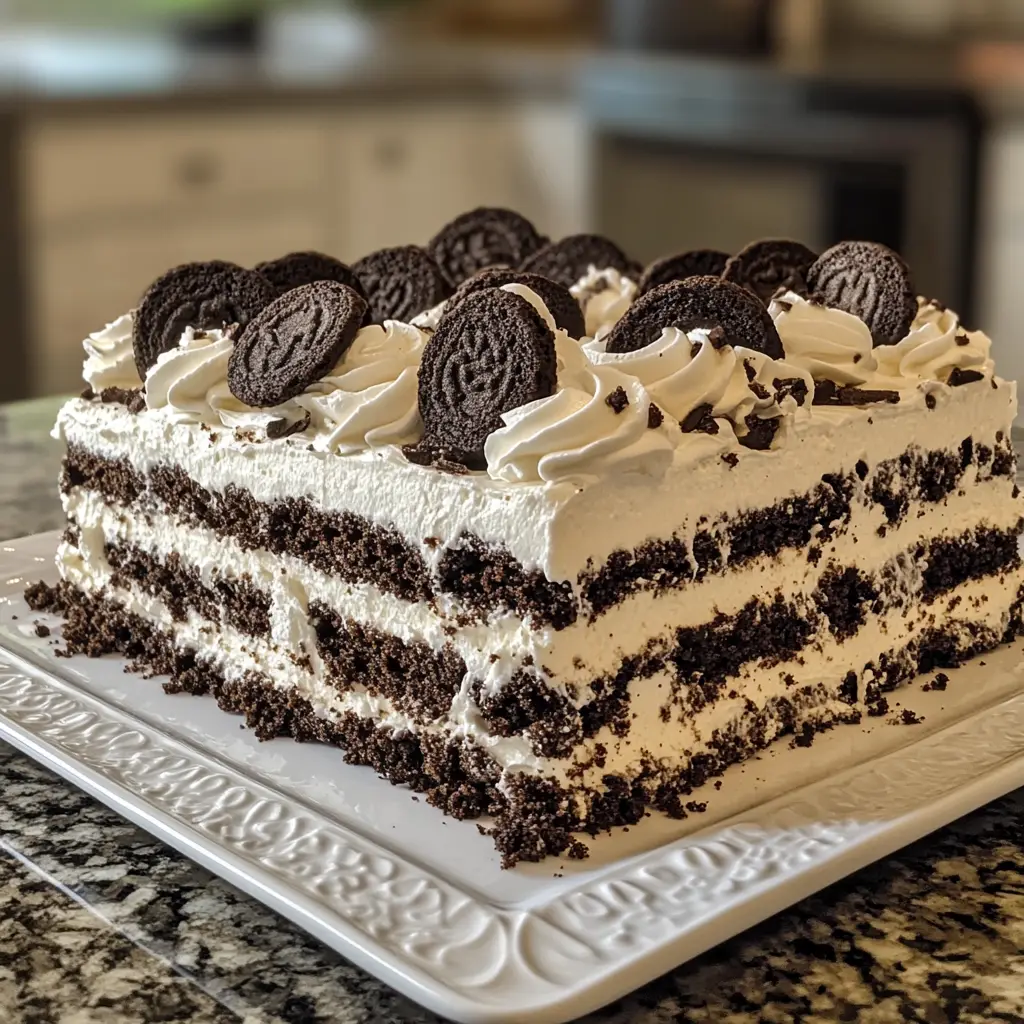
Introduction to Cookies and Cream Icebox Cake
As a busy mom, I know how precious time can be, especially when it comes to whipping up a dessert. That’s why I absolutely adore this Cookies and Cream Icebox Cake! It’s a no-bake wonder that combines creamy goodness with the delightful crunch of chocolate cookies. Perfect for those hectic days when you want to impress your loved ones without spending hours in the kitchen. This cake is not just a treat; it’s a sweet hug in dessert form, ready to bring smiles to your family’s faces. Let’s dive into this delicious adventure together!
Why You’ll Love This Cookies and Cream Icebox Cake
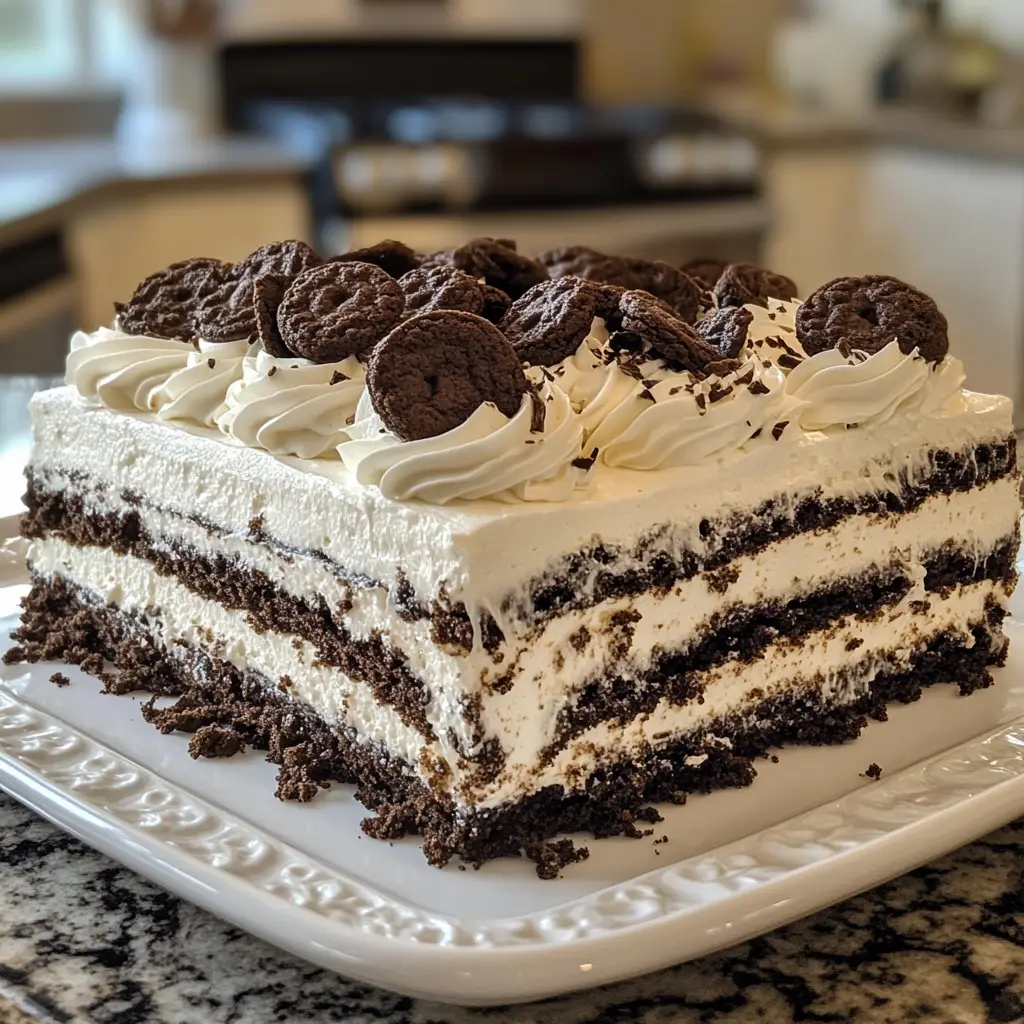
This Cookies and Cream Icebox Cake is a lifesaver for busy days! It’s incredibly easy to make, requiring no baking at all. Just whip, layer, and chill! The rich, creamy filling paired with crunchy chocolate cookies creates a delightful contrast that will have everyone asking for seconds. Plus, it’s a make-ahead dessert, so you can prepare it in advance and enjoy more time with your loved ones. What’s not to love?
Ingredients for Cookies and Cream Icebox Cake
Gathering the right ingredients is the first step to creating this delightful Cookies and Cream Icebox Cake. Here’s what you’ll need:
- Heavy cream: This is the star of the show! It whips up beautifully to create a light and fluffy filling.
- Powdered sugar: This sweetener dissolves easily, giving the cream a smooth texture and just the right amount of sweetness.
- Vanilla extract: A splash of this adds a warm, inviting flavor that complements the chocolate perfectly.
- Chocolate sandwich cookies: These provide the crunchy layers that contrast with the creamy filling. Feel free to use your favorite brand!
- Crushed cookies for topping: This adds a delightful crunch on top, making each slice visually appealing and tasty.
If you want to get a bit adventurous, consider adding chocolate ganache between the layers for an extra rich flavor. You can also swap out the chocolate cookies for vanilla ones if you prefer a lighter taste. The exact quantities for each ingredient are listed at the bottom of the article for your convenience, ready for printing!
How to Make Cookies and Cream Icebox Cake
Now that we have our ingredients ready, let’s dive into the fun part—making this delightful Cookies and Cream Icebox Cake! Follow these simple steps, and you’ll have a show-stopping dessert in no time.
Step 1: Whip the Cream
Start by pouring the heavy cream into a large mixing bowl. Using an electric mixer, whip the cream on medium speed until soft peaks form. This means the cream should hold its shape but still be a bit wobbly. This step is crucial for achieving that light, airy texture we all love in desserts. Trust me, it’s worth the effort!
Step 2: Add Sweetness and Flavor
Once you have those soft peaks, it’s time to sweeten things up! Gradually add the powdered sugar and vanilla extract to the whipped cream. Continue whipping until stiff peaks form. This means the cream should be thick enough to hold its shape firmly. The sweetness from the sugar and the warmth of the vanilla will create a luscious base for our cake.
Step 3: Layer the Cookies
Now, grab your 9×13 inch dish and layer half of the chocolate sandwich cookies at the bottom. You can arrange them in a single layer, making sure they cover the entire base. This crunchy layer is the foundation of our Cookies and Cream Icebox Cake, so make it count!
Step 4: Spread the Cream Mixture
Next, take half of your whipped cream mixture and spread it evenly over the layer of cookies. Use a spatula to ensure every cookie is covered. This creamy layer is where the magic happens, blending beautifully with the cookies to create a delightful contrast.
Step 5: Repeat the Layers
Now it’s time to repeat the layering process! Add the remaining chocolate cookies on top of the whipped cream layer, followed by the rest of the whipped cream mixture. Make sure to spread it evenly again. This double-layered approach makes each slice a heavenly experience!
Step 6: Top with Crushed Cookies
To finish off your masterpiece, sprinkle the crushed cookies on top of the final whipped cream layer. This adds a delightful crunch and makes the cake look extra tempting. It’s like the cherry on top, but even better!
Step 7: Chill and Serve
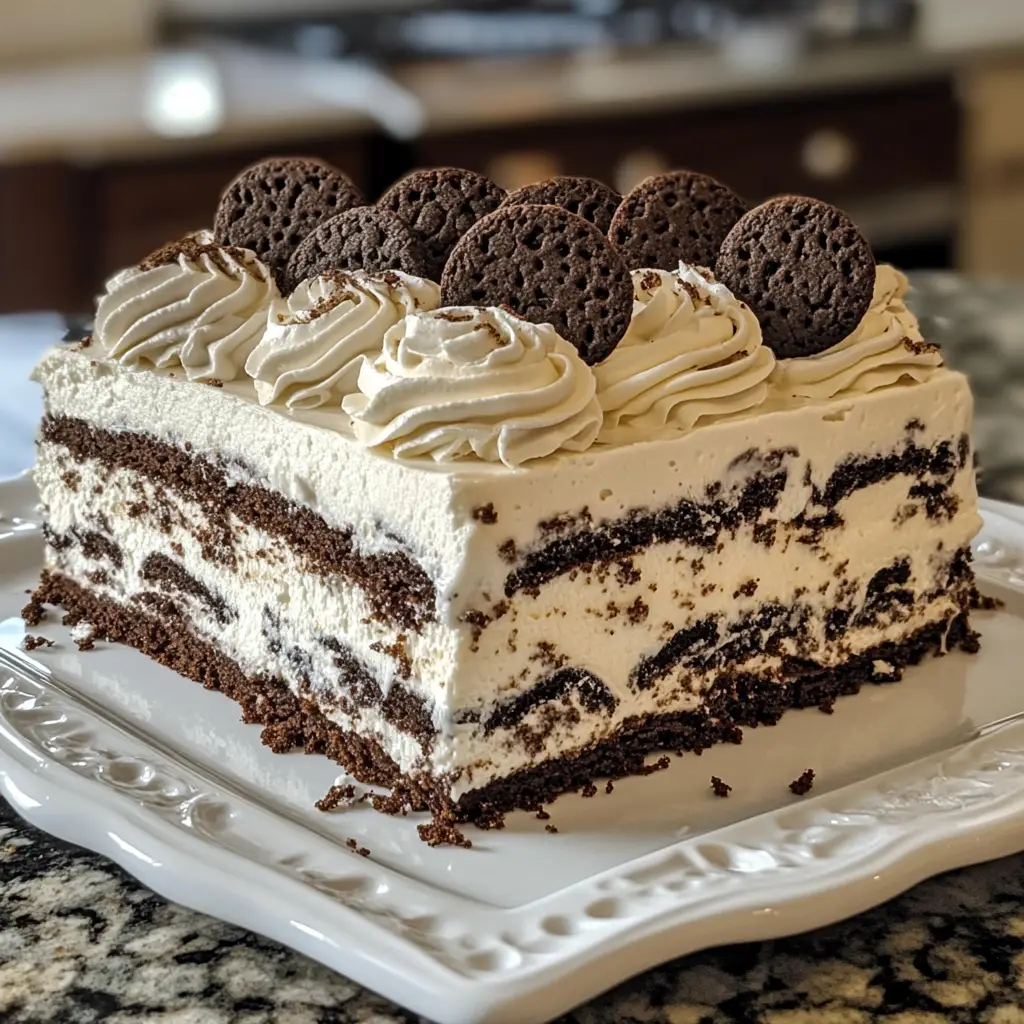
Finally, cover your dish with plastic wrap and refrigerate the cake for at least 4 hours, or even better, overnight. This chilling time allows the flavors to meld beautifully and the cookies to soften just enough. When you’re ready to serve, slice it up and enjoy the smiles on your loved ones’ faces!
Tips for Success
- Use cold heavy cream for better whipping results.
- Don’t rush the chilling process; overnight is best for flavor.
- For a fun twist, try adding crushed candy bars or nuts between layers.
- Make sure to cover the dish tightly to prevent any odors from the fridge.
- Use a sharp knife to slice for clean, beautiful pieces.
Equipment Needed
- Mixing bowl: A large bowl is essential for whipping the cream. A stand mixer bowl works great too!
- Electric mixer: This speeds up the whipping process. A whisk can work, but it’ll take more elbow grease!
- 9×13 inch dish: Perfect for layering. Any similar-sized dish will do in a pinch.
- Spatula: Use this for spreading the cream evenly. A rubber spatula is ideal!
Variations of Cookies and Cream Icebox Cake
- Mint Chocolate: Add a few drops of peppermint extract to the whipped cream for a refreshing twist.
- Peanut Butter Delight: Swirl in some creamy peanut butter into the whipped cream for a nutty flavor that pairs beautifully with chocolate.
- Fruit Fusion: Layer in some fresh berries or banana slices between the cookies for a fruity surprise.
- Gluten-Free Option: Use gluten-free chocolate sandwich cookies to make this dessert suitable for those with gluten sensitivities.
- Vegan Version: Substitute heavy cream with coconut cream and use a plant-based sweetener for a delicious vegan treat.
Serving Suggestions for Cookies and Cream Icebox Cake
- Pair with a scoop of vanilla ice cream for an extra creamy experience.
- Serve alongside fresh berries for a pop of color and freshness.
- Drizzle with chocolate sauce for a decadent touch.
- Garnish with mint leaves for a refreshing contrast.
- Present in individual cups for a fun, personal touch!
FAQs about Cookies and Cream Icebox Cake
Can I make Cookies and Cream Icebox Cake in advance?
Absolutely! In fact, making it a day ahead enhances the flavors. Just cover it tightly and store it in the fridge until you’re ready to serve.
How long can I store leftovers?
You can keep any leftovers in the refrigerator for up to three days. Just make sure it’s well-covered to maintain freshness!
Can I use different types of cookies?
Yes! While chocolate sandwich cookies are traditional, feel free to experiment with vanilla cookies or even flavored varieties for a unique twist.
Is this dessert suitable for special diets?
Definitely! You can easily make a gluten-free version by using gluten-free cookies. For a vegan option, swap heavy cream for coconut cream and use a plant-based sweetener.
What can I serve with Cookies and Cream Icebox Cake?
This cake pairs wonderfully with fresh berries, a scoop of ice cream, or a drizzle of chocolate sauce. It’s all about enhancing that delightful experience!
Final Thoughts
Creating this Cookies and Cream Icebox Cake is more than just making a dessert; it’s about crafting sweet memories with your loved ones. The joy of layering those creamy, dreamy flavors with crunchy cookies is a delightful experience that brings smiles all around. Whether it’s a family gathering or a simple weeknight treat, this cake is sure to impress. Plus, the no-bake aspect means you can spend less time in the kitchen and more time enjoying the laughter and love of your family. So, roll up your sleeves and dive into this delicious adventure—you won’t regret it!
Print
Cookies and Cream Icebox Cake: A Delight in Every Bite!
- Total Time: 4 hours 20 minutes
- Yield: 12 servings 1x
- Diet: Vegetarian
Description
Cookies and Cream Icebox Cake is a no-bake dessert that combines layers of creamy filling and chocolate cookies for a delightful treat.
Ingredients
- 2 cups heavy cream
- 1 cup powdered sugar
- 1 teaspoon vanilla extract
- 24 chocolate sandwich cookies
- 1 cup crushed cookies for topping
Instructions
- In a large bowl, whip the heavy cream until soft peaks form.
- Add powdered sugar and vanilla extract, and continue to whip until stiff peaks form.
- In a 9×13 inch dish, layer half of the chocolate cookies at the bottom.
- Spread half of the whipped cream mixture over the cookies.
- Repeat the layers with the remaining cookies and whipped cream.
- Top with crushed cookies.
- Cover and refrigerate for at least 4 hours or overnight.
- Slice and serve chilled.
Notes
- For a richer flavor, use chocolate ganache between layers.
- Can be made a day in advance for better flavor.
- Store leftovers in the refrigerator for up to 3 days.
- Prep Time: 20 minutes
- Cook Time: 0 minutes
- Category: Dessert
- Method: No-Bake
- Cuisine: American
Nutrition
- Serving Size: 1 slice
- Calories: 350
- Sugar: 25g
- Sodium: 150mg
- Fat: 25g
- Saturated Fat: 15g
- Unsaturated Fat: 5g
- Trans Fat: 0g
- Carbohydrates: 30g
- Fiber: 1g
- Protein: 3g
- Cholesterol: 80mg


