
Introduction to Cream-Filled Cookie Domes
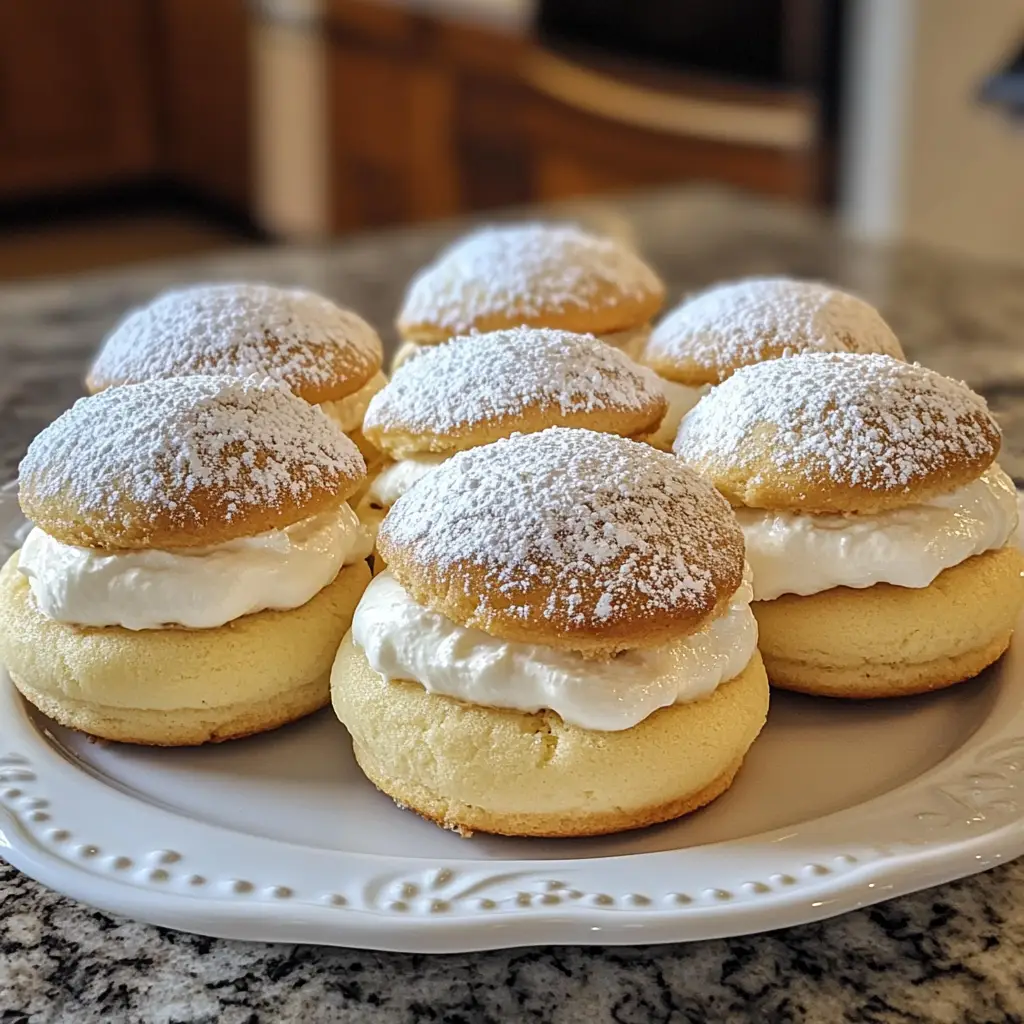
Welcome to the world of Cream-Filled Cookie Domes, where every bite is a little piece of heaven! As a busy mom, I know how challenging it can be to find time for baking, yet still want to create something special for my family. These delightful treats are not only quick to whip up, but they also impress everyone who takes a bite. Imagine soft, chocolatey cookies with a luscious cream filling that melts in your mouth. Whether it’s a sweet surprise after dinner or a treat for a gathering, these cookie domes are sure to bring smiles all around!
Why You’ll Love This Cream-Filled Cookie Domes
These Cream-Filled Cookie Domes are a game-changer for busy days! They come together in just 32 minutes, making them perfect for last-minute gatherings or a sweet treat after a long day. The combination of soft cookies and creamy filling is simply irresistible. Plus, they’re versatile enough to adapt to your family’s tastes. Trust me, once you try them, they’ll become a staple in your dessert rotation!
Ingredients for Cream-Filled Cookie Domes
Gathering the right ingredients is the first step to creating these delightful Cream-Filled Cookie Domes. Here’s what you’ll need:
- All-purpose flour: This is the backbone of your cookies, providing structure and a soft texture.
- Unsweetened cocoa powder: It adds that rich chocolate flavor that makes these cookies so irresistible.
- Granulated sugar: Sweetness is key! It helps balance the cocoa and creates a lovely texture.
- Butter: Softened butter gives the cookies a rich, buttery flavor and helps them stay tender.
- Cream cheese: This is the star of the filling! It adds creaminess and a slight tang that pairs perfectly with the sweetness.
- Powdered sugar: For the filling, it dissolves easily and gives a smooth, sweet finish.
- Vanilla extract: A splash of vanilla enhances the flavors, making everything taste more delicious.
- Milk: It helps achieve the right consistency for the cream filling, making it easy to pipe into the cookies.
- Baking powder: This leavening agent helps the cookies rise, giving them that perfect dome shape.
- Salt: Just a pinch enhances all the flavors, making the cookies taste even better.
For those looking to get creative, consider adding chocolate chips to the dough for an extra chocolatey experience. You can also experiment with different flavors of cream filling, like almond or lemon, to suit your family’s preferences. The exact quantities for these ingredients are listed at the bottom of the article for your convenience!
How to Make Cream-Filled Cookie Domes
Now that you have your ingredients ready, let’s dive into the fun part—making these Cream-Filled Cookie Domes! Follow these simple steps, and you’ll have a batch of delightful cookies in no time.
Step 1: Preheat the Oven
First things first, preheat your oven to 350°F (175°C). Preheating is crucial because it ensures even baking. If you skip this step, your cookies might not rise properly, and we want those lovely domes!
Step 2: Mix Dry Ingredients
In a medium bowl, combine the all-purpose flour, cocoa powder, baking powder, and salt. Whisk them together until they’re well mixed. This step is important because it evenly distributes the leavening agent, ensuring your cookies rise beautifully.
Step 3: Cream Butter and Sugar
In a separate bowl, cream together the softened butter and granulated sugar. Use an electric mixer or a sturdy wooden spoon. Beat until the mixture is light and fluffy, about 2-3 minutes. This process incorporates air, making your cookies tender and delightful!
Step 4: Combine Mixtures
Now, it’s time to bring the two mixtures together. Gradually add the dry ingredients to the butter mixture. Mix until just combined. Be careful not to overmix; we want to keep that soft texture!
Step 5: Shape the Dough
Using your hands, shape the dough into small domes, about the size of a golf ball. Place them on a baking sheet lined with parchment paper. Make sure to leave some space between each dome, as they will spread a little while baking.
Step 6: Bake the Cookies
Pop the baking sheet into the preheated oven and bake for 10-12 minutes. You’ll know they’re done when the edges look set, but the centers might still be a bit soft. That’s perfect! They’ll firm up as they cool.
Step 7: Cool the Cookies
Once baked, remove the cookies from the oven and let them cool on the baking sheet for about 5 minutes. Then, transfer them to a wire rack to cool completely. This step is essential because filling warm cookies can lead to a gooey mess!
Step 8: Prepare the Cream Filling
While the cookies cool, let’s whip up the cream filling. In a bowl, mix the softened cream cheese, powdered sugar, vanilla extract, and milk. Beat until smooth and creamy. This filling is what makes these cookies truly special!
Step 9: Fill the Cookies
Once the cookies are completely cool, it’s time to fill them. Use a piping bag or a small spoon to add the cream filling into the center of each cookie dome. Don’t be shy—fill them generously for that delightful surprise!
Step 10: Serve and Enjoy
Finally, it’s time to enjoy your delicious Cream-Filled Cookie Domes! Serve them on a pretty plate, and watch as your family and friends dive in. Trust me, these treats will disappear faster than you can say “cookie!”
Tips for Success
- Make sure your butter and cream cheese are at room temperature for easy mixing.
- Don’t skip the cooling step; it prevents the filling from melting into the cookies.
- Use a cookie scoop for uniform dome sizes.
- Experiment with different fillings like peanut butter or fruit preserves for a twist.
- Store cookies in an airtight container to keep them fresh and soft.
Equipment Needed
- Baking sheet: A standard cookie sheet works well, but a parchment-lined sheet is even better for easy cleanup.
- Mixing bowls: Use medium and large bowls for mixing ingredients.
- Electric mixer: A hand mixer is perfect, but a whisk and some elbow grease will do!
- Piping bag: If you don’t have one, a zip-top bag with a corner snipped off works just as well.
Variations
- For a fruity twist, try adding a layer of raspberry or strawberry jam in the cream filling.
- Swap out the cocoa powder for matcha powder for a unique green tea flavor.
- Use almond extract instead of vanilla for a nutty aroma that pairs beautifully with chocolate.
- For a gluten-free option, substitute all-purpose flour with a gluten-free flour blend.
- Add crushed nuts or toffee bits to the cookie dough for an extra crunch.
Serving Suggestions
- Pair your Cream-Filled Cookie Domes with a glass of cold milk for a classic treat.
- Serve them alongside a scoop of vanilla ice cream for an indulgent dessert.
- For a festive touch, dust with powdered sugar before serving.
- Arrange on a colorful platter for a beautiful presentation at gatherings.
FAQs about Cream-Filled Cookie Domes
As you embark on your journey to create these delightful Cream-Filled Cookie Domes, you might have a few questions. Here are some common queries I’ve encountered, along with helpful answers!
Can I make the dough ahead of time?
Absolutely! You can prepare the dough and refrigerate it for up to 24 hours. Just let it sit at room temperature for a few minutes before shaping and baking.
What can I use instead of cream cheese for the filling?
If you’re looking for a lighter option, mascarpone cheese or Greek yogurt can work well. They’ll give you a creamy texture with a different flavor profile.
How should I store the Cream-Filled Cookie Domes?
Store your cookies in an airtight container at room temperature. They’ll stay fresh for about a week, but I doubt they’ll last that long!
Can I freeze these cookies?
Yes! You can freeze the unfilled cookies for up to three months. Just make sure to let them cool completely before wrapping them tightly in plastic wrap.
What’s the best way to fill the cookies without making a mess?
Using a piping bag is the easiest method. If you don’t have one, a small spoon works too. Just be gentle and take your time to avoid overfilling!
Final Thoughts
Creating these Cream-Filled Cookie Domes is more than just baking; it’s about making memories. The joy on my family’s faces as they bite into these soft, chocolatey treats is priceless. Each dome is a little celebration, perfect for any occasion or just because. Whether you’re sharing them with friends or enjoying a quiet moment with a cup of tea, these cookies bring warmth and happiness. So, roll up your sleeves, gather your loved ones, and dive into this delightful baking adventure. Trust me, you’ll be glad you did, and your taste buds will thank you!
Print
Cream-Filled Cookie Domes: Indulge in Decadent Delight!
- Total Time: 32 minutes
- Yield: 12 cookies 1x
- Diet: Vegetarian
Description
Cream-Filled Cookie Domes are a delightful treat that combines a soft cookie exterior with a rich and creamy filling, perfect for satisfying your sweet tooth.
Ingredients
- 1 cup all-purpose flour
- 1/2 cup unsweetened cocoa powder
- 1/2 cup granulated sugar
- 1/4 cup butter, softened
- 1/2 cup cream cheese, softened
- 1/4 cup powdered sugar
- 1 teaspoon vanilla extract
- 1/4 cup milk
- 1/2 teaspoon baking powder
- 1/4 teaspoon salt
Instructions
- Preheat the oven to 350°F (175°C).
- In a bowl, mix together flour, cocoa powder, baking powder, and salt.
- In another bowl, cream together the butter and granulated sugar until light and fluffy.
- Add the dry ingredients to the butter mixture and mix until combined.
- Shape the dough into small domes and place them on a baking sheet.
- Bake for 10-12 minutes or until set.
- Let the cookies cool completely.
- In a separate bowl, mix cream cheese, powdered sugar, vanilla extract, and milk until smooth.
- Once the cookies are cool, fill the centers with the cream mixture.
- Serve and enjoy your Cream-Filled Cookie Domes!
Notes
- For a richer flavor, consider adding chocolate chips to the cookie dough.
- These cookies can be stored in an airtight container for up to a week.
- Feel free to experiment with different flavors of cream filling.
- Prep Time: 20 minutes
- Cook Time: 12 minutes
- Category: Dessert
- Method: Baking
- Cuisine: American
Nutrition
- Serving Size: 1 cookie
- Calories: 150
- Sugar: 10g
- Sodium: 50mg
- Fat: 7g
- Saturated Fat: 4g
- Unsaturated Fat: 2g
- Trans Fat: 0g
- Carbohydrates: 20g
- Fiber: 1g
- Protein: 2g
- Cholesterol: 20mg


