
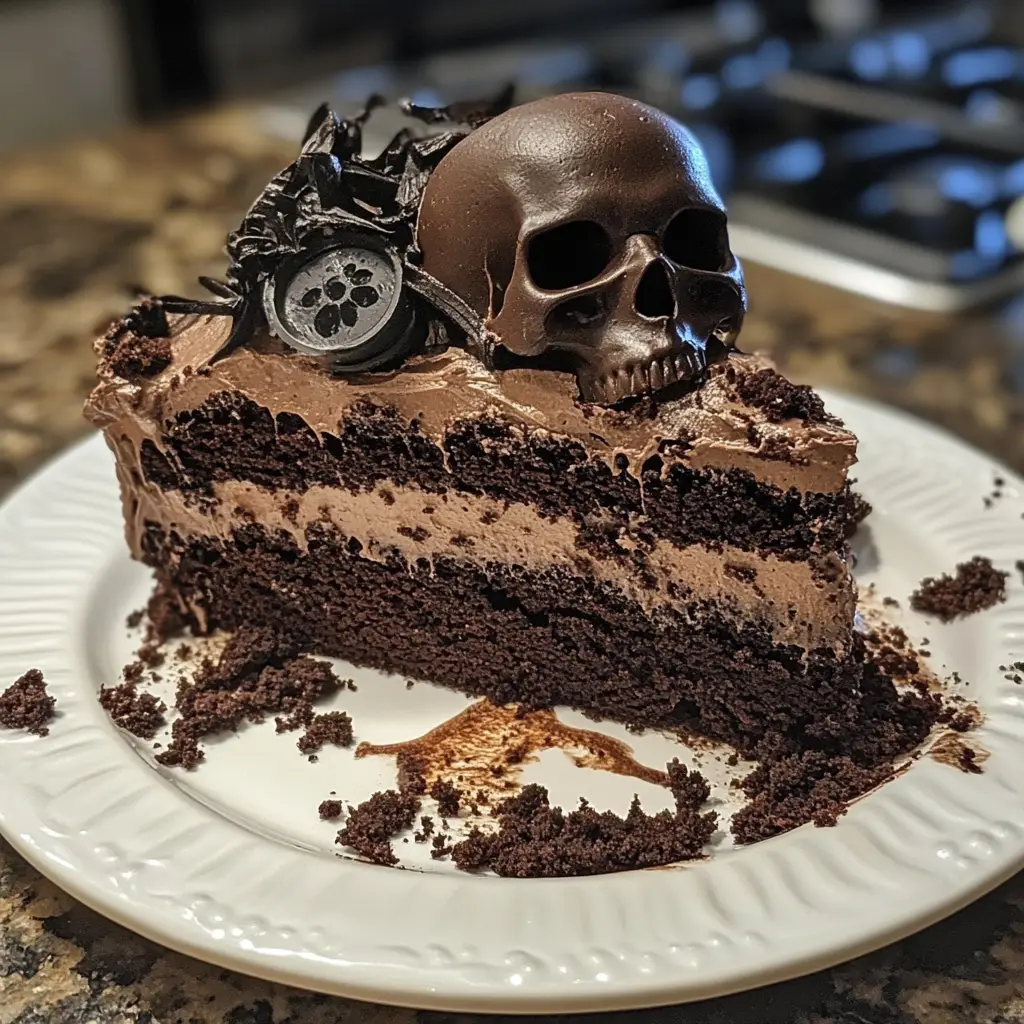
Introduction to Graveyard Dirt Cake
As the leaves turn and the air gets crisp, I can’t help but get excited about Halloween. One of my favorite treats to whip up is Graveyard Dirt Cake. It’s a delightful dessert that’s not only fun to make but also a hit at any gathering. This recipe is perfect for busy moms like us, who want to impress our loved ones without spending hours in the kitchen. With layers of chocolate pudding, crushed cookies, and gummy worms, it’s a spooky yet delicious way to celebrate the season. Trust me, your family will love it!
Why You’ll Love This Graveyard Dirt Cake
This Graveyard Dirt Cake is a lifesaver for busy days. It’s incredibly easy to make, requiring no baking at all. In just 20 minutes, you can have a spooky dessert ready to chill. Plus, the rich chocolate flavor combined with the crunch of cookies is simply irresistible. It’s a fun way to get the kids involved, making memories while creating a treat that everyone will adore. What’s not to love?
Ingredients for Graveyard Dirt Cake
Gathering the right ingredients is half the fun! Here’s what you’ll need to create this spooky delight:
- Chocolate sandwich cookies (like Oreos): These are the star of the show, providing that rich chocolate flavor and crumbly texture that mimics dirt.
- Instant chocolate pudding mix: This adds a creamy layer of chocolate goodness. You can also use dark chocolate pudding for a more intense flavor.
- Milk: Essential for mixing with the pudding. I prefer whole milk for a richer taste, but any milk will do.
- Whipped topping (Cool Whip): This lightens up the pudding mixture, giving it a fluffy texture that balances the density of the cookies.
- Gummy worms: These are the perfect creepy-crawly decoration that adds a playful touch to your dessert.
- Optional edible grave markers: You can use cookies or candies shaped like tombstones to enhance the spooky theme. They’re a fun addition that kids will love!
For exact quantities, check the bottom of the article where you can find a printable version of the recipe. Happy baking!
How to Make Graveyard Dirt Cake
Now that we have our ingredients ready, let’s dive into the fun part—making this Graveyard Dirt Cake! Follow these simple steps, and you’ll have a spooky dessert that’s sure to impress.
Step 1: Crush the Cookies
Start by crushing the chocolate sandwich cookies into fine crumbs. You can place them in a zip-top bag and use a rolling pin to smash them, or pulse them in a food processor. The texture is key here; you want them to resemble dirt, so aim for a fine consistency. This will create that perfect “graveyard” look!
Step 2: Prepare the Pudding
In a mixing bowl, whisk together the instant chocolate pudding mix and milk. Keep whisking until the mixture thickens, which should take about 2 minutes. You’re looking for a smooth, creamy consistency that holds its shape. This layer will be rich and delicious, adding to the overall flavor of your Graveyard Dirt Cake.
Step 3: Fold in Whipped Topping
Next, gently fold in the whipped topping until it’s well combined with the pudding. Use a spatula and be careful not to overmix; you want to keep that light, airy texture. This step is crucial for balancing the density of the pudding with the fluffiness of the whipped topping, making each bite delightful!
Step 4: Layer the Ingredients
In a large serving dish, start layering your ingredients. Begin with half of the crushed cookies at the bottom. Then, spread half of the chocolate pudding mixture over the cookie layer. Repeat this process with the remaining cookies and pudding. Each layer adds depth and flavor, creating a beautiful dessert that looks as good as it tastes!
Step 5: Create the ‘Dirt’ Effect
To finish off, top your dessert with the remaining crushed cookies. This creates the perfect “dirt” effect that makes this cake so fun! Now, it’s time to get creative—decorate with gummy worms and, if you like, add some edible grave markers for an extra spooky touch. Your Graveyard Dirt Cake is starting to come to life!
Step 6: Chill Before Serving
Finally, it’s important to chill your cake in the refrigerator for at least 2 hours before serving. This allows the flavors to meld together beautifully and gives the pudding time to set. Trust me, the wait will be worth it when you see the smiles on your loved ones’ faces!
Tips for Success
- Crush the cookies finely for a better texture and more realistic dirt effect.
- Use cold milk for the pudding to help it thicken quickly.
- Chill the cake overnight for even better flavor and texture.
- Get the kids involved in decorating with gummy worms and grave markers.
- For a twist, try adding a layer of chocolate chips for extra crunch!
Equipment Needed
- Mixing bowl: A large bowl for combining ingredients. A smaller bowl works too for the pudding.
- Whisk: Essential for mixing the pudding. A fork can work in a pinch!
- Spatula: Perfect for folding in the whipped topping. A wooden spoon can also do the job.
- Serving dish: Any large dish or trifle bowl will showcase your cake beautifully.
Variations
- Gluten-Free: Use gluten-free chocolate sandwich cookies to make this dessert suitable for those with gluten sensitivities.
- Healthier Option: Substitute the whipped topping with Greek yogurt for a lighter version that still tastes great.
- Vegan Version: Use dairy-free chocolate pudding and coconut whipped cream to create a vegan-friendly Graveyard Dirt Cake.
- Flavor Twist: Add a layer of peanut butter or Nutella between the pudding layers for a delicious chocolate-peanut butter combo.
- Fruit Addition: Mix in some chopped strawberries or raspberries for a fruity surprise that complements the chocolate.
Serving Suggestions
- Pair your Graveyard Dirt Cake with a scoop of vanilla ice cream for a delightful contrast.
- Serve alongside spooky-themed drinks like a witch’s brew punch or pumpkin spice lattes.
- For a festive touch, use Halloween-themed plates and napkins to enhance the presentation.
- Consider adding a few extra gummy worms on the serving platter for a fun display.
FAQs about Graveyard Dirt Cake
As you prepare to make this delightful Graveyard Dirt Cake, you might have a few questions. Here are some common queries I’ve encountered, along with helpful answers to guide you through the process.
Can I make Graveyard Dirt Cake in advance?
Absolutely! This dessert can be made a day ahead. Just keep it covered in the refrigerator. The flavors will meld beautifully overnight, making it even more delicious!
What can I use instead of chocolate sandwich cookies?
If you want to switch things up, you can use chocolate graham crackers or even crushed brownies. Just ensure they have a similar texture to create that “dirt” effect.
How long can I store leftovers?
Your Graveyard Dirt Cake can be stored in the refrigerator for up to 3 days. Just make sure it’s covered to keep it fresh and tasty!
Can I use a different flavor of pudding?
Of course! While chocolate is traditional, you can experiment with vanilla or even butterscotch pudding for a unique twist. Just remember to keep the theme spooky!
Is this dessert suitable for kids?
Definitely! Kids love the fun presentation and the chance to decorate with gummy worms. It’s a great way to get them involved in the kitchen!
Final Thoughts
Making Graveyard Dirt Cake is more than just whipping up a dessert; it’s about creating memories with your loved ones. The laughter, the excitement of decorating, and the joy of sharing this spooky treat bring everyone together. I love how this recipe transforms a simple gathering into a festive celebration. Plus, it’s a fantastic way to get the kids involved in the kitchen, sparking their creativity. So, whether you’re hosting a Halloween party or just want to surprise your family, this cake is sure to delight. Enjoy every delicious bite and the smiles that come with it!
Print
Graveyard Dirt Cake: A Delicious Halloween Treat!
- Total Time: 2 hours 20 minutes
- Yield: 8 servings 1x
- Diet: Vegetarian
Description
Graveyard Dirt Cake is a fun and spooky dessert perfect for Halloween celebrations, featuring layers of chocolate pudding, crushed cookies, and gummy worms.
Ingredients
- 1 package of chocolate sandwich cookies (Oreos)
- 1 package of instant chocolate pudding mix
- 2 cups of milk
- 1 container of whipped topping (Cool Whip)
- Gummy worms for decoration
- Optional: edible grave markers (cookies or candies)
Instructions
- Crush the chocolate sandwich cookies into fine crumbs.
- In a bowl, whisk together the instant chocolate pudding mix and milk until thickened.
- Fold in the whipped topping until well combined.
- In a large serving dish, layer half of the crushed cookies at the bottom.
- Spread half of the chocolate pudding mixture over the cookie layer.
- Add another layer of crushed cookies followed by the remaining pudding mixture.
- Top with the remaining crushed cookies to create a ‘dirt’ effect.
- Decorate with gummy worms and optional edible grave markers.
- Chill in the refrigerator for at least 2 hours before serving.
Notes
- For a more intense chocolate flavor, use dark chocolate pudding mix.
- Make sure to crush the cookies finely for a better texture.
- This dessert can be made a day in advance for convenience.
- Prep Time: 20 minutes
- Cook Time: 0 minutes
- Category: Dessert
- Method: No-bake
- Cuisine: American
Nutrition
- Serving Size: 1 slice
- Calories: 350
- Sugar: 25g
- Sodium: 200mg
- Fat: 15g
- Saturated Fat: 8g
- Unsaturated Fat: 5g
- Trans Fat: 0g
- Carbohydrates: 50g
- Fiber: 2g
- Protein: 4g
- Cholesterol: 20mg


