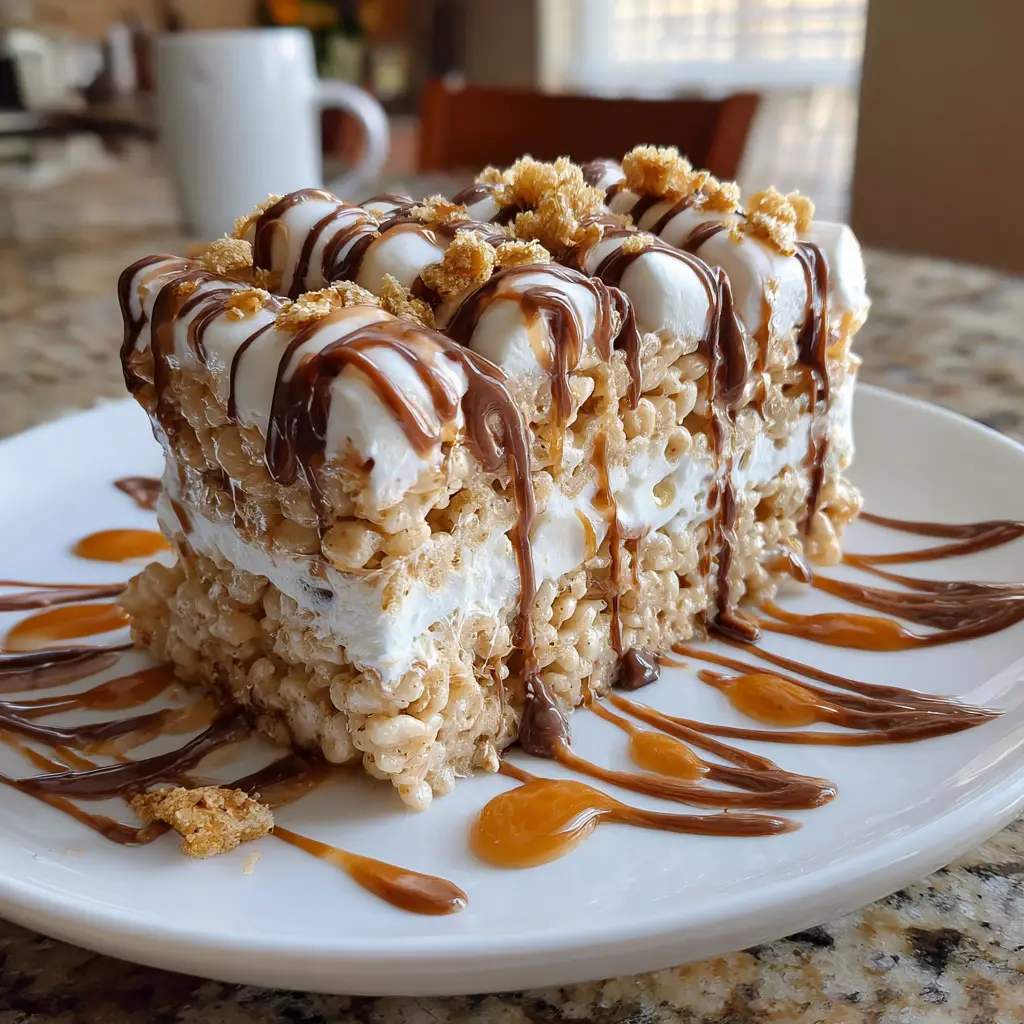
Introduction to Mummy Rice Krispie Treats
As the leaves turn and the air gets crisp, I find myself dreaming of fun Halloween treats. One of my absolute favorites is Mummy Rice Krispie Treats. These delightful snacks are not only a quick solution for busy days, but they also bring a festive spirit to any gathering. With just a few simple ingredients, you can whip up a batch that will impress your loved ones. Plus, who can resist that gooey, sweet goodness wrapped in a spooky disguise? Let’s dive into this easy recipe that’s sure to become a Halloween tradition!
Why You’ll Love This Mummy Rice Krispie Treats
These Mummy Rice Krispie Treats are a lifesaver for busy moms like me. They come together in just 25 minutes, making them perfect for last-minute Halloween parties or school events. The combination of crispy cereal and sweet marshmallows creates a delightful texture that kids adore. Plus, the fun mummy design adds a playful touch that will have everyone smiling. It’s a treat that’s as enjoyable to make as it is to eat!
Ingredients for Mummy Rice Krispie Treats
Gathering the right ingredients is the first step to creating these delightful Mummy Rice Krispie Treats. Here’s what you’ll need:
- Butter: This adds richness and helps bind the treats together. I prefer unsalted for better control over the sweetness.
- Marshmallows: The star of the show! They create that gooey texture we all love. Mini marshmallows work great, but regular ones can be used too.
- Rice Krispies cereal: This gives the treats their signature crunch. You can substitute with any crispy rice cereal if needed.
- White chocolate melts: These are perfect for creating the mummy’s wrapping. If you’re feeling adventurous, you can use vanilla candy coating instead.
- Black icing or chocolate chips: These are used for the eyes. Candy eyes can also be a fun alternative for a more whimsical look!
For exact measurements, check the bottom of the article where you can find everything listed for easy printing. Happy cooking!
How to Make Mummy Rice Krispie Treats
Now that we have our ingredients ready, let’s get to the fun part—making these adorable Mummy Rice Krispie Treats! Follow these simple steps, and you’ll have a spooky snack in no time.
Step 1: Melt the Butter
Start by placing a large saucepan over low heat. Add the butter and let it melt slowly. Stir occasionally to ensure it doesn’t burn. The goal is to have it completely melted and bubbly, creating a rich base for our treats.
Step 2: Add Marshmallows
Once the butter is melted, it’s time to add the marshmallows. Pour them in and stir continuously until they are completely melted. This gooey mixture should be smooth and creamy, like a sweet cloud. It’s the magic that binds everything together!
Step 3: Combine with Rice Krispies
Remove the saucepan from heat. Now, add the Rice Krispies cereal to the melted marshmallow mixture. Stir gently but thoroughly until every piece is well coated. This is where the fun begins, as you see the crispy cereal transform into a sticky, sweet treat!
Step 4: Press into Pan
Next, take a greased 9×13 inch pan and press the mixture evenly into the bottom. Use a spatula or your hands (lightly greased) to flatten it down. Let it cool for about 10 minutes. This step is crucial for achieving the perfect texture!
Step 5: Cut into Rectangles
Once cooled, it’s time to cut the treats into rectangles. I like to use a sharp knife for clean edges. This makes them easy to handle and perfect for decorating later. Plus, they’ll look great on your Halloween table!
Step 6: Melt White Chocolate
Now, let’s melt the white chocolate melts. Follow the package instructions, usually done in a microwave or double boiler. Stir until smooth and creamy. This will be the mummy’s wrapping, so make sure it’s nice and melted!
Step 7: Dip and Set
Take each rectangle and dip the top into the melted white chocolate. Allow any excess to drip off before placing them back on the pan. Let them set for a few minutes until the chocolate hardens. This creates a lovely, smooth surface for decorating!
Step 8: Decorate with Eyes
Finally, it’s time to bring your mummies to life! Use black icing or chocolate chips to create eyes on each treat. You can get creative here—make them big, small, or even add candy eyes for a fun twist. Your Mummy Rice Krispie Treats are now ready to scare up some smiles!
Tips for Success
- Use fresh marshmallows for the best gooey texture.
- Grease your hands when pressing the mixture into the pan to avoid sticking.
- Let the white chocolate cool slightly before dipping for a smoother finish.
- Experiment with different toppings like sprinkles for added fun!
- Store leftovers in an airtight container to keep them fresh.
Equipment Needed
- Large saucepan: A non-stick pan works best, but any saucepan will do.
- Spatula: Use a silicone spatula for easy mixing and scraping.
- 9×13 inch pan: If you don’t have one, a similar-sized baking dish will work.
- Microwave-safe bowl: For melting the white chocolate, any heat-safe bowl is fine.
Variations
- Chocolate Rice Krispie Treats: Swap out some of the Rice Krispies for cocoa-flavored cereal for a chocolatey twist.
- Nut Butter Addition: Stir in a few tablespoons of peanut butter or almond butter for a nutty flavor and extra creaminess.
- Vegan Option: Use vegan butter and dairy-free chocolate melts to make these treats suitable for a vegan diet.
- Gluten-Free Version: Ensure you use gluten-free Rice Krispies to accommodate gluten sensitivities.
- Festive Sprinkles: Add Halloween-themed sprinkles on top of the white chocolate for an extra festive touch!
Serving Suggestions
- Pair these Mummy Rice Krispie Treats with a spooky punch or apple cider for a festive drink.
- Serve them on a Halloween-themed platter for an eye-catching display.
- Consider adding some gummy worms or candy corn around the treats for a fun touch.
- These treats also make great party favors wrapped in cellophane!
FAQs about Mummy Rice Krispie Treats
Can I make Mummy Rice Krispie Treats ahead of time?
Absolutely! You can prepare these treats a day in advance. Just store them in an airtight container to keep them fresh. They’ll still taste delicious when it’s time to serve!
What can I use instead of white chocolate melts?
If you don’t have white chocolate melts, you can use vanilla candy coating or even regular white chocolate. Just make sure to melt it carefully to avoid burning.
How do I store leftover Mummy Rice Krispie Treats?
Store any leftovers in an airtight container at room temperature. They should stay fresh for up to three days. Just be sure to keep them away from humidity!
Can I customize the eyes on my Mummy Rice Krispie Treats?
<pDefinitely! You can use candy eyes for a fun look, or simply pipe black icing or place chocolate chips for the eyes. Get creative and make them your own!
Are Mummy Rice Krispie Treats suitable for kids with allergies?
These treats can be made allergy-friendly by using gluten-free Rice Krispies and ensuring the chocolate melts are dairy-free. Always check labels to be safe!
Final Thoughts
Making Mummy Rice Krispie Treats is more than just a fun Halloween activity; it’s a chance to create sweet memories with your family. The joy of seeing your kids’ faces light up as they help decorate these spooky snacks is priceless. Plus, the simplicity of this recipe means you can whip it up even on the busiest days. Whether you’re hosting a Halloween party or just looking for a festive treat, these adorable mummies are sure to bring smiles all around. So grab your ingredients and let the Halloween fun begin!
Print
Mummy Rice Krispie Treats: A Fun Halloween Treat!
- Total Time: 25 minutes
- Yield: 12 servings 1x
- Diet: Vegetarian
Description
Mummy Rice Krispie Treats are a fun and festive Halloween treat that combines the classic Rice Krispie treat with a spooky twist, perfect for parties and celebrations.
Ingredients
- 3 tablespoons butter
- 1 package (10 oz) marshmallows
- 6 cups Rice Krispies cereal
- White chocolate melts
- Black icing or chocolate chips for eyes
Instructions
- In a large saucepan, melt the butter over low heat.
- Add the marshmallows and stir until completely melted.
- Remove from heat and add the Rice Krispies cereal, stirring until well coated.
- Press the mixture into a greased 9×13 inch pan and let it cool.
- Once cooled, cut the treats into rectangles.
- Melt the white chocolate melts according to package instructions.
- Dip the top of each rectangle in the melted white chocolate and let it set.
- Use black icing or chocolate chips to create eyes on each mummy treat.
Notes
- For a more festive look, you can add candy eyes instead of using icing.
- Store in an airtight container for up to 3 days.
- Prep Time: 15 minutes
- Cook Time: 10 minutes
- Category: Dessert
- Method: No-Bake
- Cuisine: American
Nutrition
- Serving Size: 1 treat
- Calories: 150
- Sugar: 10g
- Sodium: 50mg
- Fat: 5g
- Saturated Fat: 3g
- Unsaturated Fat: 2g
- Trans Fat: 0g
- Carbohydrates: 22g
- Fiber: 0g
- Protein: 1g
- Cholesterol: 10mg