
Introduction to Pumpkin Patch Cupcakes
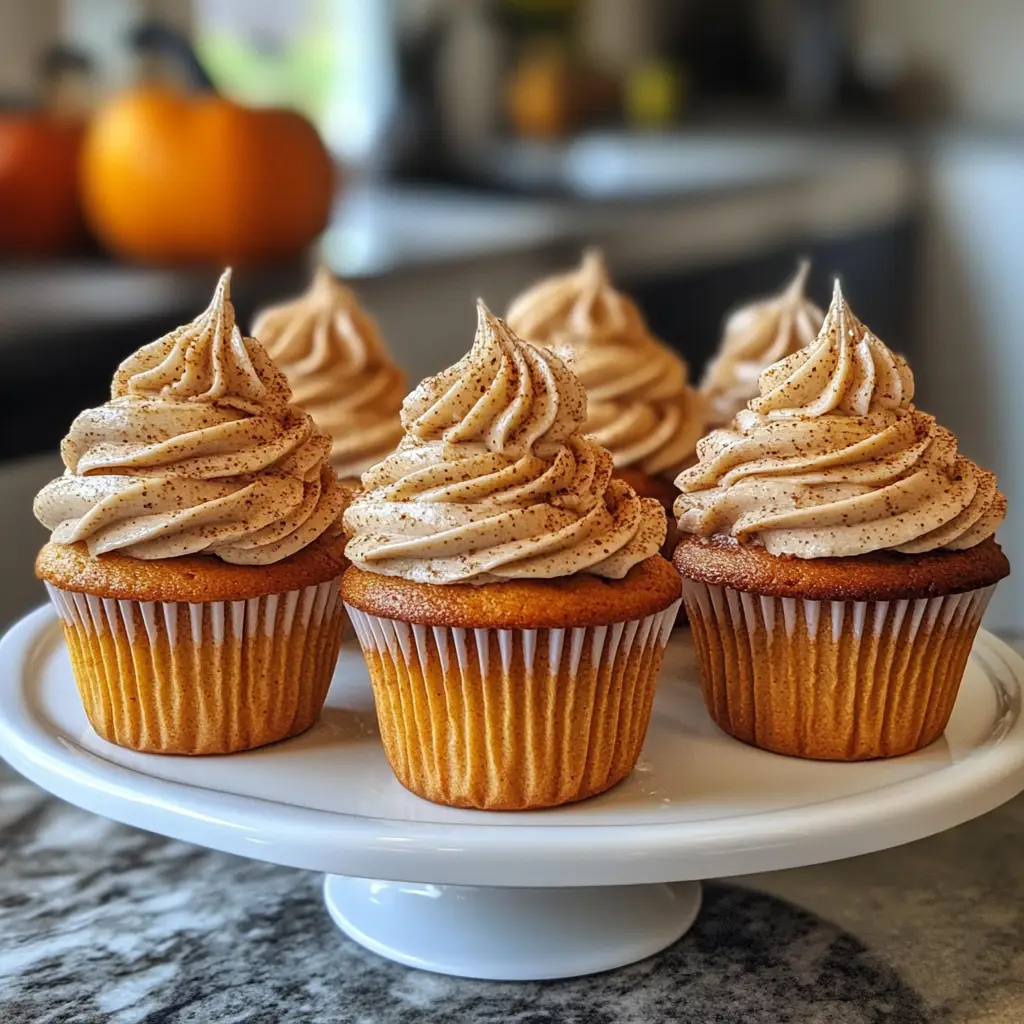
As the leaves turn and the air gets crisp, there’s nothing quite like the warmth of freshly baked Pumpkin Patch Cupcakes to bring a smile to your face. These delightful treats are not just a feast for the eyes; they’re a quick solution for busy days filled with fall festivities. Whether you’re whipping them up for a school bake sale or a cozy family gathering, these cupcakes are sure to impress your loved ones. With their rich pumpkin flavor and playful decorations, they capture the essence of autumn in every bite!
Why You’ll Love This Pumpkin Patch Cupcakes
These Pumpkin Patch Cupcakes are a delightful blend of ease and flavor, making them perfect for any busy mom or professional. They come together quickly, allowing you to spend less time in the kitchen and more time enjoying the season with your family. Plus, the combination of pumpkin and chocolate is simply irresistible! With their fun decorations, these cupcakes are sure to bring joy to both kids and adults alike.
Ingredients for Pumpkin Patch Cupcakes
Gathering the right ingredients is the first step to creating these delightful Pumpkin Patch Cupcakes. Here’s what you’ll need:
- All-purpose flour: This is the base of your cupcakes, providing structure and a soft texture.
- Granulated sugar: Adds sweetness and helps create a tender crumb.
- Brown sugar: Brings a hint of caramel flavor and moisture to the cupcakes.
- Baking powder: A leavening agent that helps the cupcakes rise and become fluffy.
- Baking soda: Works with the acidity of the pumpkin to give the cupcakes a nice lift.
- Ground cinnamon: Infuses a warm, cozy flavor that screams fall.
- Ground nutmeg: Adds a subtle spice that complements the pumpkin beautifully.
- Salt: Enhances the flavors and balances the sweetness.
- Canned pumpkin puree: The star of the show! It provides moisture and that rich pumpkin flavor.
- Vegetable oil: Keeps the cupcakes moist and tender.
- Large eggs: Bind the ingredients together and add richness.
- Vanilla extract: A splash of vanilla adds depth and enhances the overall flavor.
- Chocolate chips: These little morsels of joy add a delightful surprise in every bite.
- Green frosting: For decorating, it mimics the look of grass in your pumpkin patch.
- Chocolate cookies: These serve as the “patch” for your cupcakes, adding a fun touch.
- Gummy worms: A playful decoration that kids will love, making your cupcakes even more festive!
For exact measurements, check the bottom of the article where you can find everything listed for easy printing. Feel free to get creative with your ingredients! You can swap out the chocolate chips for nuts or use a different type of frosting to suit your taste. The possibilities are endless!
How to Make Pumpkin Patch Cupcakes
Step 1: Preheat and Prepare
First things first, let’s get that oven preheating to 350°F (175°C). This step is crucial for ensuring your Pumpkin Patch Cupcakes bake evenly. While the oven warms up, grab your cupcake pan and line it with cute cupcake liners. I love using festive designs that scream fall! It adds a personal touch and makes the cupcakes even more inviting. Trust me, the anticipation of that warm, sweet aroma filling your kitchen is worth every moment spent preparing.
Step 2: Mix Dry Ingredients
In a large mixing bowl, whisk together the all-purpose flour, granulated sugar, brown sugar, baking powder, baking soda, ground cinnamon, ground nutmeg, and salt. This is where the magic begins! Make sure to mix them well, so every bite of your Pumpkin Patch Cupcakes is perfectly flavored. The combination of spices will fill your kitchen with a cozy scent that instantly brings back memories of autumn. Don’t rush this step; it’s the foundation of your delicious cupcakes!
Step 3: Combine Wet Ingredients
In another bowl, it’s time to mix the wet ingredients. Combine the canned pumpkin puree, vegetable oil, eggs, and vanilla extract. Whisk them together until everything is well blended. The pumpkin puree is the star here, bringing moisture and that rich flavor we all love. As you mix, take a moment to appreciate the vibrant color of the pumpkin. It’s like a little burst of sunshine in your bowl, ready to transform into something delightful!
Step 4: Combine Wet and Dry Mixtures
Now, it’s time to bring the two mixtures together. Gradually add the wet ingredients to the dry ingredients, stirring gently until just combined. Be careful not to overmix; a few lumps are perfectly fine! This step is where the magic happens, as the dry ingredients soak up the moisture from the pumpkin. You’ll start to see a beautiful batter forming, and the anticipation of those Pumpkin Patch Cupcakes is building!
Step 5: Add Chocolate Chips
Next, fold in the chocolate chips. This is my favorite part! The chocolate adds a delightful surprise in every bite, balancing the warm spices of the pumpkin. Use a spatula to gently mix them into the batter, ensuring they’re evenly distributed. The sight of those little morsels peeking through the batter is enough to make anyone’s mouth water. Just imagine the joy when you bite into a cupcake and find that gooey chocolate!
Step 6: Fill Cupcake Liners
Now, it’s time to fill those cupcake liners! Using a spoon or an ice cream scoop, divide the batter evenly among the liners. Aim to fill each one about two-thirds full to allow room for rising. As you scoop, take a moment to admire the vibrant orange batter. It’s like a little piece of fall in each liner! This step is where the excitement builds, knowing that soon you’ll have a batch of delicious Pumpkin Patch Cupcakes.
Step 7: Bake the Cupcakes
Pop the filled cupcake pan into the preheated oven and bake for 18-20 minutes. The aroma of pumpkin and spices will start to fill your kitchen, making it hard to resist peeking! To check for doneness, insert a toothpick into the center of a cupcake. If it comes out clean, they’re ready! If not, give them a few more minutes. Patience is key here, but trust me, the wait will be worth it when you taste these delightful treats!
Step 8: Cool and Decorate
Once baked, remove the cupcakes from the oven and let them cool in the pan for about 5 minutes. Then, transfer them to a wire rack to cool completely. This step is essential for perfect frosting! Once cooled, it’s time to unleash your creativity. Frost the cupcakes with green frosting to mimic grass, then top with chocolate cookies and gummy worms for that fun pumpkin patch effect. Your kitchen will look like a festive fall wonderland!
Tips for Success
- Always measure your ingredients accurately for the best results.
- Let the cupcakes cool completely before frosting to prevent melting.
- Use an ice cream scoop for even batter distribution.
- Experiment with different frostings for a unique twist.
- Store leftovers in an airtight container to keep them fresh.
Equipment Needed
- Cupcake pan: A standard 12-cup pan works perfectly, but you can use silicone molds for easy removal.
- Mixing bowls: A large bowl for dry ingredients and a medium bowl for wet ingredients are ideal.
- Whisk: A simple whisk or electric mixer will do the trick for blending.
- Spatula: Use a rubber spatula for folding in chocolate chips and batter.
- Ice cream scoop: This handy tool helps with even batter distribution.
Variations of Pumpkin Patch Cupcakes
- Gluten-Free Option: Substitute all-purpose flour with a gluten-free flour blend for a delicious gluten-free treat.
- Vegan Version: Replace eggs with flaxseed meal (1 tablespoon flaxseed meal + 2.5 tablespoons water per egg) and use a plant-based oil.
- Spiced Up: Add a pinch of ground ginger or cloves for an extra kick of fall flavor.
- Nutty Delight: Fold in chopped walnuts or pecans for added texture and flavor.
- Frosting Variations: Try cream cheese frosting or a maple-flavored frosting for a different twist.
Serving Suggestions for Pumpkin Patch Cupcakes
- Pair with a warm cup of spiced chai or apple cider for a cozy fall treat.
- Serve alongside a light salad to balance the sweetness of the cupcakes.
- Present on a rustic wooden platter for a charming autumn display.
- Add a sprinkle of cinnamon on top for an extra touch of flavor.
- Include a scoop of vanilla ice cream for a delightful dessert experience.
FAQs about Pumpkin Patch Cupcakes
As you embark on your baking adventure with these delightful Pumpkin Patch Cupcakes, you might have a few questions. Here are some common queries that can help you along the way:
Can I use fresh pumpkin instead of canned pumpkin puree?
Absolutely! Fresh pumpkin can add a wonderful flavor. Just make sure to cook and puree it until smooth before using it in the recipe. It’s a great way to enjoy the season’s bounty!
How can I make these cupcakes healthier?
You can reduce the sugar by using applesauce or a sugar substitute. Additionally, consider using whole wheat flour for added fiber. These small changes can make your Pumpkin Patch Cupcakes a bit lighter without sacrificing taste!
Can I freeze the cupcakes?
Yes, you can freeze these cupcakes! Just make sure they are completely cooled before wrapping them tightly in plastic wrap and placing them in an airtight container. They can last up to three months in the freezer.
What’s the best way to store leftover cupcakes?
Store your Pumpkin Patch Cupcakes in an airtight container at room temperature for up to three days. If you’ve decorated them, it’s best to keep them in the fridge to maintain the frosting’s integrity.
Can I make mini versions of these cupcakes?
Definitely! Just adjust the baking time to about 12-15 minutes. Mini Pumpkin Patch Cupcakes are perfect for parties and gatherings, and they’re just as fun to decorate!
Final Thoughts
Creating these Pumpkin Patch Cupcakes is more than just baking; it’s about making memories with your loved ones. The joy of watching your kids’ faces light up as they decorate their own little pumpkin patches is priceless. Each bite is a celebration of fall, filled with warmth and laughter. Whether you’re sharing them at a gathering or enjoying them with a cozy cup of tea, these cupcakes bring a sense of comfort and happiness. So, roll up your sleeves, embrace the mess, and let the delightful aroma fill your home. Happy baking, and may your kitchen be filled with love!
Print
Pumpkin Patch Cupcakes: Delightful Treats You’ll Love!
- Total Time: 40 minutes
- Yield: 12 cupcakes 1x
- Diet: Vegetarian
Description
Delicious and festive pumpkin patch cupcakes perfect for fall celebrations.
Ingredients
- 1 1/2 cups all-purpose flour
- 1 cup granulated sugar
- 1/2 cup brown sugar
- 1 teaspoon baking powder
- 1 teaspoon baking soda
- 1 teaspoon ground cinnamon
- 1/2 teaspoon ground nutmeg
- 1/2 teaspoon salt
- 1 cup canned pumpkin puree
- 1/2 cup vegetable oil
- 2 large eggs
- 1 teaspoon vanilla extract
- 1 cup chocolate chips
- Green frosting for decoration
- Chocolate cookies for the patch
- Gummy worms for decoration
Instructions
- Preheat the oven to 350°F (175°C) and line a cupcake pan with liners.
- In a large bowl, whisk together the flour, granulated sugar, brown sugar, baking powder, baking soda, cinnamon, nutmeg, and salt.
- In another bowl, mix the pumpkin puree, vegetable oil, eggs, and vanilla extract until well combined.
- Gradually add the wet ingredients to the dry ingredients, mixing until just combined.
- Fold in the chocolate chips.
- Divide the batter evenly among the cupcake liners.
- Bake for 18-20 minutes or until a toothpick inserted in the center comes out clean.
- Allow the cupcakes to cool completely before decorating.
- Frost the cupcakes with green frosting to resemble grass.
- Top with chocolate cookies and gummy worms to create a pumpkin patch effect.
Notes
- Store cupcakes in an airtight container for up to 3 days.
- For a more intense pumpkin flavor, add an extra 1/4 cup of pumpkin puree.
- Feel free to use different types of frosting for variety.
- Prep Time: 20 minutes
- Cook Time: 20 minutes
- Category: Dessert
- Method: Baking
- Cuisine: American
Nutrition
- Serving Size: 1 cupcake
- Calories: 250
- Sugar: 18g
- Sodium: 150mg
- Fat: 10g
- Saturated Fat: 2g
- Unsaturated Fat: 8g
- Trans Fat: 0g
- Carbohydrates: 36g
- Fiber: 2g
- Protein: 3g
- Cholesterol: 30mg


