
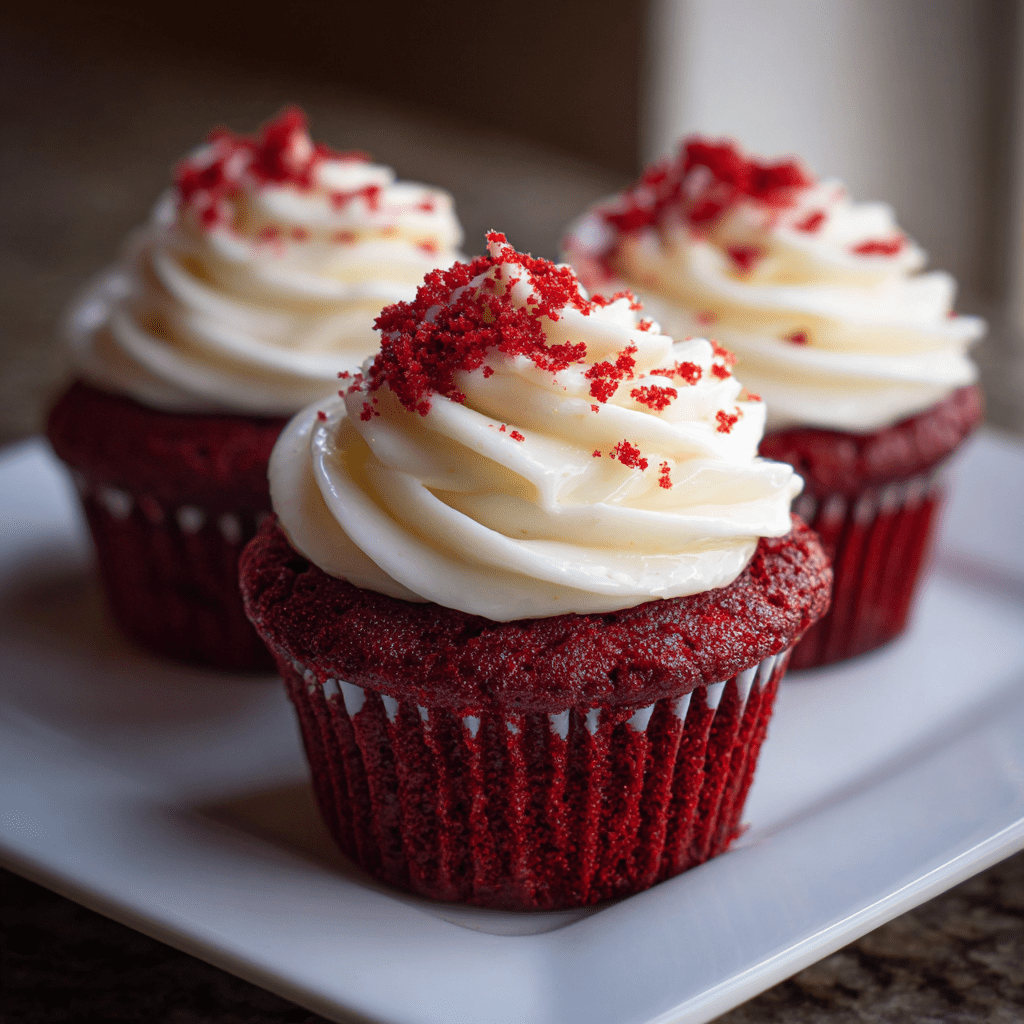
Introduction to Red Velvet Cupcakes
Ah, Red Velvet Cupcakes! Just saying the name brings a smile to my face. These delightful treats are not just a feast for the eyes; they’re a quick solution for a busy day or a sweet way to impress your loved ones. I remember the first time I baked them; the vibrant red color and the creamy frosting made my heart skip a beat. If you’re juggling work, kids, and everything in between, this recipe is your secret weapon. Trust me, once you whip up a batch, you’ll be the star of any gathering!
Why You’ll Love This Red Velvet Cupcakes
These Red Velvet Cupcakes are a dream come true for busy moms and professionals alike. They’re incredibly easy to make, taking just over 40 minutes from start to finish. The rich, velvety texture paired with the tangy cream cheese frosting is simply irresistible. Plus, they’re perfect for any occasion, whether it’s a birthday party or a cozy family dinner. You’ll love how they bring smiles to faces, including your own!
Ingredients for Red Velvet Cupcakes
Gathering the right ingredients is the first step to baking these scrumptious Red Velvet Cupcakes. Here’s what you’ll need:
- All-purpose flour: This is the backbone of your cupcakes, giving them structure and a soft crumb.
- Granulated sugar: Sweetness is key! It balances the flavors and helps create that moist texture.
- Baking soda: This is your leavening agent, ensuring the cupcakes rise beautifully.
- Cocoa powder: Just a hint of cocoa adds depth to the flavor without overpowering the red velvet essence.
- Salt: A pinch of salt enhances all the flavors, making them pop!
- Vegetable oil: This keeps the cupcakes moist and tender. You can substitute with melted coconut oil for a different flavor.
- Buttermilk: The acidity in buttermilk reacts with the baking soda, creating a light texture. If you don’t have any, regular milk with a splash of vinegar works too!
- Large eggs: Eggs provide richness and help bind everything together.
- Red food coloring: This is what gives the cupcakes their signature vibrant hue. Feel free to use natural alternatives if you prefer.
- Vanilla extract: A splash of vanilla adds warmth and enhances the overall flavor.
- White vinegar: This adds a slight tang and helps with the cupcake’s rise.
- Cream cheese: The star of the frosting! It brings a creamy, tangy flavor that pairs perfectly with the sweetness.
- Unsalted butter: This adds richness to the frosting. Make sure it’s softened for easy mixing.
- Powdered sugar: This sweetens the frosting and gives it that smooth, spreadable texture.
- Vanilla extract (for frosting): Just like in the cupcakes, it adds a lovely flavor to the frosting.
For exact measurements, check the bottom of the article where you can find everything listed for easy printing. Happy baking!
How to Make Red Velvet Cupcakes
Now that you have all your ingredients ready, let’s dive into the fun part—making these delightful Red Velvet Cupcakes! Follow these simple steps, and you’ll have a batch of cupcakes that will make your kitchen smell heavenly.
Step 1: Preheat the Oven
First things first, preheat your oven to 350°F (175°C). This step is crucial because it ensures your cupcakes bake evenly. While the oven warms up, line your cupcake pan with liners. I love using colorful liners; they add a cheerful touch to the presentation!
Step 2: Mix Dry Ingredients
In a large mixing bowl, combine the all-purpose flour, granulated sugar, baking soda, cocoa powder, and salt. Whisk them together until they’re well blended. This step is important because it helps distribute the leavening agents evenly, ensuring your cupcakes rise beautifully.
Step 3: Combine Wet Ingredients
In another bowl, whisk together the vegetable oil, buttermilk, eggs, red food coloring, vanilla extract, and white vinegar. The vibrant red color will start to shine through! Mixing these wet ingredients separately helps to create a smooth batter later on.
Step 4: Combine Wet and Dry Ingredients
Now, pour the wet mixture into the dry ingredients. Gently mix them together until just combined. Be careful not to overmix; a few lumps are perfectly fine. This will keep your cupcakes light and fluffy!
Step 5: Fill Cupcake Liners
Using a spoon or an ice cream scoop, fill each cupcake liner about two-thirds full with batter. This allows room for the cupcakes to rise without overflowing. Trust me, it’s better to have a little less batter than to deal with a messy oven!
Step 6: Bake the Cupcakes
Place the cupcake pan in the preheated oven and bake for 20-22 minutes. To check for doneness, insert a toothpick into the center of a cupcake. If it comes out clean or with a few crumbs, they’re ready! If not, give them a couple more minutes.
Step 7: Cool Before Frosting
Once baked, remove the cupcakes from the oven and let them cool in the pan for about 5 minutes. Then, transfer them to a wire rack to cool completely. This step is essential; frosting warm cupcakes can lead to a melty mess!
Step 8: Make the Cream Cheese Frosting
While the cupcakes cool, let’s whip up the cream cheese frosting. In a mixing bowl, beat together the softened cream cheese and unsalted butter until smooth. Gradually add the powdered sugar and vanilla extract, mixing until creamy and fluffy. This frosting is the perfect complement to your cupcakes!
Step 9: Frost the Cupcakes
Once the cupcakes are completely cool, it’s time to frost them. Use a spatula or a piping bag to spread the cream cheese frosting on top. Feel free to get creative with your frosting technique! A little sprinkle of cocoa powder or red sprinkles on top can add a lovely finishing touch.
Tips for Success
- Always measure your ingredients accurately for the best results.
- Let your eggs and buttermilk come to room temperature for a smoother batter.
- Don’t skip the cooling step; it prevents the frosting from melting.
- Use a toothpick to check for doneness; it’s a foolproof method!
- Experiment with different food coloring brands for vibrant results.
Equipment Needed
- Cupcake pan: A standard 12-cup pan works perfectly. You can use silicone molds for easy release.
- Mixing bowls: A set of various sizes is handy. Glass or stainless steel bowls are great options.
- Whisk: A balloon whisk is ideal for mixing. A fork can work in a pinch!
- Measuring cups and spoons: Accurate measurements are key. A kitchen scale is a great alternative.
- Cooling rack: Essential for cooling cupcakes evenly. If you don’t have one, a plate will do!
Variations
- Chocolate Red Velvet: Add an extra tablespoon of cocoa powder for a richer chocolate flavor.
- Gluten-Free Option: Substitute all-purpose flour with a gluten-free blend for a delicious gluten-free treat.
- Vegan Red Velvet: Replace eggs with flax eggs and use plant-based butter and milk for a vegan-friendly version.
- Nutty Twist: Fold in chopped walnuts or pecans into the batter for added texture and flavor.
- Mini Cupcakes: Use a mini cupcake pan for bite-sized treats that are perfect for parties!
Serving Suggestions
- Pair with Coffee: A warm cup of coffee or espresso complements the sweetness perfectly.
- Serve with Fresh Berries: A side of strawberries or raspberries adds a refreshing contrast.
- Presentation: Arrange cupcakes on a decorative platter for a stunning display.
- Ice Cream: Serve with a scoop of vanilla ice cream for an indulgent treat.
- Festive Toppings: Add sprinkles or edible glitter for a fun, celebratory touch!
FAQs about Red Velvet Cupcakes
As I’ve baked these delightful Red Velvet Cupcakes, I’ve come across a few common questions that many of you might have. Let’s dive into some of the most frequently asked questions to help you on your baking journey!
Can I use regular milk instead of buttermilk?
Absolutely! If you don’t have buttermilk on hand, you can make a quick substitute. Just add a tablespoon of vinegar or lemon juice to a cup of regular milk and let it sit for about 5 minutes. This will mimic the acidity of buttermilk and work perfectly in your cupcakes.
How do I store leftover Red Velvet Cupcakes?
To keep your cupcakes fresh, store them in an airtight container at room temperature for up to 3 days. If you want to keep them longer, you can refrigerate them, but be sure to let them come to room temperature before serving for the best flavor.
Can I freeze Red Velvet Cupcakes?
Yes, you can freeze these cupcakes! Just make sure they are completely cooled and unfrosted. Wrap them tightly in plastic wrap and place them in a freezer-safe container. They can last up to 3 months in the freezer. When you’re ready to enjoy, simply thaw them at room temperature and frost as desired.
What can I use instead of cream cheese in the frosting?
If you’re not a fan of cream cheese, you can use whipped buttercream or even a simple vanilla buttercream. Just mix softened butter with powdered sugar and a splash of milk until you reach your desired consistency. It won’t have the same tangy flavor, but it will still be delicious!
Why are my cupcakes not red enough?
The vibrancy of your Red Velvet Cupcakes largely depends on the quality of your food coloring. If you find your cupcakes aren’t as red as you’d like, try using a gel food coloring instead of liquid. Gel colors are more concentrated and will give you that stunning red hue without altering the batter’s consistency.
Final Thoughts
Baking these Red Velvet Cupcakes is more than just a recipe; it’s an experience filled with joy and creativity. The moment you pull them from the oven, the aroma fills your kitchen, wrapping you in a warm embrace. Each bite is a delightful combination of moist cake and creamy frosting, bringing smiles to everyone around. Whether you’re celebrating a special occasion or simply treating yourself, these cupcakes are sure to brighten your day. So, roll up your sleeves, gather your loved ones, and let the magic of baking create sweet memories that will last a lifetime!
Print
Red Velvet Cupcakes: Discover the Secret Recipe Today!
- Total Time: 42 minutes
- Yield: 12 cupcakes 1x
- Diet: Vegetarian
Description
Deliciously moist and vibrant red velvet cupcakes topped with cream cheese frosting.
Ingredients
- 1 1/2 cups all-purpose flour
- 1 cup granulated sugar
- 1 teaspoon baking soda
- 1 teaspoon cocoa powder
- 1 teaspoon salt
- 1 cup vegetable oil
- 1 cup buttermilk
- 2 large eggs
- 2 tablespoons red food coloring
- 1 teaspoon vanilla extract
- 1 teaspoon white vinegar
- 8 oz cream cheese, softened
- 1/2 cup unsalted butter, softened
- 4 cups powdered sugar
- 1 teaspoon vanilla extract (for frosting)
Instructions
- Preheat the oven to 350°F (175°C) and line a cupcake pan with liners.
- In a bowl, mix together the flour, sugar, baking soda, cocoa powder, and salt.
- In another bowl, whisk together the oil, buttermilk, eggs, food coloring, vanilla extract, and vinegar.
- Combine the wet and dry ingredients until just mixed.
- Fill the cupcake liners about 2/3 full with the batter.
- Bake for 20-22 minutes or until a toothpick comes out clean.
- Let the cupcakes cool completely before frosting.
- For the frosting, beat together the cream cheese and butter until smooth, then gradually add the powdered sugar and vanilla extract.
- Frost the cooled cupcakes and enjoy!
Notes
- Ensure the cupcakes are completely cool before frosting to prevent melting.
- Store leftovers in an airtight container at room temperature for up to 3 days.
- For a richer flavor, let the cupcakes sit overnight before serving.
- Prep Time: 20 minutes
- Cook Time: 22 minutes
- Category: Dessert
- Method: Baking
- Cuisine: American
Nutrition
- Serving Size: 1 cupcake
- Calories: 320
- Sugar: 25g
- Sodium: 200mg
- Fat: 15g
- Saturated Fat: 8g
- Unsaturated Fat: 5g
- Trans Fat: 0g
- Carbohydrates: 40g
- Fiber: 1g
- Protein: 3g
- Cholesterol: 50mg


