
Introduction to Whimsical Drip Cake Extravaganza
Welcome to the delightful world of the Whimsical Drip Cake Extravaganza! If you’re like me, juggling a busy life while trying to whip up something special can feel overwhelming. This cake is not just a treat; it’s a canvas for your creativity! Perfect for birthdays, anniversaries, or just because, it’s a quick solution for those days when you want to impress your loved ones without spending hours in the kitchen. With its colorful drips and playful decorations, this cake will surely bring smiles and joy to any celebration. Let’s dive into this fun baking adventure together!
Why You’ll Love This Whimsical Drip Cake Extravaganza
This Whimsical Drip Cake Extravaganza is a game-changer for busy moms and professionals alike. It’s easy to make, requiring just a handful of ingredients and minimal prep time. The rich chocolate flavor paired with vibrant colors makes it a feast for the eyes and the taste buds. Plus, it’s versatile! You can customize it for any occasion, ensuring that every celebration feels special and unique.
Ingredients for Whimsical Drip Cake Extravaganza
Gathering the right ingredients is the first step to creating your masterpiece! Here’s what you’ll need for this delightful cake:
- All-purpose flour: The backbone of your cake, providing structure and texture.
- Granulated sugar: Sweetens the cake and helps create a moist crumb.
- Unsweetened cocoa powder: Adds rich chocolate flavor, making every bite heavenly.
- Baking powder and baking soda: These leavening agents help the cake rise, giving it that fluffy texture.
- Salt: Enhances the flavors, balancing the sweetness beautifully.
- Large eggs: They bind the ingredients together and add moisture.
- Whole milk: Contributes to the cake’s richness and helps create a tender crumb.
- Vegetable oil: Keeps the cake moist and adds a lovely texture.
- Vanilla extract: A must-have for that warm, comforting flavor.
- Boiling water: This secret ingredient helps to bloom the cocoa, intensifying the chocolate flavor.
- Heavy cream: Essential for making the luscious ganache that drips down the sides.
- Semi-sweet chocolate: The star of the ganache, providing a rich, chocolatey finish.
- Food coloring: Use various colors to create a whimsical look that matches your celebration theme.
- Sprinkles and edible decorations: These fun toppings add a playful touch and make your cake truly festive.
For exact measurements, check the bottom of the article where you can find everything listed for easy printing. Happy baking!
How to Make Whimsical Drip Cake Extravaganza
Step 1: Preheat and Prepare
Let’s kick things off by preheating your oven to 350°F (175°C). This step is crucial for ensuring your cake bakes evenly. While the oven warms up, grab two 9-inch round cake pans and grease them well. You can use butter or non-stick spray for this. Don’t forget to line the bottoms with parchment paper for easy removal later. Trust me, you’ll thank yourself when it’s time to take those beautiful cakes out of the pans!
Step 2: Mix the Dry Ingredients
In a large mixing bowl, combine the all-purpose flour, granulated sugar, cocoa powder, baking powder, baking soda, and salt. Whisk them together until they’re well blended. This step is essential because it ensures that the leavening agents are evenly distributed throughout the flour. The result? A perfectly fluffy cake! Take a moment to enjoy the rich chocolate aroma wafting up as you mix. It’s a little preview of the deliciousness to come!
Step 3: Combine Wet Ingredients
Now, it’s time to add the wet ingredients to your dry mix. Crack the eggs into the bowl, then pour in the whole milk, vegetable oil, and vanilla extract. Using a hand mixer or a whisk, blend everything together until it’s smooth and creamy. This is where the magic happens! The wet ingredients bring moisture and flavor, creating a batter that’s rich and inviting. Don’t be afraid to get a little messy; it’s all part of the fun!
Step 4: Add Boiling Water
Here comes the secret weapon: boiling water! Carefully stir in one cup of boiling water into your batter. This step may seem odd, but it’s vital for blooming the cocoa powder. It intensifies the chocolate flavor and creates a wonderfully moist cake. The batter will be thin, but that’s perfectly normal. Just think of it as a chocolatey potion, ready to transform into a delightful cake!
Step 5: Bake the Cakes
Pour the batter evenly into your prepared cake pans. Pop them into the preheated oven and bake for 30-35 minutes. To check for doneness, insert a toothpick into the center of the cakes. If it comes out clean or with a few moist crumbs, they’re ready! Keep an eye on them, as oven temperatures can vary. The anticipation builds as the aroma fills your kitchen, making it hard to resist sneaking a taste!
Step 6: Cool the Cakes
Once baked, remove the cakes from the oven and let them cool in the pans for about 10 minutes. This step is crucial; it allows the cakes to set and makes them easier to handle. After that, gently transfer them to wire racks to cool completely. If you skip this step, the ganache might melt when you pour it on. Patience is key here, but I promise it will be worth the wait!
Step 7: Prepare the Ganache
While the cakes cool, let’s whip up that luscious ganache! In a saucepan, heat the heavy cream over medium heat until it just begins to simmer. Remove it from the heat and pour it over the chopped semi-sweet chocolate in a bowl. Let it sit for a few minutes, then stir until smooth and glossy. This ganache is the star of your Whimsical Drip Cake Extravaganza, creating those beautiful drips that make it so special!
Step 8: Assemble the Cake
Once your cakes are completely cool, it’s time to assemble! Place one layer on a serving plate and spread a generous layer of ganache on top. Then, carefully place the second layer on top. Now, pour the remaining ganache over the entire cake, allowing it to drip down the sides. This is where the magic happens! Don’t worry about perfection; the whimsical look is all part of the charm!
Step 9: Decorate
Now comes the fun part—decorating your cake! Get creative with food coloring, sprinkles, and any other edible decorations you have on hand. This is your chance to let your personality shine through! Whether you want a rainbow of colors or a more elegant look, the choice is yours. Remember, there are no rules in cake decorating, so have fun and make it uniquely yours!
Tips for Success
- Always measure your ingredients accurately for the best results.
- Let the cakes cool completely before adding ganache to avoid melting.
- Use a toothpick to check for doneness; it should come out clean.
- Experiment with different food colors for a unique look.
- Don’t be afraid to get creative with decorations—let your imagination run wild!
Equipment Needed
- Two 9-inch round cake pans (or any similar-sized pans you have on hand)
- Mixing bowls (a large one for dry ingredients and a medium one for wet)
- Whisk or hand mixer (a good old-fashioned whisk works just fine!)
- Spatula (for spreading ganache and decorating)
- Wire racks (or a plate for cooling the cakes)
Variations
- Gluten-Free: Substitute all-purpose flour with a gluten-free blend to make this cake gluten-free.
- Vegan: Replace eggs with flax eggs and use plant-based milk and oil for a vegan-friendly version.
- Flavor Infusions: Add a teaspoon of almond or orange extract for a unique twist on the classic chocolate flavor.
- Fruit Additions: Incorporate fresh berries or banana slices between the layers for a fruity surprise.
- Nutty Crunch: Fold in chopped nuts like walnuts or pecans into the batter for added texture and flavor.
Serving Suggestions
- Pair your Whimsical Drip Cake Extravaganza with a scoop of vanilla ice cream for a delightful contrast.
- Serve with a side of fresh berries to add a pop of color and freshness.
- For drinks, consider a chilled glass of milk or a fruity punch.
- Present the cake on a colorful cake stand to enhance its whimsical charm.
FAQs about Whimsical Drip Cake Extravaganza
Can I make this cake ahead of time?
Absolutely! You can bake the cakes a day in advance. Just store them in the refrigerator, wrapped tightly in plastic wrap. This way, they’ll stay fresh and ready for assembly when you are!
What can I use instead of heavy cream for the ganache?
If you’re looking for a lighter option, you can use coconut cream or a non-dairy milk alternative. Just keep in mind that the texture and flavor may vary slightly, but it will still be delicious!
How do I store leftovers?
Store any leftover cake in an airtight container in the refrigerator. It should stay fresh for about 3-4 days. Just be sure to let it come to room temperature before serving for the best flavor!
Can I freeze the Whimsical Drip Cake?
Yes, you can freeze the cake! Wrap it tightly in plastic wrap and then in aluminum foil. It can be frozen for up to three months. Just thaw it in the fridge overnight before serving.
What if my ganache doesn’t drip properly?
If your ganache is too thick, try warming it slightly in the microwave or over a double boiler. If it’s too thin, let it cool a bit longer before pouring. Remember, it’s all about finding that perfect consistency!
Final Thoughts
Creating the Whimsical Drip Cake Extravaganza is more than just baking; it’s about making memories. Each layer tells a story, and every colorful drip adds a splash of joy to your celebration. Whether it’s a birthday, a family gathering, or just a treat for yourself, this cake brings smiles and laughter to the table. I love how it invites creativity, allowing you to express yourself through flavors and decorations. So, roll up your sleeves, gather your loved ones, and embark on this delightful baking adventure. Trust me, the joy of sharing this cake is the sweetest part of all!
Print
Whimsical Drip Cake Extravaganza: Unleash Your Creativity!
- Total Time: 1 hour 5 minutes
- Yield: 12 servings 1x
- Diet: Vegetarian
Description
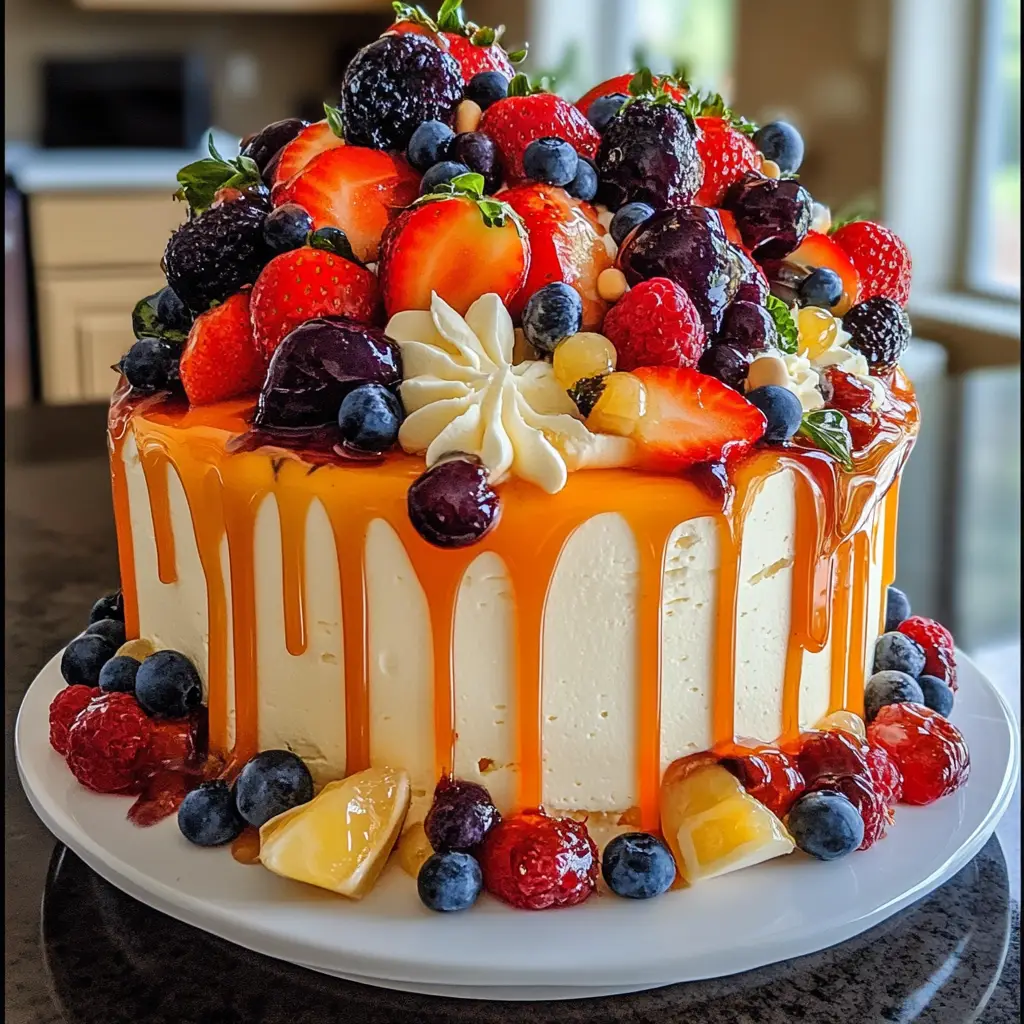
A delightful and creative cake that features a whimsical design with colorful drips and decorations, perfect for any celebration.
Ingredients
- 2 cups all-purpose flour
- 1 ½ cups granulated sugar
- ½ cup unsweetened cocoa powder
- 1 ½ teaspoons baking powder
- 1 ½ teaspoons baking soda
- 1 teaspoon salt
- 2 large eggs
- 1 cup whole milk
- ½ cup vegetable oil
- 2 teaspoons vanilla extract
- 1 cup boiling water
- 1 cup heavy cream
- 8 ounces semi-sweet chocolate, chopped
- Food coloring (various colors)
- Sprinkles and edible decorations
Instructions
- Preheat your oven to 350°F (175°C) and grease two 9-inch round cake pans.
- In a large bowl, mix together the flour, sugar, cocoa powder, baking powder, baking soda, and salt.
- Add the eggs, milk, oil, and vanilla to the dry ingredients and mix until well combined.
- Stir in the boiling water until the batter is smooth.
- Pour the batter evenly into the prepared cake pans.
- Bake for 30-35 minutes or until a toothpick inserted in the center comes out clean.
- Let the cakes cool in the pans for 10 minutes, then transfer to wire racks to cool completely.
- For the ganache, heat the heavy cream in a saucepan until it just begins to simmer, then pour it over the chopped chocolate. Let it sit for a few minutes, then stir until smooth.
- Once the cakes are cool, place one layer on a serving plate and spread a layer of ganache on top.
- Place the second layer on top and pour the remaining ganache over the cake, allowing it to drip down the sides.
- Decorate with food coloring, sprinkles, and any other edible decorations you desire.
Notes
- Ensure the cakes are completely cool before adding the ganache to prevent melting.
- You can customize the colors and decorations to match your theme.
- This cake can be made a day in advance and stored in the refrigerator.
- Prep Time: 30 minutes
- Cook Time: 35 minutes
- Category: Dessert
- Method: Baking
- Cuisine: American
Nutrition
- Serving Size: 1 slice
- Calories: 450
- Sugar: 35g
- Sodium: 200mg
- Fat: 25g
- Saturated Fat: 15g
- Unsaturated Fat: 5g
- Trans Fat: 0g
- Carbohydrates: 50g
- Fiber: 2g
- Protein: 6g
- Cholesterol: 70mg


