Introduction to Witch Hat Cookies
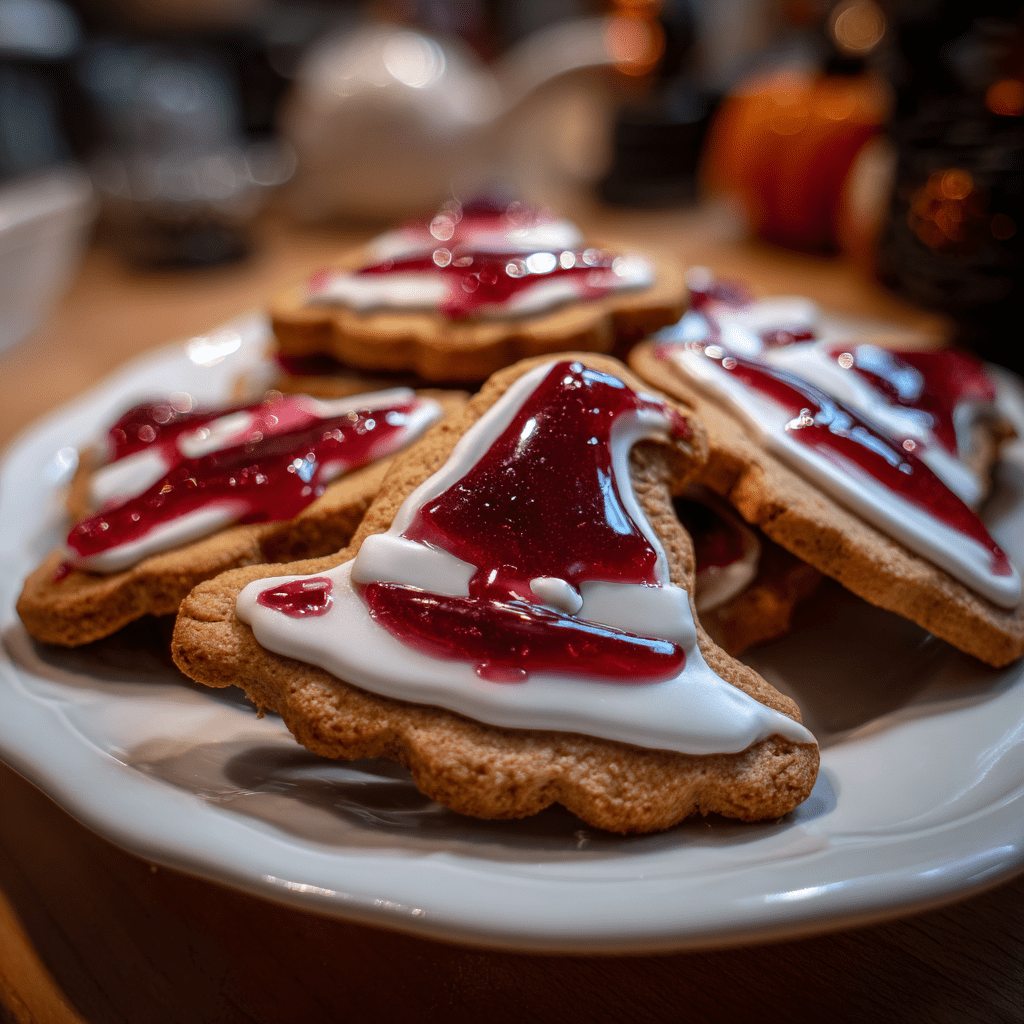
As the leaves turn and the air gets crisp, I find myself dreaming of Halloween treats. One of my absolute favorites is Witch Hat Cookies. These delightful little confections are not only adorable but also incredibly easy to whip up. Perfect for busy moms like us, they require minimal time and effort, making them a quick solution for a festive gathering. Plus, they’re sure to impress your loved ones! With just a few simple ingredients, you can create a spooky masterpiece that will bring smiles to faces young and old. Let’s dive into this fun baking adventure!
Why You’ll Love This Witch Hat Cookies
Witch Hat Cookies are a delightful treat that combines ease and fun. They come together in just 25 minutes, making them perfect for busy days. The rich chocolate flavor paired with the whimsical design is sure to please everyone. Plus, they’re a fantastic way to get the kids involved in the kitchen. Who wouldn’t love crafting their own spooky snacks? These cookies are a sweet way to celebrate Halloween!
Ingredients for Witch Hat Cookies
Gathering the right ingredients is half the fun of baking Witch Hat Cookies! Here’s what you’ll need:
- Chocolate Cookies: The base of our witch hats. You can use store-bought or homemade chocolate cookies. They provide a rich, chocolatey flavor that pairs perfectly with the frosting.
- Chocolate Frosting: This creamy goodness acts as both glue and decoration. You can use pre-made frosting or whip up a quick batch at home. It adds a luscious layer to our cookies.
- Hershey’s Kisses: These iconic chocolates are the crowning glory of our witch hats. Their shape mimics a witch’s hat perfectly, and they add a delightful chocolatey bite.
- Candy Corn: The colorful tip of the hat! Candy corn adds a fun pop of color and a sweet crunch. If you’re not a fan, consider using mini marshmallows or chocolate chips as alternatives.
Feel free to get creative! You can swap out the chocolate cookies for vanilla or even gingerbread for a unique twist. The exact quantities for each ingredient are listed at the bottom of the article for your convenience, ready for printing!
How to Make Witch Hat Cookies
Making Witch Hat Cookies is a delightful experience that brings a bit of magic to your kitchen. Follow these simple steps, and you’ll have a batch of spooky treats ready in no time!
Step 1: Preheat the Oven
First things first, preheat your oven according to the cookie package instructions. Preheating is crucial because it ensures even baking. If you skip this step, your cookies might end up unevenly cooked. Trust me, no one wants a gooey center when they’re expecting a perfectly baked cookie!
Step 2: Bake the Cookies
Next, bake the chocolate cookies as directed on the package. Usually, this takes about 10 minutes. Keep an eye on them, as ovens can vary. Once they’re done, let them cool completely on a wire rack. This cooling time is essential; it helps the cookies firm up, making them easier to frost later.
Step 3: Frost the Cookies
Now comes the fun part—frosting! Spread a generous layer of chocolate frosting on the top of each cooled cookie. Use a spatula or a butter knife for an even application. The frosting not only adds flavor but also acts as the glue for our witch hats. Don’t be shy; a thick layer makes for a more decadent treat!
Step 4: Add the Hershey’s Kisses
Place a Hershey’s Kiss right in the center of the frosting on each cookie. This is where the magic happens! The Kiss resembles the pointy top of a witch’s hat. Gently press it down so it sticks well. You want it to stand tall and proud, just like a witch ready to cast a spell!
Step 5: Attach the Candy Corn
To complete the witch hat look, use a bit more frosting to attach a piece of candy corn to the top of each Hershey’s Kiss. This adds a pop of color and a fun twist. Just dab a little frosting on the bottom of the candy corn and press it onto the Kiss. Voilà! Your witch hats are taking shape!
Step 6: Let Set and Serve
Finally, let the cookies set for a few minutes before serving. This allows the frosting to firm up a bit, making them easier to handle. Once they’re ready, gather your family and friends to enjoy these spooky treats. They’re sure to be a hit at any Halloween gathering!
Tips for Success
- Make sure your cookies are completely cool before frosting to prevent melting.
- Use a piping bag for the frosting if you want a more decorative touch.
- Experiment with different cookie flavors for a unique twist on the classic recipe.
- Store any leftovers in an airtight container to keep them fresh.
- Get the kids involved! They’ll love helping with the decorating.
Equipment Needed
- Baking Sheet: A standard baking sheet works perfectly. If you don’t have one, a large oven-safe dish can do the trick.
- Wire Rack: Ideal for cooling cookies. If you’re in a pinch, a plate will suffice.
- Spatula: Use a spatula for frosting. A butter knife can also work well.
- Piping Bag (optional): For decorative frosting. A zip-top bag with a corner snipped off can be a great substitute.
Variations of Witch Hat Cookies
- Peanut Butter Cookies: Swap chocolate cookies for peanut butter cookies for a nutty twist that pairs beautifully with chocolate frosting.
- Gluten-Free Option: Use gluten-free chocolate cookies to make these treats accessible for those with dietary restrictions.
- Vegan Version: Choose vegan chocolate cookies and frosting to create a plant-based version of these spooky delights.
- Decorative Sprinkles: Add colorful sprinkles or edible glitter to the frosting for an extra festive touch that kids will love.
- Flavorful Frosting: Experiment with different frosting flavors, like vanilla or caramel, to change up the taste profile of your witch hats.
Serving Suggestions for Witch Hat Cookies
- Spooky Platter: Arrange the cookies on a Halloween-themed platter for a festive display.
- Milk Pairing: Serve with a glass of cold milk or hot chocolate for a delightful treat.
- Party Favors: Package them in clear bags tied with orange ribbons for a fun party favor.
- Decorative Touch: Add some fake spider webs or plastic spiders around the cookies for a spooky vibe.
FAQs about Witch Hat Cookies
As you embark on your Witch Hat Cookies adventure, you might have a few questions. Here are some common queries that can help you along the way!
Can I use different types of cookies for Witch Hat Cookies?
Absolutely! While chocolate cookies are traditional, feel free to experiment with vanilla or gingerbread cookies for a unique twist. The key is to have a sturdy base for the frosting and toppings.
How can I store Witch Hat Cookies?
Store your Witch Hat Cookies in an airtight container at room temperature. They’ll stay fresh for up to a week. If you want to keep them longer, consider freezing them without the frosting and adding it later.
Can I make Witch Hat Cookies ahead of time?
Yes! These cookies can be made a day or two in advance. Just store them properly, and they’ll be ready to impress your guests when the time comes!
What can I use instead of candy corn?
If candy corn isn’t your thing, try mini marshmallows or chocolate chips. They’ll still give you that fun, festive look while adding a different flavor profile.
Are Witch Hat Cookies suitable for kids?
Definitely! These cookies are a hit with kids. They can help with the decorating, making it a fun family activity. Just keep an eye on the frosting to avoid any sticky situations!
Final Thoughts
Creating Witch Hat Cookies is more than just baking; it’s about making memories with your loved ones. The joy of crafting these spooky treats together can spark laughter and creativity in your kitchen. Each cookie is a little piece of Halloween magic, bringing smiles to faces young and old. Plus, the ease of this recipe means you can whip them up even on the busiest days. So, gather your family, roll up your sleeves, and let the fun begin! These cookies are sure to become a cherished tradition in your Halloween celebrations for years to come.
Print
Witch Hat Cookies: Craft Spooky Treats This Halloween!
- Total Time: 25 minutes
- Yield: 24 cookies 1x
- Diet: Vegetarian
Description
Witch Hat Cookies are a fun and spooky treat perfect for Halloween celebrations. These cookies are shaped like witch hats and are easy to make with simple ingredients.
Ingredients
- 1 cup of chocolate cookies
- 1 cup of chocolate frosting
- 1 cup of Hershey’s Kisses
- 1 cup of candy corn
Instructions
- Preheat your oven according to the cookie package instructions.
- Bake the chocolate cookies and let them cool completely.
- Spread a layer of chocolate frosting on the top of each cookie.
- Place a Hershey’s Kiss in the center of the frosting on each cookie.
- Use additional frosting to attach a piece of candy corn to the top of each Hershey’s Kiss to complete the witch hat look.
- Let the cookies set for a few minutes before serving.
Notes
- For a fun twist, you can use different types of cookies or frosting flavors.
- These cookies can be made ahead of time and stored in an airtight container.
- Feel free to decorate with sprinkles or edible glitter for extra flair.
- Prep Time: 15 minutes
- Cook Time: 10 minutes
- Category: Dessert
- Method: Baking
- Cuisine: American
Nutrition
- Serving Size: 1 cookie
- Calories: 120
- Sugar: 10g
- Sodium: 50mg
- Fat: 6g
- Saturated Fat: 3g
- Unsaturated Fat: 2g
- Trans Fat: 0g
- Carbohydrates: 15g
- Fiber: 1g
- Protein: 1g
- Cholesterol: 5mg