
3-Ingredient Greek Yogurt Bread: The Easiest No-Yeast Bread You’ll Ever Bake
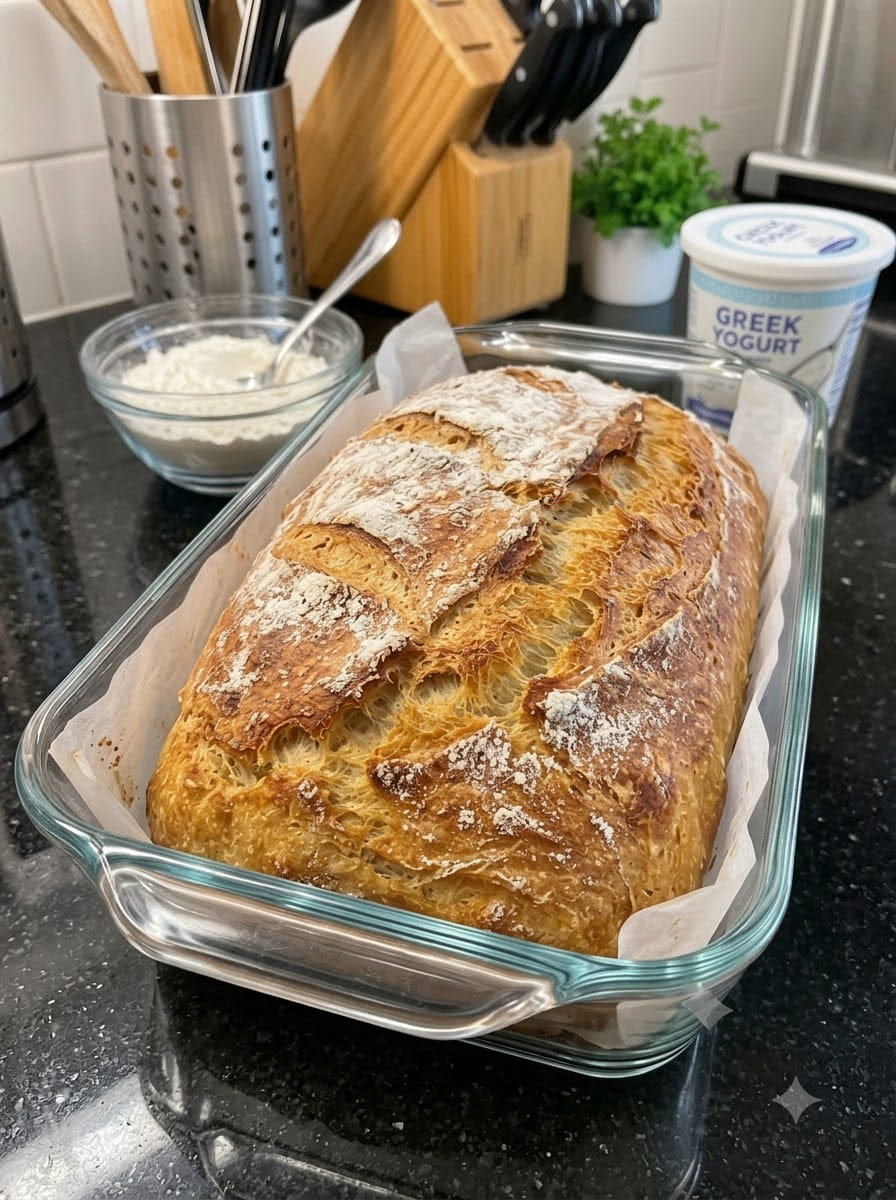
Some recipes prove that great bread doesn’t need to be complicated. This 3-ingredient Greek yogurt bread uses only self-rising flour, plain Greek yogurt, and salt. There is no yeast to proof, no long rise, and no serious kneading. You stir, shape, and bake, and in under an hour you have a golden, soft, fluffy loaf with a tender crumb and a lightly tangy flavor.
It is the kind of recipe you can make on a whim, with ingredients you may already have in your kitchen. Serve it warm with butter and jam, slice it for sandwiches, or tear off pieces to dip into soup. Because the dough comes together in minutes, it is also a great recipe for beginners and for anyone who wants fresh bread without the commitment of a traditional loaf.
This guide covers the full recipe, what each ingredient does, step-by-step directions, shaping options, tips for the best texture, variations, storage, troubleshooting, and answers to common questions.
Why You’ll Love This Greek Yogurt Bread
It only needs three ingredients. Flour, yogurt, and salt are all it takes. There is no yeast, sugar, butter, or eggs to measure.
It’s incredibly fast. The dough takes about 10 minutes to put together, and there is no rising time. From bowl to oven in minutes.
It’s soft and tender. Greek yogurt adds moisture and acidity, which keep the crumb soft and give the bread a subtle tang.
It’s beginner-friendly. There is no yeast to kill, no gluten to develop, and no complicated technique to learn.
It’s versatile. Bake it as a round rustic loaf, a pan loaf, or turn the dough into flatbreads, rolls, or pizza crust.
It’s higher in protein than many breads. Greek yogurt contributes protein, so the loaf is more filling than a plain flour-and-water bread.
Ingredients You’ll Need
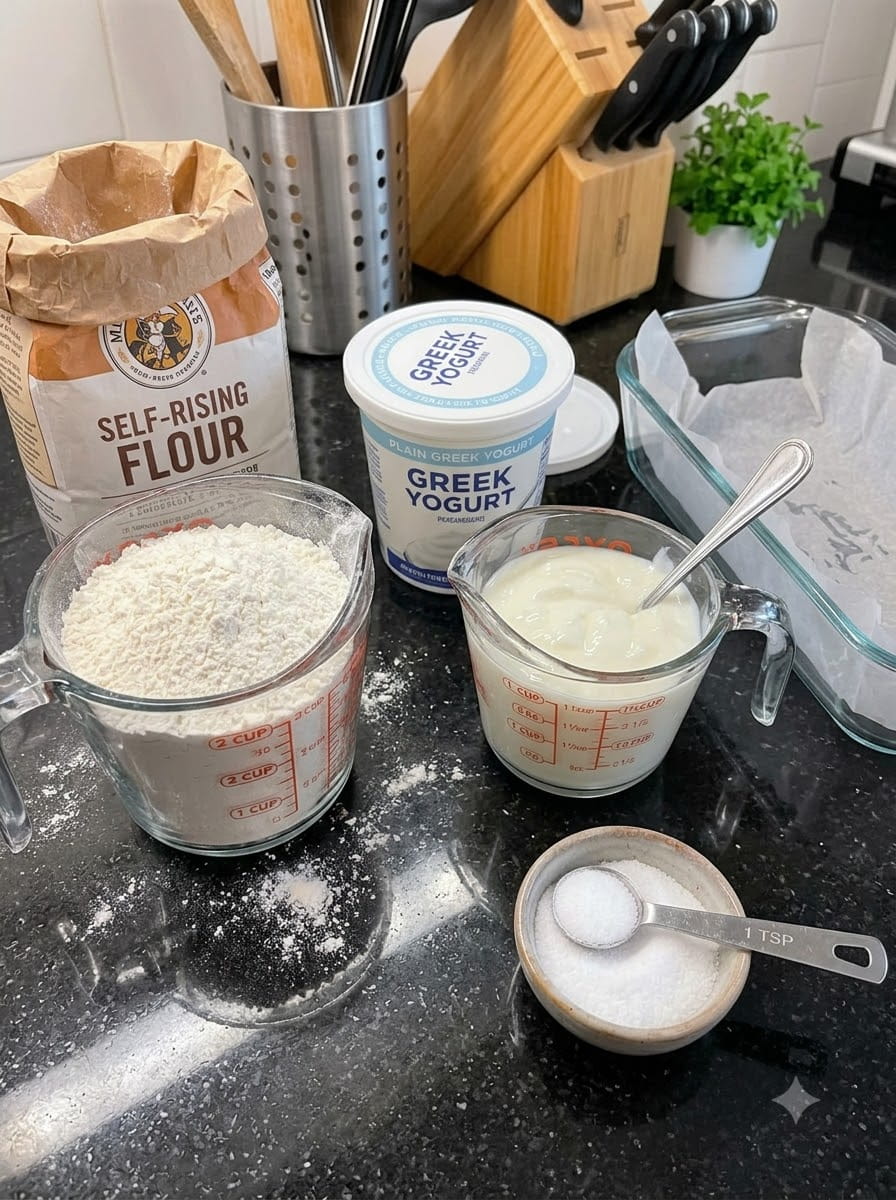
This recipe makes one small loaf.
- 2 cups self-rising flour
- 1½ cups plain Greek yogurt
- 1 teaspoon salt
That’s it. The simplicity is the appeal, but understanding how the ingredients work will help you get a perfect loaf every time.
What Each Ingredient Does
Self-Rising Flour
Self-rising flour is all-purpose flour that already contains baking powder and a little salt. The baking powder is what lifts this bread, so no yeast is required. As it heats in the oven, it releases gas that puffs up the dough and gives it a soft, light crumb.
If you can’t find self-rising flour, make your own. For each cup of all-purpose flour, whisk in 1½ teaspoons of baking powder and ¼ teaspoon of salt. For this recipe, that’s 2 cups of all-purpose flour, 1 tablespoon of baking powder, and ½ teaspoon of salt. Because the homemade version already contains some salt, you may want to reduce the extra teaspoon of salt in the recipe slightly.
Plain Greek Yogurt
Greek yogurt is the moisture, the fat, and the flavor. It is thick and strained, so it hydrates the flour without making the dough too wet. Its acidity also reacts with the baking powder to boost lift, and it tenderizes the crumb. Choose plain, unsweetened yogurt. Flavored or sweetened yogurts change the taste and can add too much liquid.
Full-fat (5 to 10 percent) yogurt gives the softest, richest loaf. Low-fat (2 percent) works well too. Non-fat yogurt can produce a slightly drier, less tender result.
Salt
A teaspoon of salt brings out the flavor of the flour and yogurt. Without it, the bread would taste flat. Since self-rising flour already contains a small amount of salt, this recipe adds a bit more for a well-seasoned loaf.
Equipment
- Large mixing bowl
- Wooden spoon or spatula
- Baking sheet with parchment paper, or a loaf pan
- Sharp knife (for scoring, optional)
- Wire cooling rack
Step-by-Step Instructions
Step 1: Preheat the Oven
Preheat your oven to 375°F (190°C). Line a baking sheet with parchment paper if you plan to bake a round loaf, or lightly grease a loaf pan if you prefer a sandwich-style shape.
Step 2: Mix the Dough
In a large mixing bowl, combine the self-rising flour, Greek yogurt, and salt. Stir with a wooden spoon or spatula until a thick, slightly sticky dough forms. It will look shaggy at first. Keep mixing until no dry flour remains. If the dough seems too dry and crumbly, add a teaspoon or two of yogurt or water.
Step 3: Knead Lightly
Transfer the dough to a lightly floured surface. Gently knead for 1 to 2 minutes, just until it comes together into a smooth ball. Be careful not to add too much extra flour. The dough should be soft and just slightly tacky. Too much flour makes the bread dense and dry, and too much kneading can make it tough.
Step 4: Shape the Bread
Shape the dough into a round loaf, or press it into the prepared loaf pan. Smooth the top gently with floured hands. For a round loaf, tuck the edges underneath to create a neat, tight surface. If you like, score the top with a sharp knife in a cross or a few diagonal slashes. Scoring is optional, but it looks pretty and helps the loaf expand evenly.
Step 5: Bake
Bake for 35 to 45 minutes, depending on the shape and thickness, until the bread is golden brown and cooked through. A loaf baked in a pan may need a little longer. To check for doneness, tap the bottom of the loaf, which should sound hollow, or insert an instant-read thermometer in the center, which should read about 195 to 205°F (90 to 96°C). If the top browns too quickly, tent it loosely with foil.
Step 6: Cool and Serve
Let the bread cool for at least 15 minutes before slicing. This allows the crumb to set and prevents a gummy texture. Serve warm with butter, jam, or your favorite savory toppings.
The Science Behind the Bread
Chemical leavening instead of yeast. The baking powder in self-rising flour reacts with moisture and heat to release carbon dioxide. That gas gets trapped in the dough and expands as it bakes. Since the reaction starts as soon as the flour meets the liquid, this is a dough you shape and bake right away.
Acid plus base for extra lift. Yogurt is acidic. Its acidity reacts with the baking powder and boosts the rise, while also making the crumb more tender.
Minimal gluten development. Traditional bread needs lots of kneading to build gluten. This dough is only lightly kneaded, which keeps the texture soft and biscuit-like rather than chewy.
Moisture from strained yogurt. Greek yogurt has less water than regular yogurt, so the dough is thick enough to hold a shape. That’s why substituting regular yogurt requires extra flour.
Tips for the Best Greek Yogurt Bread
Use thick, plain Greek yogurt. The thickness matters. Thin or flavored yogurts can make the dough too wet or sweet.
Measure flour carefully. Spoon the flour into the cup and level it off, rather than scooping directly from the bag. Packed flour leads to a dry, dense loaf. A scale is even better: 2 cups is about 250 to 280 grams.
Don’t overwork the dough. Knead only until it comes together. Overworking makes the bread tough.
Go easy on extra flour. A light dusting is enough. Too much will dry the bread out.
Bake right away. Because the leavening starts working as soon as the ingredients are mixed, shape and bake the dough without delay.
Score the top. A few slashes help the bread expand evenly and look bakery-style.
Brush the top for color. For a golden, glossy crust, brush the top with a little milk, melted butter, or olive oil before baking.
Check with a thermometer. Colour alone can be misleading, and an internal temperature check takes the guesswork out.
Let it cool. The wait is worth it for clean slices and a better crumb.
Shaping Options
This dough is flexible, and the shape changes the baking time.
Round rustic loaf. Shape into a ball and flatten slightly. Bake on a parchment-lined sheet for about 35 to 40 minutes.
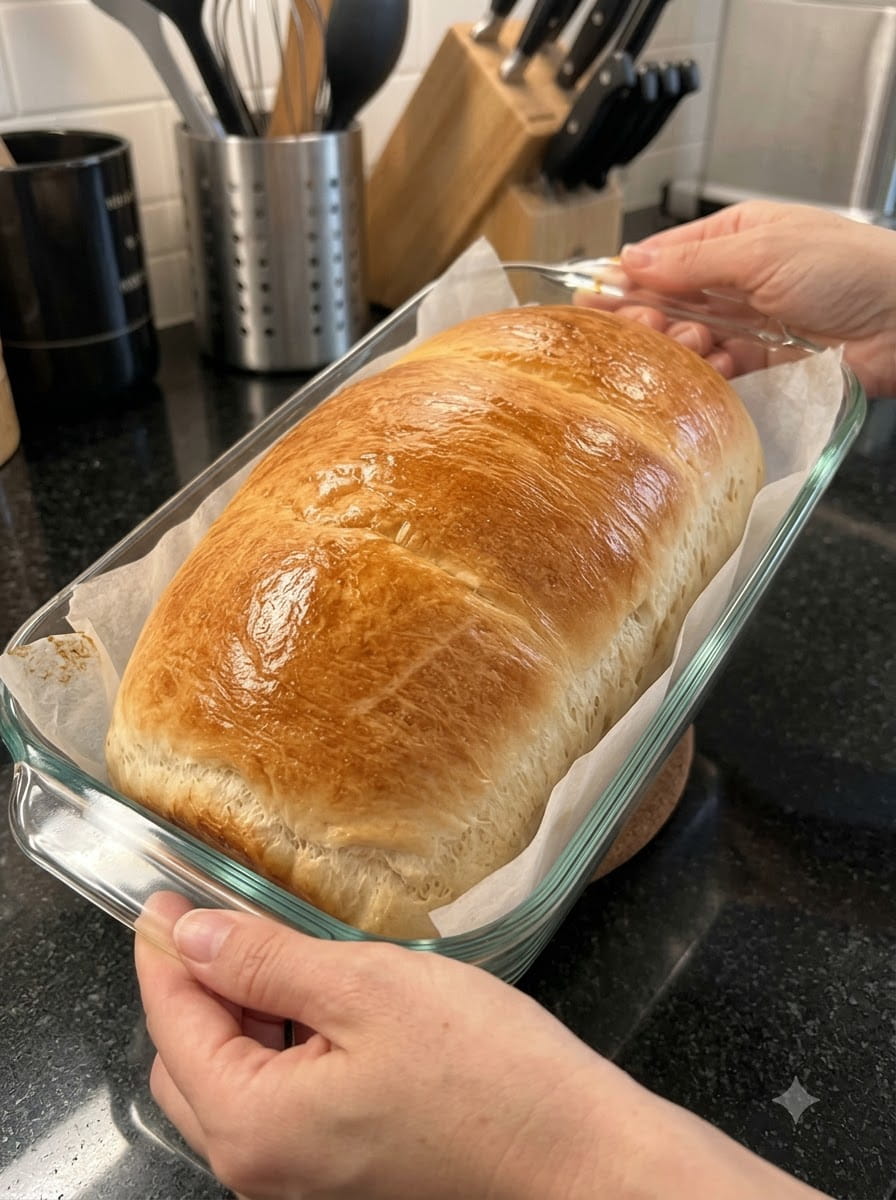
Loaf pan. Press into a greased pan for a sandwich-style loaf. Bake for 40 to 45 minutes, or a little longer.
Rolls. Divide into 6 to 8 pieces, shape into balls, and bake for about 20 to 25 minutes.
Flatbreads. Divide into 4 to 6 pieces, roll thin, and cook in a hot dry skillet for 2 to 3 minutes per side.
Pizza crust. Roll the dough thin, add toppings, and bake at a higher temperature for about 15 to 20 minutes.
Bagel-style. Shape into rings and bake for 20 to 25 minutes, brushing with egg wash and topping with seeds if you like.
Delicious Ways to Serve It
Breakfast
- Warm with butter and jam or honey
- Toasted with avocado and a fried egg
- Spread with cream cheese and sliced tomatoes
Lunch
- Sandwiches with turkey, chicken, or veggies
- Alongside a bowl of soup or stew
- Grilled cheese or panini-style sandwiches
Dinner
- Tear-and-dip bread for hummus, tzatziki, or olive oil
- A side for salads, pasta, or roasted meats
- Garlic bread, brushed with garlic butter and toasted
Snacks
- Sliced and toasted with nut butter
- Cubed and baked into croutons
Variations to Try
Garlic and herb bread. Add 1 teaspoon of garlic powder and 1 tablespoon of dried or chopped fresh herbs, such as rosemary, thyme, or parsley.
Cheesy bread. Fold in ½ cup of shredded cheddar, mozzarella, or Parmesan. Sprinkle a little extra on top.
Everything seasoning. Brush the top with a bit of water or egg wash and sprinkle with everything bagel seasoning.
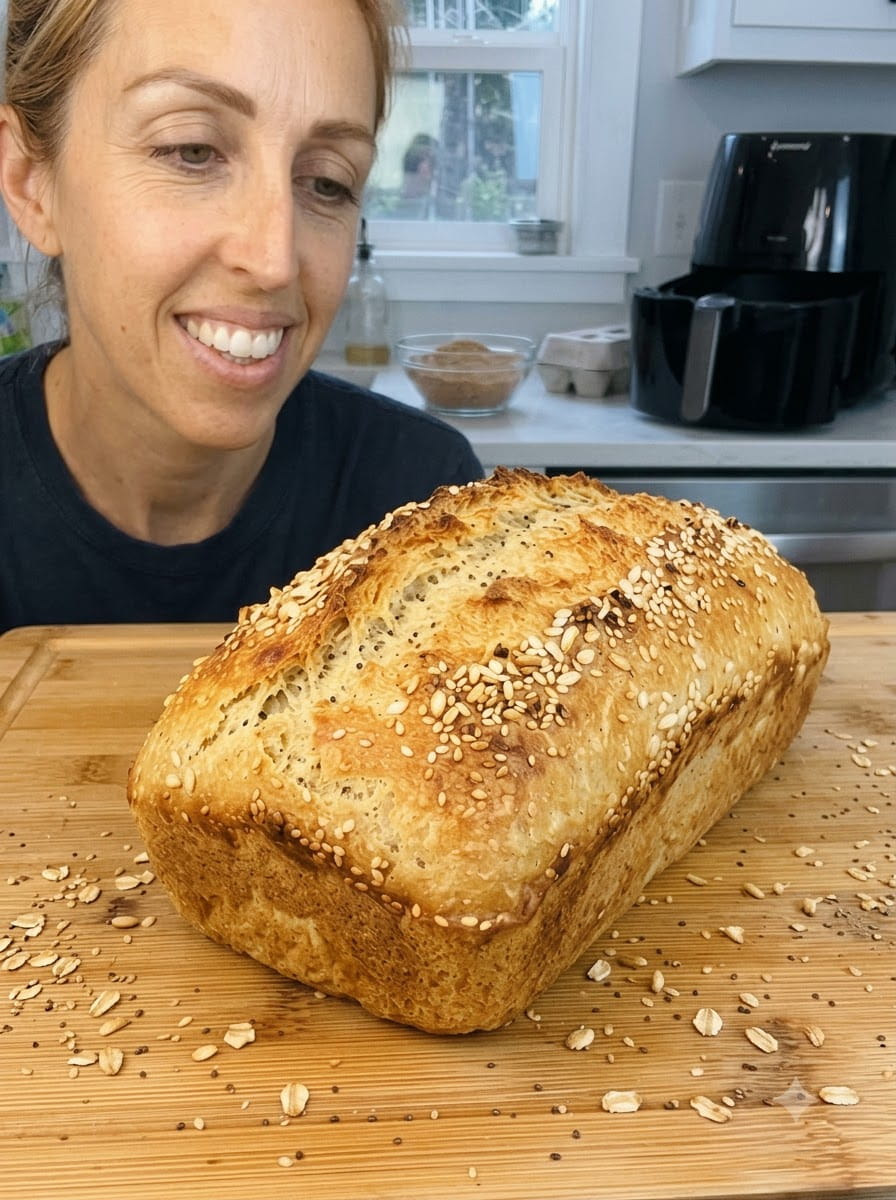
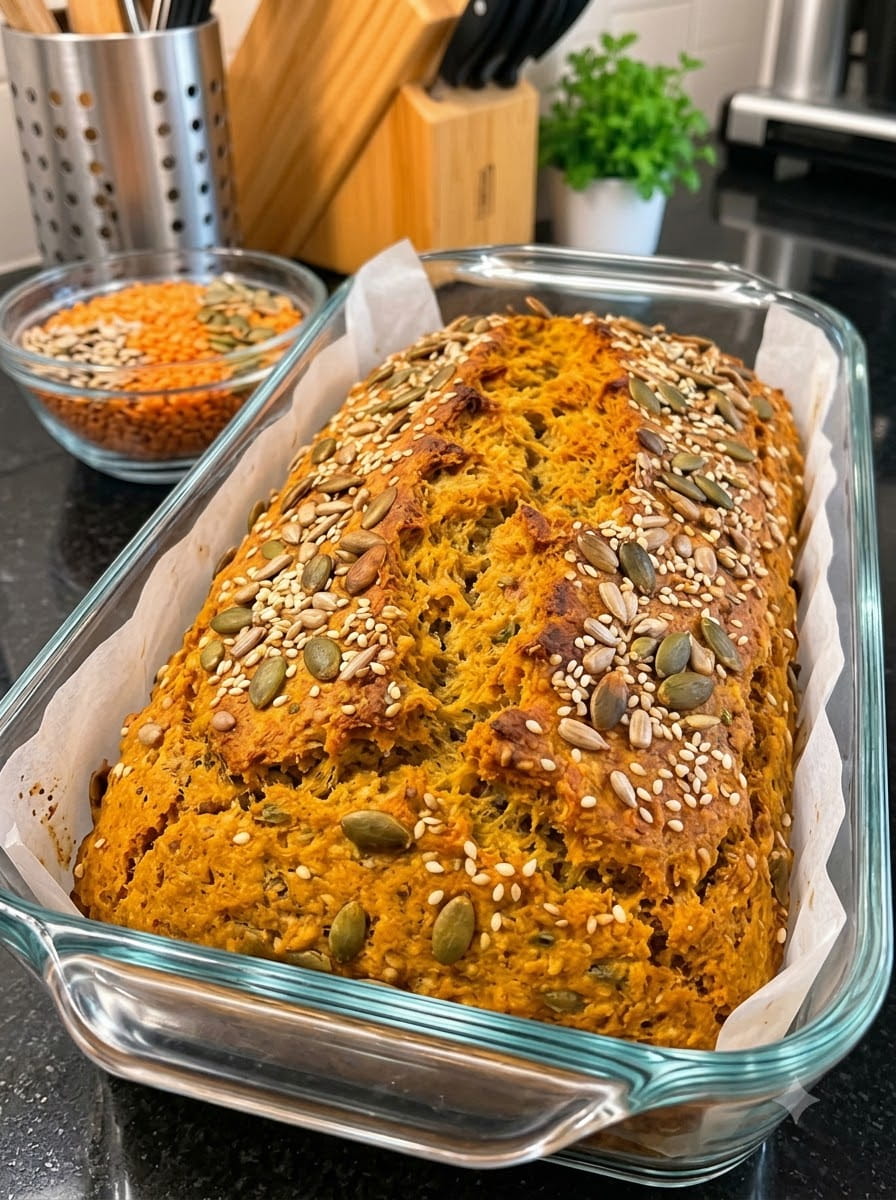
Seeded loaf. Press sesame, sunflower, pumpkin, or poppy seeds onto the top before baking.
Sweet version. Add 1 to 2 tablespoons of sugar or honey, plus a teaspoon of cinnamon, and fold in raisins or chocolate chips for a breakfast-style bread.
Jalapeño cheddar. Add chopped jalapeños and shredded cheddar for a spicy, savory loaf.
Olive and sun-dried tomato. Fold in chopped olives and sun-dried tomatoes for a Mediterranean flavor.
Whole wheat blend. Replace up to half of the flour with whole wheat self-rising flour. The loaf will be slightly denser and nuttier.
Storage and Freezing Tips
Room temperature. Store the cooled bread wrapped in a clean towel or in an airtight container for up to 2 days. This bread is best fresh, as quick breads tend to dry out faster than yeast breads.
Refrigerator. Because the dough contains yogurt, you can refrigerate it for up to 4 to 5 days in an airtight container if you won’t finish it sooner. Toasting restores the texture.
Freezer. Slice the cooled loaf, place parchment between slices, and freeze in a freezer-safe bag for up to 3 months. Toast straight from frozen.
Reheating. Warm in a 350°F (175°C) oven for 5 to 10 minutes, or toast slices.
Revive stale bread. Slightly stale slices make excellent toast, croutons, or bread pudding.
Troubleshooting Common Problems
The bread is dense. Possible causes include too much flour, overkneading, or old baking powder in the self-rising flour. Measure carefully, handle the dough gently, and check that your flour is fresh. Self-rising flour loses its power after about 6 months.
The bread is dry or crumbly. Too much flour or non-fat yogurt can cause this. Use full-fat or low-fat yogurt, and avoid adding extra flour while shaping.
The dough is too sticky. A little stickiness is normal. Flour your hands and the surface lightly, and knead gently. If it’s truly wet, your yogurt may be thinner than Greek-style, so add a tablespoon of flour at a time.
The dough is too dry. Add a teaspoon of yogurt or water at a time until it comes together.
The center is doughy. The loaf needed more time or was shaped too thick. Bake a few minutes longer, tent with foil, and use a thermometer to check doneness.
The crust is too dark. Lower the rack position or tent loosely with foil during baking.
The bread didn’t rise. The self-rising flour may be old, or the dough sat too long before baking. Use fresh flour, and bake right after mixing.
The bread is too salty. Self-rising flour already contains salt. If you’re using a salted flour blend and prefer a milder loaf, reduce the added salt to ¾ teaspoon.
The bread tastes too tangy. Use a milder yogurt, or brush the baked loaf with butter to balance the flavor.
Nutrition Snapshot
Exact values depend on the brands you use and slice size, but this bread gets a boost of protein from the Greek yogurt and is low in added fat and sugar. A loaf cut into about 8 slices will have a modest calorie count per slice and more protein than a basic flour-and-water bread. For precise numbers, enter your ingredients into a nutrition calculator.
Frequently Asked Questions
Can I use regular yogurt instead of Greek yogurt?
You can, but regular yogurt is thinner, so the dough will be wetter. You’ll need to add extra flour, a spoonful at a time, until the dough is thick enough to shape. The texture may be slightly different.
Can I use all-purpose flour?
Yes, if you add baking powder and salt. Use 1½ teaspoons of baking powder per cup of all-purpose flour, plus a pinch of salt.
Can I make it dairy-free?
You can try thick, unsweetened plant-based yogurt, such as coconut or soy yogurt. Results vary depending on the brand’s thickness and acidity.
Can I make it gluten-free?
You can experiment with a gluten-free self-rising flour blend. The texture will differ, and it may need a little more yogurt or a longer bake.
Do I really have to knead it?
Only lightly. A minute or two brings the dough together and gives a smoother loaf. You can skip it and simply shape the dough with floured hands.
Why does the dough need to be baked right away?
The baking powder begins reacting as soon as it meets the moisture. Waiting too long wastes some of the lift and can result in a denser loaf.
Can I add herbs or cheese?
Absolutely. Fold them in before shaping. Just avoid adding too much, since heavy mix-ins can weigh down the dough.
How do I know when it’s done?
It should be golden brown, sound hollow when tapped on the bottom, and register about 195 to 205°F (90 to 96°C) in the center.
Can I double the recipe?
Yes. Bake two loaves, or divide the dough into rolls. Don’t make a single oversized loaf, because the center may stay raw.
Is this the same as 2-ingredient dough?
It’s very similar. The classic 2-ingredient dough uses self-rising flour and Greek yogurt. This version adds salt for better flavor.
Can I make flatbreads with this dough?
Yes. Divide, roll thin, and cook in a hot, dry skillet until puffed and lightly browned.
Why is my bread gummy inside?
It may be underbaked, or you may have sliced it too soon. Bake until fully done and let the loaf cool for at least 15 minutes.
Final Thoughts
This 3-ingredient Greek yogurt bread is a reminder that homemade bread can be simple. With self-rising flour, Greek yogurt, and salt, you get a soft, fluffy, golden loaf in under an hour, with no yeast, no rising, and almost no effort.
Bake it when you want fresh bread fast, when you’re out of sandwich slices, or when you want something warm to go with soup. Customize it with herbs, cheese, or seeds, or shape it into rolls and flatbreads. However you serve it, it is a recipe you’ll come back to again and again.
Print
3-Ingredient Greek Yogurt Bread
Ingredients
This recipe makes one small loaf.
- 2 cups self-rising flour
- 1½ cups plain Greek yogurt
- 1 teaspoon salt
That’s it. The simplicity is the appeal, but understanding how the ingredients work will help you get a perfect loaf every time.
Instructions
Preheat your oven to 375°F (190°C). Line a baking sheet with parchment paper if you plan to bake a round loaf, or lightly grease a loaf pan if you prefer a sandwich-style shape.
In a large mixing bowl, combine the self-rising flour, Greek yogurt, and salt. Stir with a wooden spoon or spatula until a thick, slightly sticky dough forms. It will look shaggy at first. Keep mixing until no dry flour remains. If the dough seems too dry and crumbly, add a teaspoon or two of yogurt or water.
Transfer the dough to a lightly floured surface. Gently knead for 1 to 2 minutes, just until it comes together into a smooth ball. Be careful not to add too much extra flour. The dough should be soft and just slightly tacky. Too much flour makes the bread dense and dry, and too much kneading can make it tough.
Shape the dough into a round loaf, or press it into the prepared loaf pan. Smooth the top gently with floured hands. For a round loaf, tuck the edges underneath to create a neat, tight surface. If you like, score the top with a sharp knife in a cross or a few diagonal slashes. Scoring is optional, but it looks pretty and helps the loaf expand evenly.
Bake for 35 to 45 minutes, depending on the shape and thickness, until the bread is golden brown and cooked through. A loaf baked in a pan may need a little longer. To check for doneness, tap the bottom of the loaf, which should sound hollow, or insert an instant-read thermometer in the center, which should read about 195 to 205°F (90 to 96°C). If the top browns too quickly, tent it loosely with foil.
Let the bread cool for at least 15 minutes before slicing. This allows the crumb to set and prevents a gummy texture. Serve warm with butter, jam, or your favorite savory toppings.