Spicy Chili Garlic Pickles: The Ultimate Crunchy, Fiery Refrigerator Snack
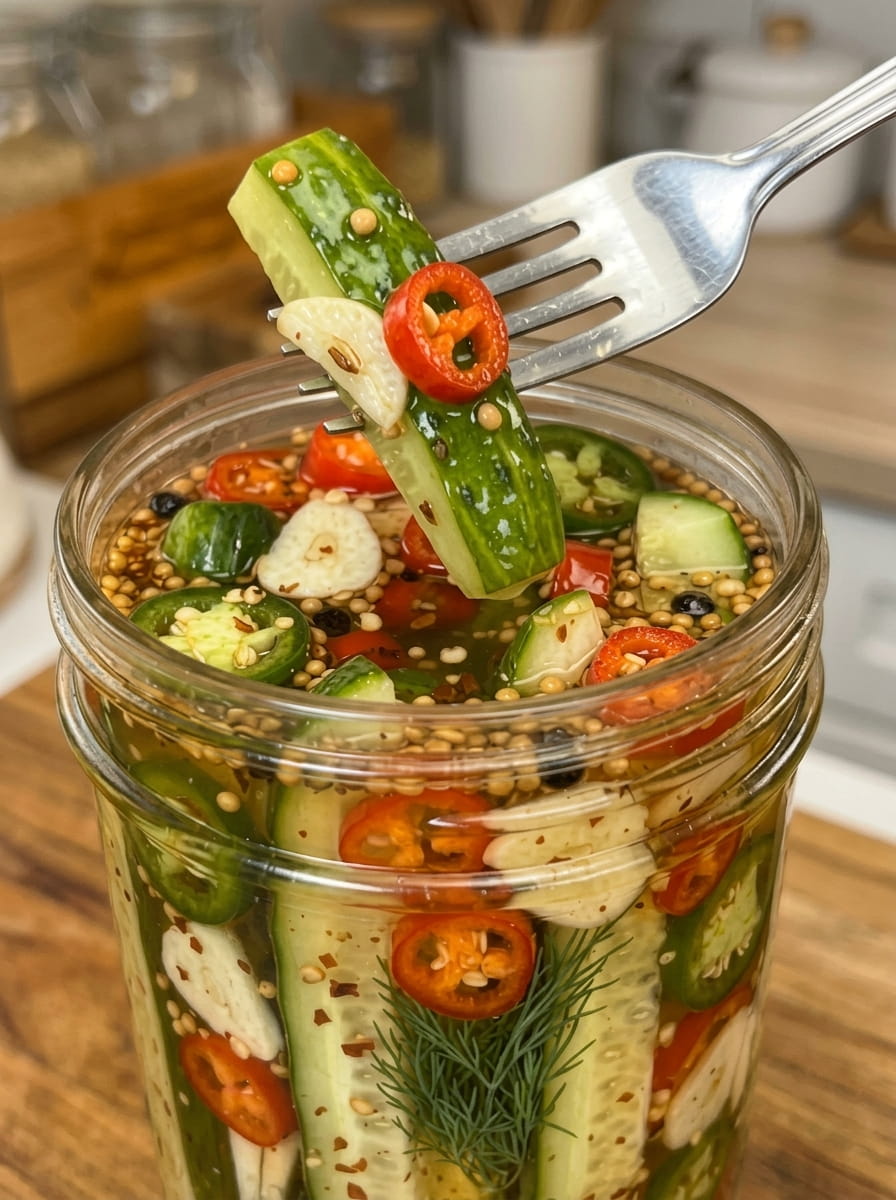
If you’re a pickle lover who wants something with a real kick, these Spicy Chili Garlic Pickles are about to become your new favorite homemade condiment. Crunchy, tangy, garlicky, and packed with fiery chili heat, these crisp cucumbers soak up a bold vinegar brine infused with fresh garlic, red chilies, dill, mustard seeds, and red pepper flakes, creating the perfect balance of salty, sour, spicy, and savory flavor in every single bite. This isn’t your average dill pickle; it’s a bolder, spicier, more addictive version that’s guaranteed to become a fridge staple.
Whether you’re a longtime pickle enthusiast looking to spice up your usual recipe, or you’re simply craving something crunchy and fiery to snack on, this recipe is easy to make and endlessly satisfying. Below, you’ll find a complete ingredient breakdown, detailed step-by-step instructions, expert tips for the best crunch and heat, storage guidance, serving suggestions, and answers to the most frequently asked questions about making spicy chili garlic pickles at home.
Why You’ll Love These Spicy Chili Garlic Pickles
This recipe has everything you want in a great homemade pickle, with a fiery twist that sets it apart from the classic dill pickle.
The crunch is incredible. Because this recipe uses the raw-pack method, meaning the cucumbers go into the jar completely raw rather than being cooked first, they retain an incredibly satisfying, crisp snap with every bite.
The heat is bold and building. Between the fresh red chilies and red pepper flakes, this recipe delivers a genuine, noticeable spice that builds with each bite, making it a true standout for anyone who loves a pickle with a kick.
The flavor is perfectly balanced. Garlic brings savory depth, dill adds fresh, herby brightness, and the tangy vinegar brine ties everything together, creating a pickle that’s salty, sour, spicy, and savory all at once.
It’s incredibly easy to make. With no cooking of the cucumbers required and just a quick warm-through of the brine, this recipe comes together with minimal hands-on time and no special canning equipment.
It’s endlessly versatile. This isn’t a pickle limited to burgers alone. These spicy chili garlic pickles work beautifully with sandwiches, grilled meats, tacos, fried chicken, and barbecue, or simply enjoyed straight from the jar as a fiery snack.
It keeps well in the fridge. Once made, this pickle stays fresh and flavorful for weeks, making it a great make-ahead project for meal prep, entertaining, or simply always having a spicy snack on hand.
It’s a great way to use up fresh cucumbers. If you’ve grown your own pickling cucumbers or picked up a large batch at the farmers market, this recipe is a fantastic way to use them up while creating a genuinely delicious, spicy snack.
What Makes a Good Pickling Cucumber?
Not all cucumbers are created equal when it comes to pickling. This recipe calls for small pickling cucumbers, sometimes labeled as Kirby cucumbers, which are shorter, firmer, and have thinner skin and fewer seeds than a standard slicing cucumber like an English or garden cucumber. Their dense, less watery flesh holds up much better to pickling, resulting in a crisp, crunchy pickle rather than a soft, mushy one.
If you can’t find pickling cucumbers at your regular grocery store, check a farmers market or a store with a good produce selection, especially during peak cucumber season in the summer months. Using the right type of cucumber makes a real difference in the final texture of your pickles.
Ingredients You’ll Need
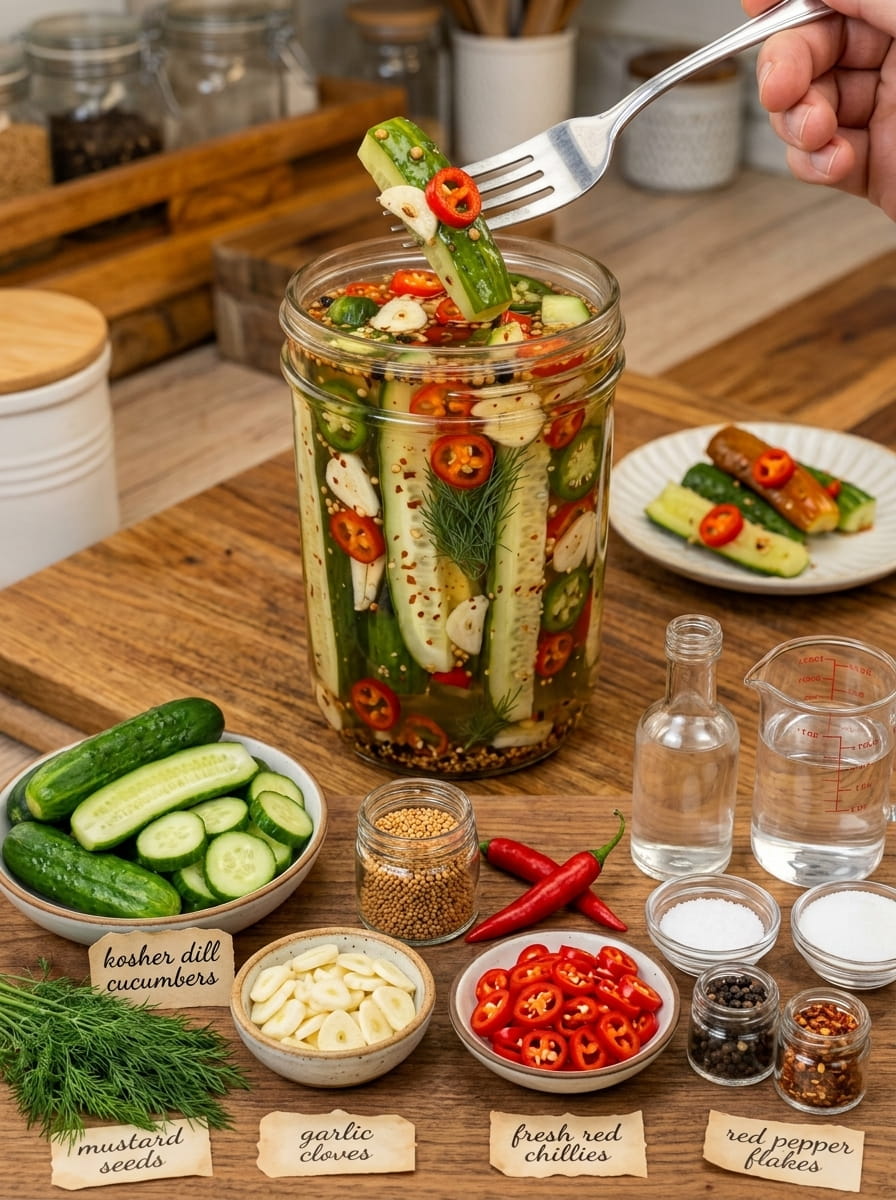
This recipe is broken into two components: the cucumbers and aromatics, and the tangy, spiced brine.
For the Pickles
1 1/2 pounds small pickling cucumbers — Small, firm pickling cucumbers are essential for the best crunch and texture. Choose cucumbers that feel firm with no soft spots.
6 to 8 garlic cloves, thinly sliced — A generous amount of garlic infuses the brine with bold, savory flavor throughout the jar.
2 to 3 fresh red chilies, thinly sliced — Fresh red chilies bring real, building heat and a bright, fresh spice. Use a milder chili like Fresno for moderate heat, or a spicier variety like red serrano for extra fire.
3 to 4 sprigs fresh dill — Fresh dill provides that classic, aromatic dill pickle flavor essential to any great pickle.
1 teaspoon mustard seeds — Mustard seeds are a pickling staple, contributing subtle tang and a bit of texture to the jar.
1/2 teaspoon black peppercorns — Whole peppercorns add warm, slightly floral heat to the brine.
1/2 teaspoon red pepper flakes — Red pepper flakes reinforce the heat from the fresh chilies, adding an extra layer of spice throughout the jar.
For the Brine
1 cup white vinegar — White vinegar provides the sharp, clean acidity that’s essential to a proper pickle.
1/2 cup water — Water dilutes the vinegar slightly, softening the acidity so the other flavors can shine through.
1 1/2 tablespoons kosher salt — Salt is essential for both flavor and the pickling process, helping season the cucumbers all the way through.
1 teaspoon granulated sugar — A small amount of sugar helps balance the sharp acidity of the vinegar without making the pickles taste sweet.
How to Make Spicy Chili Garlic Pickles (Step-by-Step)
This recipe is refreshingly simple and comes together with very little hands-on time, since the cucumbers go into the jar completely raw. Here’s exactly how to make it from start to finish.
Step 1: Prep the Cucumbers
Wash the cucumbers thoroughly and trim a thin slice from each end. Trimming the blossom end in particular is a helpful step, as it’s believed to contain enzymes that can contribute to softer pickles. Leave the cucumbers whole for a classic look, or cut them into spears for easier snacking and a quicker pickling time.
Step 2: Pack the Jar
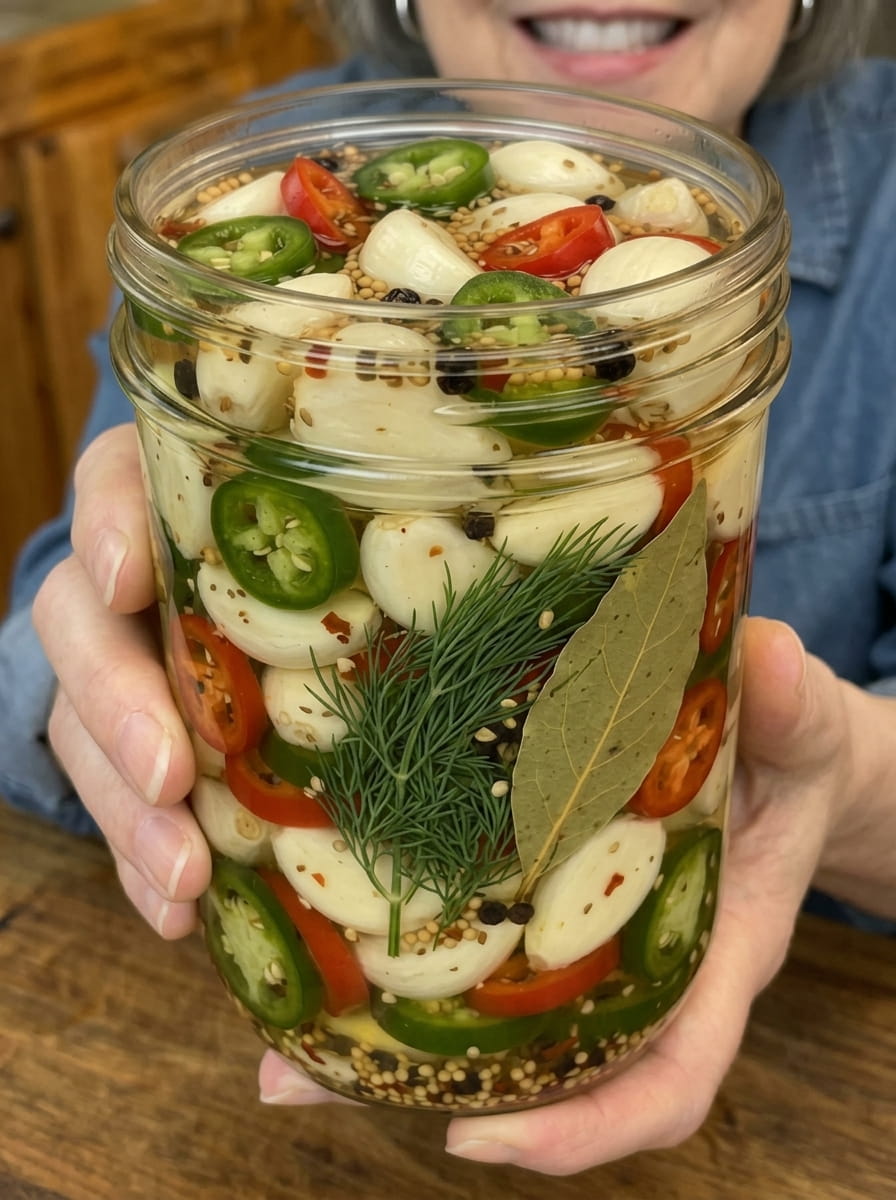
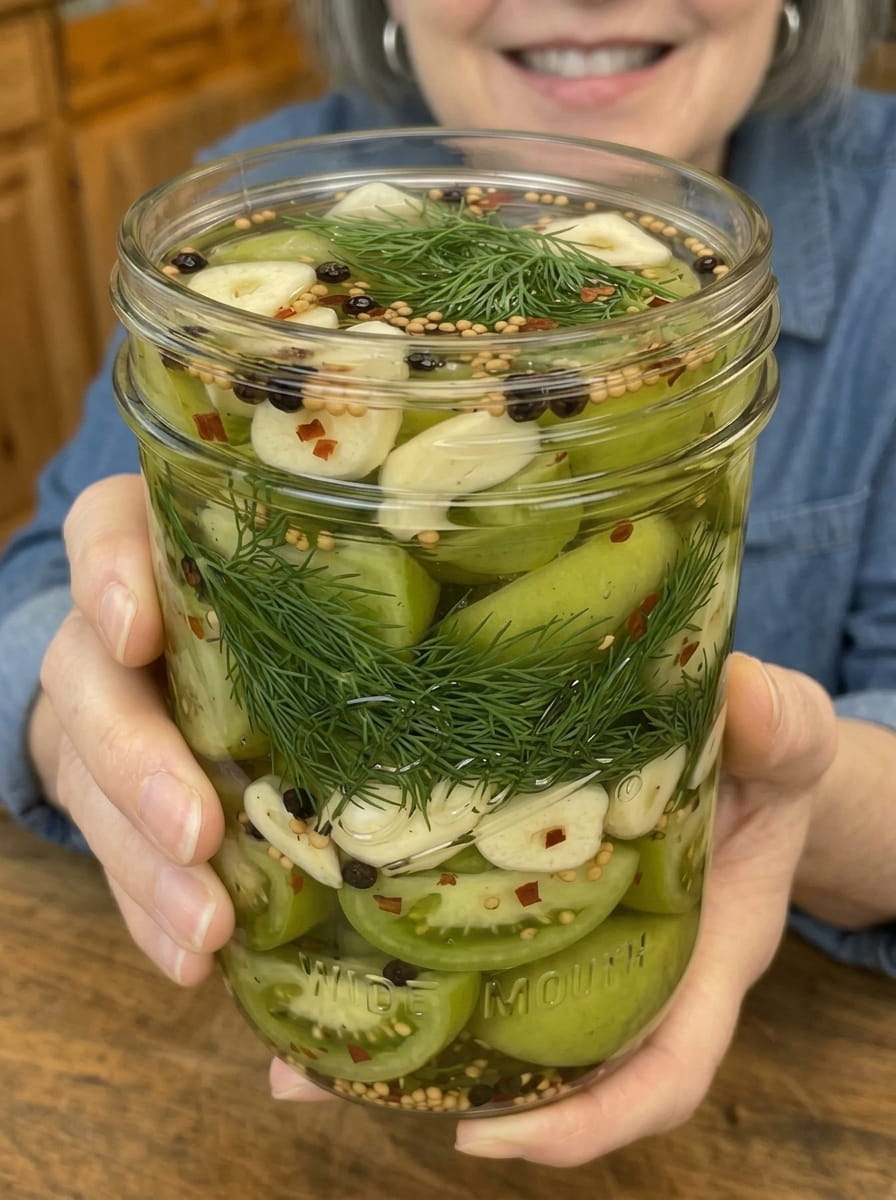
Pack the cucumbers into a clean glass jar, tucking in the sliced garlic, sliced red chilies, fresh dill sprigs, mustard seeds, black peppercorns, and red pepper flakes as you go. Distributing the aromatics evenly throughout the jar ensures every cucumber gets plenty of bold, spicy flavor.
Step 3: Build the Brine
In a small saucepan, combine the white vinegar, water, kosher salt, and sugar. This simple combination of acid, salt, and a touch of sugar forms the base of a well-balanced pickling brine.
Step 4: Warm the Brine
Place the saucepan over medium heat and warm the mixture, stirring until the salt and sugar have completely dissolved. It’s important not to bring this brine to a hard boil; a gentle warm-through is all that’s needed to dissolve the salt and sugar without altering the brine’s flavor or the cucumbers’ crunch.
Step 5: Pour the Brine Over the Cucumbers
Carefully pour the warm brine over the cucumbers in the jar, making sure they are completely submerged in liquid. Any cucumbers poking above the brine line are more likely to discolor or spoil, so top off with a little extra brine if needed.
Step 6: Cool to Room Temperature
Let the jar cool on the counter until it reaches room temperature. Allowing the jar to cool before sealing helps prevent excess condensation from building up inside once closed.
Step 7: Cover and Refrigerate
Once cooled, cover the jar tightly with a lid and transfer it to the refrigerator. Let the cucumbers pickle for at least 24 hours, which allows the brine to begin flavoring them throughout.
Step 8: Let the Flavor Develop
For deeper flavor, let the pickles rest in the refrigerator for 2 to 3 days before serving. The longer they sit, the more the spicy, garlicky, tangy flavor develops and penetrates the cucumbers.
Step 9: Serve and Enjoy
Once ready, keep the jar refrigerated and serve your spicy chili garlic pickles chilled with burgers, sandwiches, grilled meats, tacos, fried chicken, barbecue, or straight from the jar.
Tips for the Best Spicy Chili Garlic Pickles
Use the freshest pickling cucumbers possible. Fresh, firm cucumbers will give you the best crunch and texture once pickled. Avoid cucumbers that are already starting to soften or feel spongy.
Trim the blossom end. Removing a thin slice from the blossom end of each cucumber is a classic pickling trick believed to help prevent softening during the pickling process.
Don’t bring the brine to a hard boil. A gentle warm-through is all you need to dissolve the salt and sugar. Boiling the brine too vigorously can cause unnecessary evaporation and affect the cucumbers’ crunch.
Adjust the heat to your preference. For an even spicier version, use a hotter variety of chili or leave the seeds in. For a milder version, remove the seeds and ribs from the chilies before slicing, or reduce the amount used.
Cut cucumbers into spears for faster pickling. Whole cucumbers will take a bit longer to fully absorb the brine’s flavor compared to spears, so if you’re short on patience, spears are the way to go.
Make sure the cucumbers stay fully submerged. Any cucumbers poking above the brine line are more likely to spoil or develop an off texture. Press them down gently or top off with extra brine as needed.
Be patient for the best flavor. While the pickles are ready to eat after 24 hours, letting them sit for 2 to 3 days, or even up to a week, allows the spicy, garlicky brine to fully penetrate every cucumber.
How to Store Spicy Chili Garlic Pickles
This is a refrigerator pickle, not a shelf-stable canned product, which means it must be stored in the refrigerator at all times rather than on the counter or in the pantry. Properly stored in a sealed jar with the cucumbers fully submerged in brine, these spicy chili garlic pickles will typically keep well in the refrigerator for up to 3 to 4 weeks. Always use a clean utensil or fork when removing pickles from the jar to avoid introducing bacteria that could shorten their shelf life, and watch for any signs of spoilage, such as an off smell, unusual discoloration, or mold, before eating.
Ways to Use Spicy Chili Garlic Pickles
Part of what makes this recipe so rewarding is discovering all the different ways to enjoy these fiery, crunchy pickles. Here are some of the best serving ideas.
Burgers — Layer a few slices onto a burger for a spicy, garlicky crunch that takes your toppings to the next level.
Sandwiches — Add these pickles to any sandwich or wrap for a bold, tangy, fiery bite.
Grilled meats — Serve alongside grilled chicken, steak, or sausage, where the spicy, tangy pickles help cut through rich, smoky flavors.
Tacos — Chop the pickles and scatter them over tacos for a spicy, crunchy contrast to rich, savory fillings.
Fried chicken — Serve alongside fried chicken for a spicy, tangy pairing that echoes the beloved combination of pickles and fried chicken sandwiches.
BBQ plates — Add these pickles to a barbecue spread, where their spicy tang helps balance smoky, saucy dishes.
Straight from the jar — Simple, quick, and satisfying: these pickles make a great low-calorie, fiery snack straight out of the refrigerator.
Bloody Mary garnish — A spear of these spicy pickles makes a bold, flavorful garnish for a Bloody Mary.
Frequently Asked Questions
Can I use regular cucumbers instead of pickling cucumbers? Small pickling cucumbers are strongly recommended for the best crunch and texture, since they have thinner skin, fewer seeds, and denser flesh than standard slicing cucumbers. If you can only find regular cucumbers, choose smaller ones and expect a slightly softer, more watery result.
Is this recipe shelf-stable, or does it need refrigeration? This is a refrigerator pickle, not a canned, shelf-stable product. It must be kept refrigerated at all times and doesn’t go through a water bath or pressure canning process.
How spicy are these pickles? This recipe delivers a genuine, building heat from the combination of fresh red chilies and red pepper flakes. For a spicier version, use a hotter chili variety or leave the seeds in. For a milder version, remove the seeds and ribs before slicing.
Do I need to cook the cucumbers before pickling them? No, this recipe uses the raw-pack method, meaning the cucumbers go directly into the jar without being cooked first, which preserves their signature crisp, crunchy texture.
How long do the pickles need to sit before they’re ready to eat? At minimum, let the jar rest in the refrigerator for 24 hours before eating. For the best, most developed flavor, wait 2 to 3 days, or up to a week.
Can I use a different type of chili? Yes. Fresno chilies offer moderate heat similar to a red jalapeño, while red serrano or red Thai bird chilies will add significantly more heat. Choose based on your personal spice tolerance.
Do I need special canning jars for this recipe? No. Standard clean glass jars with tight-fitting lids, such as mason jars, work perfectly well since this recipe doesn’t require pressure canning or water bath processing.
How long do these pickles stay fresh in the refrigerator? Properly stored in an airtight, sealed jar, these spicy chili garlic pickles will generally stay fresh for up to 3 to 4 weeks in the refrigerator.
Why did my pickles turn out soft instead of crunchy? This can happen if the cucumbers weren’t fresh and firm to begin with, or if the blossom ends weren’t trimmed. Use the freshest pickling cucumbers possible and don’t skip trimming the ends for the best crunch.
Final Thoughts
These Spicy Chili Garlic Pickles prove that a classic dill pickle can be taken to a whole new level with the right combination of fresh chilies, garlic, and warm spices. The result is a crunchy, tangy, fiery pickle that delivers bold flavor in every single bite, whether you’re piling it onto a burger, pairing it with fried chicken, or simply snacking straight from the jar. Once you make a batch of these spicy chili garlic pickles, it’s easy to see why they’re guaranteed to disappear fast, and you’ll likely find yourself starting a new jar before the first one is even finished.
Print
Spicy Chili Garlic Pickles
Ingredients
This recipe is broken into two components: the cucumbers and aromatics, and the tangy, spiced brine.
For the Pickles
1 1/2 pounds small pickling cucumbers — Small, firm pickling cucumbers are essential for the best crunch and texture. Choose cucumbers that feel firm with no soft spots.
6 to 8 garlic cloves, thinly sliced — A generous amount of garlic infuses the brine with bold, savory flavor throughout the jar.
2 to 3 fresh red chilies, thinly sliced — Fresh red chilies bring real, building heat and a bright, fresh spice. Use a milder chili like Fresno for moderate heat, or a spicier variety like red serrano for extra fire.
3 to 4 sprigs fresh dill — Fresh dill provides that classic, aromatic dill pickle flavor essential to any great pickle.
1 teaspoon mustard seeds — Mustard seeds are a pickling staple, contributing subtle tang and a bit of texture to the jar.
1/2 teaspoon black peppercorns — Whole peppercorns add warm, slightly floral heat to the brine.
1/2 teaspoon red pepper flakes — Red pepper flakes reinforce the heat from the fresh chilies, adding an extra layer of spice throughout the jar.
For the Brine
1 cup white vinegar — White vinegar provides the sharp, clean acidity that’s essential to a proper pickle.
1/2 cup water — Water dilutes the vinegar slightly, softening the acidity so the other flavors can shine through.
1 1/2 tablespoons kosher salt — Salt is essential for both flavor and the pickling process, helping season the cucumbers all the way through.
1 teaspoon granulated sugar — A small amount of sugar helps balance the sharp acidity of the vinegar without making the pickles taste sweet.
Instructions
This recipe is refreshingly simple and comes together with very little hands-on time, since the cucumbers go into the jar completely raw. Here’s exactly how to make it from start to finish.
Wash the cucumbers thoroughly and trim a thin slice from each end. Trimming the blossom end in particular is a helpful step, as it’s believed to contain enzymes that can contribute to softer pickles. Leave the cucumbers whole for a classic look, or cut them into spears for easier snacking and a quicker pickling time.
Pack the cucumbers into a clean glass jar, tucking in the sliced garlic, sliced red chilies, fresh dill sprigs, mustard seeds, black peppercorns, and red pepper flakes as you go. Distributing the aromatics evenly throughout the jar ensures every cucumber gets plenty of bold, spicy flavor.
In a small saucepan, combine the white vinegar, water, kosher salt, and sugar. This simple combination of acid, salt, and a touch of sugar forms the base of a well-balanced pickling brine.
Place the saucepan over medium heat and warm the mixture, stirring until the salt and sugar have completely dissolved. It’s important not to bring this brine to a hard boil; a gentle warm-through is all that’s needed to dissolve the salt and sugar without altering the brine’s flavor or the cucumbers’ crunch.
Carefully pour the warm brine over the cucumbers in the jar, making sure they are completely submerged in liquid. Any cucumbers poking above the brine line are more likely to discolor or spoil, so top off with a little extra brine if needed.
Let the jar cool on the counter until it reaches room temperature. Allowing the jar to cool before sealing helps prevent excess condensation from building up inside once closed.
Once cooled, cover the jar tightly with a lid and transfer it to the refrigerator. Let the cucumbers pickle for at least 24 hours, which allows the brine to begin flavoring them throughout.
For deeper flavor, let the pickles rest in the refrigerator for 2 to 3 days before serving. The longer they sit, the more the spicy, garlicky, tangy flavor develops and penetrates the cucumbers.
Once ready, keep the jar refrigerated and serve your spicy chili garlic pickles chilled with burgers, sandwiches, grilled meats, tacos, fried chicken, barbecue, or straight from the jar.