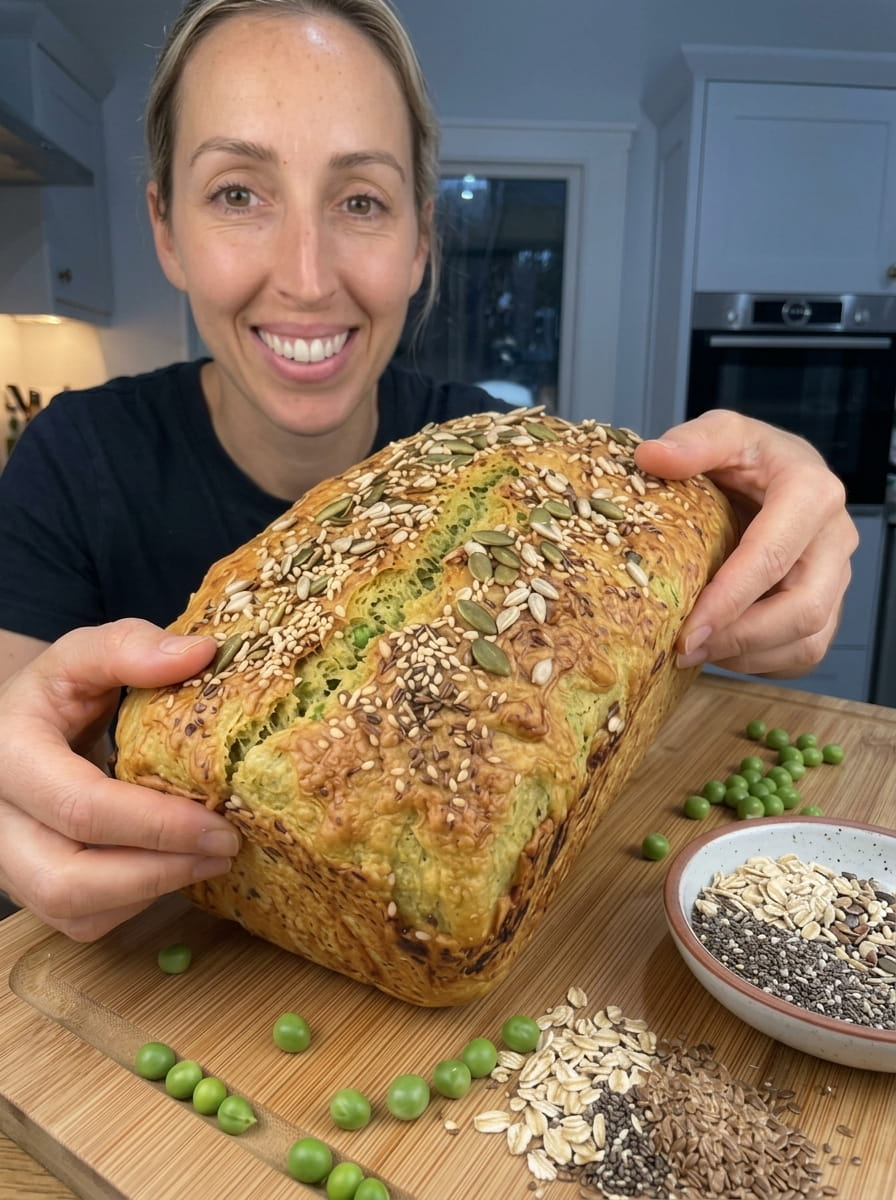
High-Protein Pea Bread: A Soft, Wholesome Loaf Made With Green Peas, Eggs, and Oats
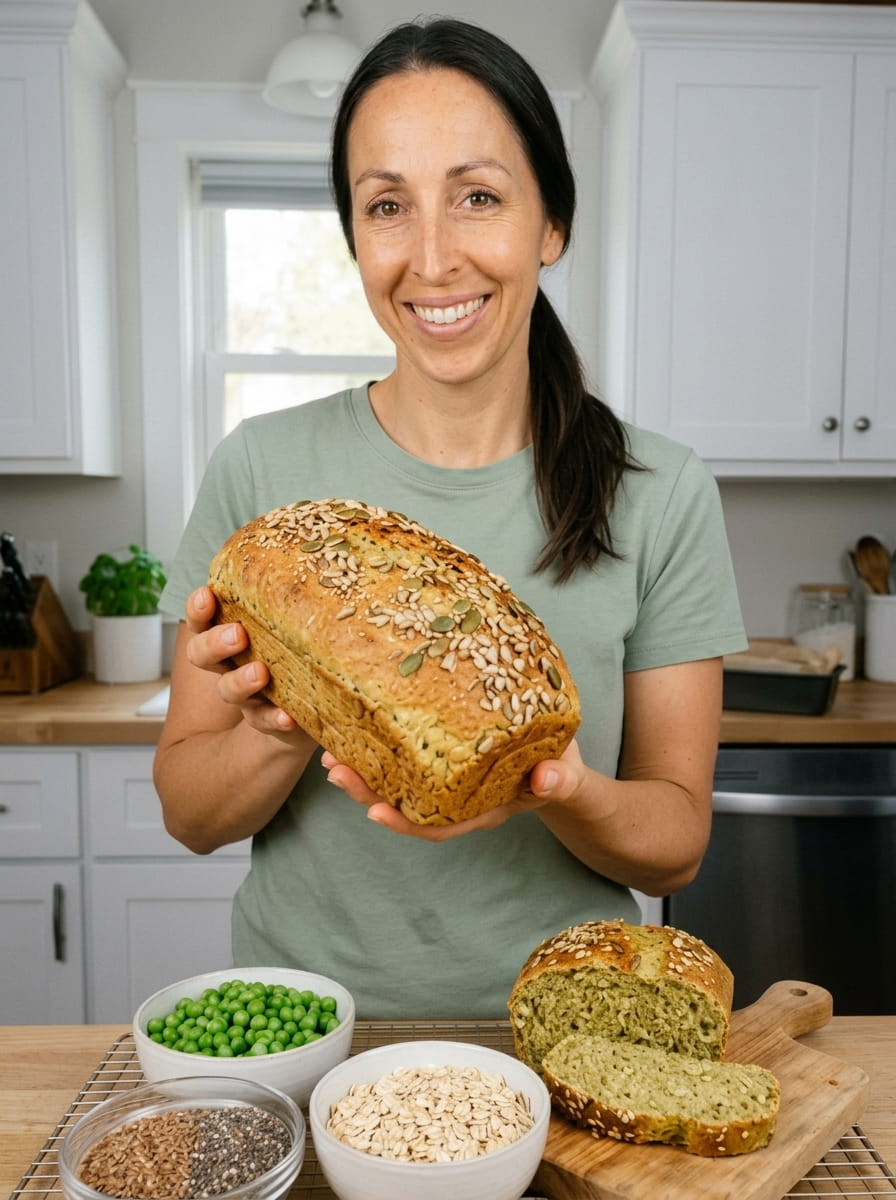
If you’re looking for a homemade bread that’s a little different from the usual, this High-Protein Pea Bread is a delicious place to start. 🫛🍞 It’s soft, hearty, and made with simple ingredients you can find at any grocery store. Green peas give the loaf a naturally mild, earthy flavor, while eggs and rolled oats add protein and create a satisfying, sliceable texture. There’s no wheat flour, no yeast, and no kneading involved.
Whether you’re making breakfast, packing a sandwich, or building a plate of avocado toast, this loaf is a simple way to bring more nutritious ingredients into your everyday meals. It comes together in a food processor or blender in just a few minutes, then bakes while you get on with your day.
In this guide, you’ll find the full recipe, step-by-step instructions, helpful tips, troubleshooting advice, flavor variations, serving ideas, and storage tips so you can bake a great loaf every time.
Why You’ll Love This Pea Bread
This recipe stands out from typical “healthy bread” recipes for several reasons:
- Protein-rich. Eggs, peas, and oats all contribute protein, so each slice is more filling than a typical slice of plain white bread.
- No wheat flour. The loaf gets its structure from blended peas, eggs, and oats instead of wheat flour.
- No yeast and no kneading. Baking powder provides the lift, so there’s no proofing or waiting for dough to rise.
- Simple, affordable ingredients. Peas, eggs, oats, and a few pantry staples are all you need.
- Quick to prepare. Blend, pour, and bake. Most of the time is hands-off.
- Versatile. Toast it, top it, or turn it into a sandwich. It works with sweet and savory toppings alike.
- Freezer-friendly. Slice and freeze for easy meals all week.
Ingredients You’ll Need 🛒
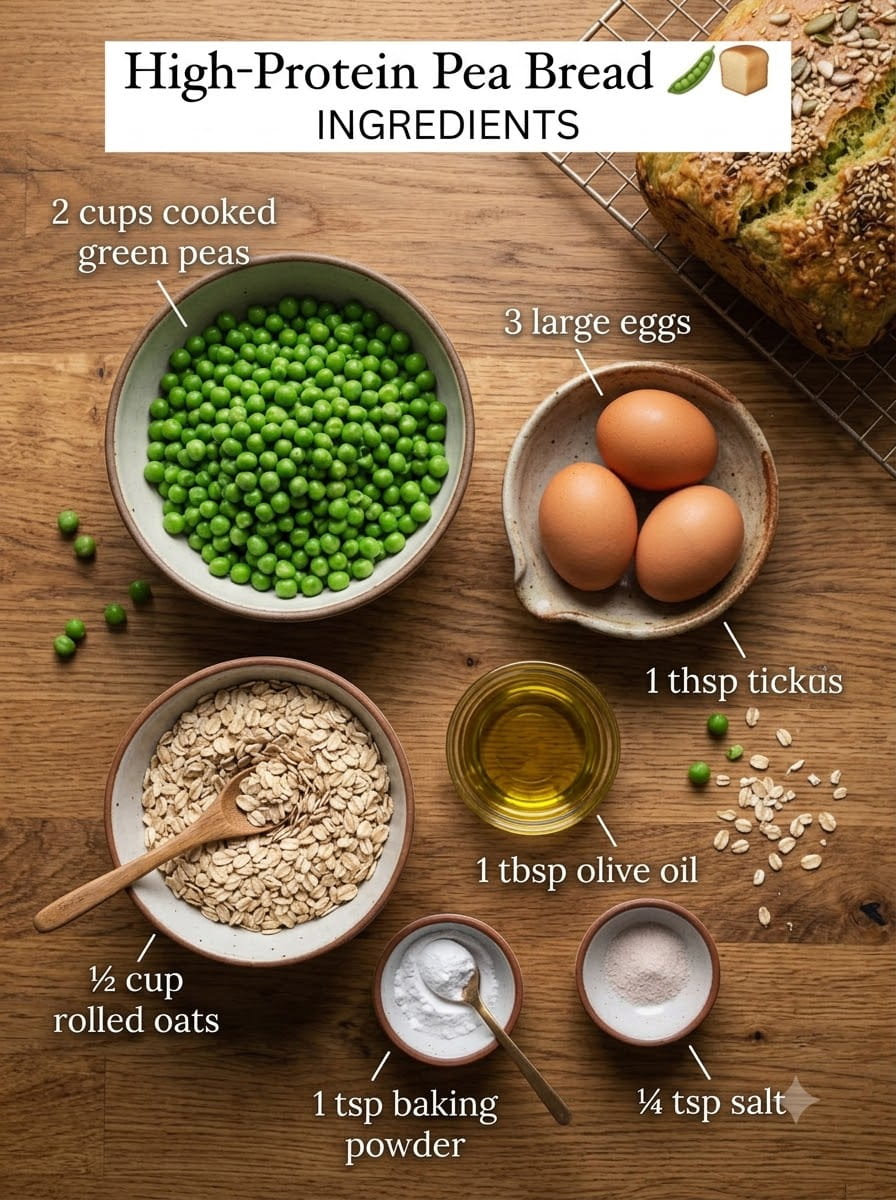
Here’s the full ingredient list for one small loaf:
- 2 cups cooked green peas, drained and cooled
- 3 large eggs
- ½ cup rolled oats
- 1 teaspoon baking powder
- ¼ teaspoon salt
- 1 tablespoon olive oil
For equipment, you’ll need a food processor or blender, a small loaf pan, parchment paper (or a little oil for greasing), a spatula, and a wire cooling rack.
A Closer Look at the Ingredients
Green peas. Peas are the star of this recipe. When blended, they create a soft, moist base with a gentle sweetness and an earthy flavor. Frozen peas work especially well. Just cook them until tender, drain them thoroughly, and let them cool before blending. Canned peas can also work if they’re drained and rinsed well.
Eggs. Eggs bind everything together, add moisture, and give the loaf its structure as it bakes. Room-temperature eggs blend more smoothly, so take them out of the fridge 15 to 20 minutes ahead if you can.
Rolled oats. Oats add body, fiber, and a pleasant, hearty chew. They also soak up some of the moisture from the peas, which helps the loaf hold its shape. Old-fashioned rolled oats work best. If you prefer a finer crumb, you can blend them into a coarse flour first.
Baking powder. This leavening agent helps the bread rise slightly and keeps the texture from being too heavy. Make sure yours is fresh. If it has been open for more than six months, it may have lost some of its power.
Salt. A small amount of salt brings out the natural flavor of the peas and keeps the bread from tasting flat.
Olive oil. A tablespoon of olive oil adds richness, improves the texture, and helps keep the loaf tender.
How to Make High-Protein Pea Bread 👩🍳
Step 1: Preheat and Prepare the Pan
Preheat your oven to 350°F (175°C). Line a small loaf pan with parchment paper, leaving a little overhang on the long sides so you can lift the loaf out easily. If you prefer, lightly grease the pan instead.
Step 2: Blend the Peas and Eggs
Add the cooked, cooled green peas and the eggs to a food processor or blender. Blend until the mixture is mostly smooth. Pause to scrape down the sides as needed so everything blends evenly.
Step 3: Add the Remaining Ingredients
Add the rolled oats, baking powder, salt, and olive oil. Blend until the ingredients are well combined. You can leave a little texture if you like, since tiny flecks of oats and peas give the finished bread a rustic look and feel.
Step 4: Fill the Pan
Pour the batter into your prepared loaf pan and smooth the top with a spatula. Gently tap the pan on the counter to release any large air bubbles.
Step 5: Bake
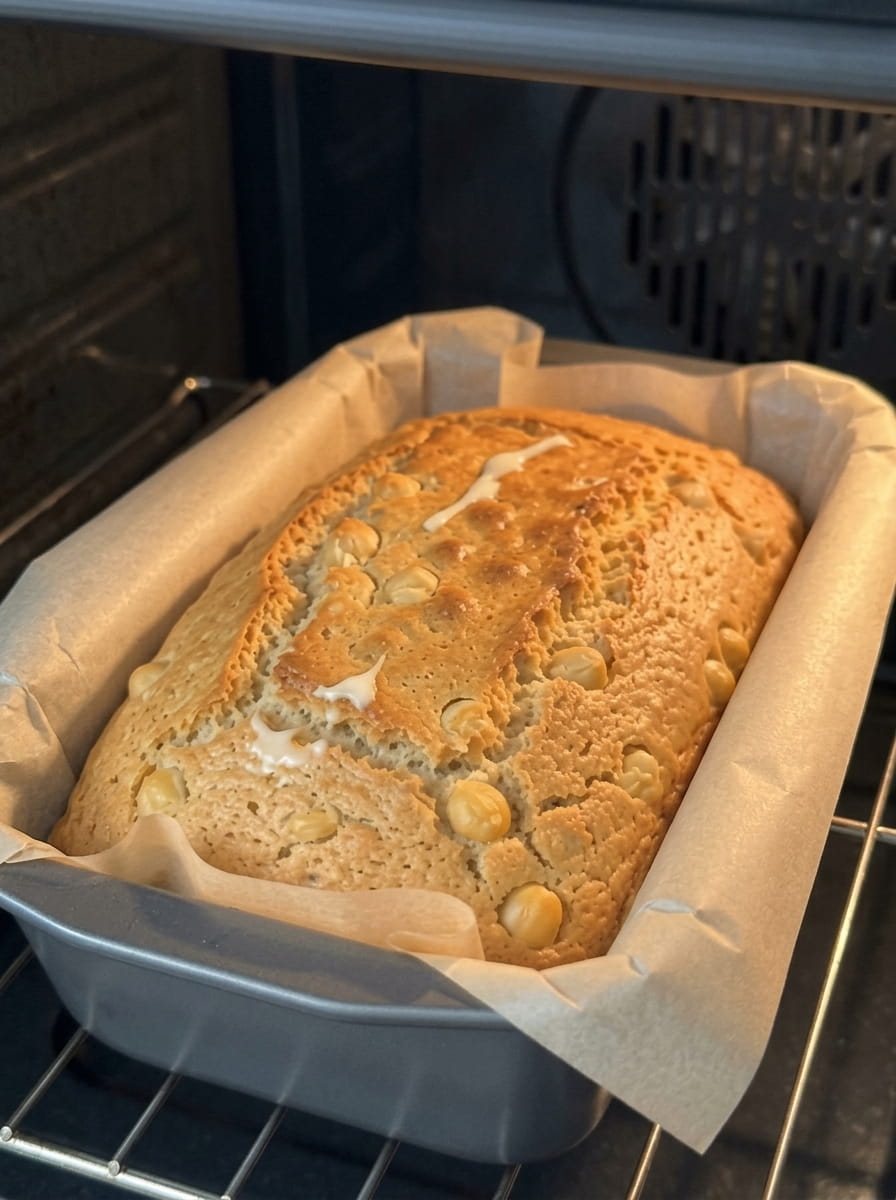
Bake for 40 to 50 minutes. The loaf is ready when it feels firm, looks lightly golden, and a toothpick inserted into the center comes out clean. Ovens vary, so start checking around the 40-minute mark. If the top browns too quickly, loosely cover it with foil for the last 10 minutes.
Step 6: Cool Before Slicing
Let the bread cool in the pan for 10 minutes, then lift it out and transfer it to a wire rack. Allow it to cool completely before slicing. This step matters. The loaf continues to set as it cools, and a fully cooled loaf slices cleanly and has the best texture.
Pro Tips for the Best Pea Bread
A few small details can make a big difference.
Drain the peas well. Extra water is the most common cause of a soggy loaf. After cooking, let the peas sit in a colander for a few minutes, then pat them dry with a clean towel.
Cool the peas first. Blending hot peas with raw eggs can partially cook the eggs and affect the texture. Let the peas cool until they’re just warm or at room temperature.
Don’t over-blend. A little texture is perfectly fine and gives the bread a hearty, rustic character. Over-blending can make the batter overly thin.
Use a small loaf pan. This recipe makes a smaller batch, so a standard large loaf pan may give you a flat loaf. A pan around 8 x 4 inches (20 x 10 cm) works well.
Rely on the toothpick test. Bake times can vary, so check for doneness by feel and with a toothpick rather than the clock alone.
Toast your slices. Like many egg-based breads, this loaf is moist and tender. Toasting gives each slice a crisp edge and a more bread-like texture.
Troubleshooting Common Problems
My bread is too wet in the middle. This often means the loaf needed more baking time, or the peas weren’t drained well enough. Bake a few more minutes and let the loaf cool fully before cutting.
The bread is too dense. Check the freshness of your baking powder, and avoid over-blending after you add it. A small loaf pan also helps, because the batter rises better in a deeper pan.
It tastes too earthy or grassy. Peas have a distinct flavor. Add a pinch of garlic powder, a little black pepper, or some fresh herbs to balance it. A small amount of lemon zest also brightens the taste.
The loaf stuck to the pan. Use parchment paper, or grease the pan generously, including the corners.
The color looks different from what I expected. Green peas can give the loaf a slightly olive or muted green tint after baking. That’s completely normal and doesn’t affect the flavor.
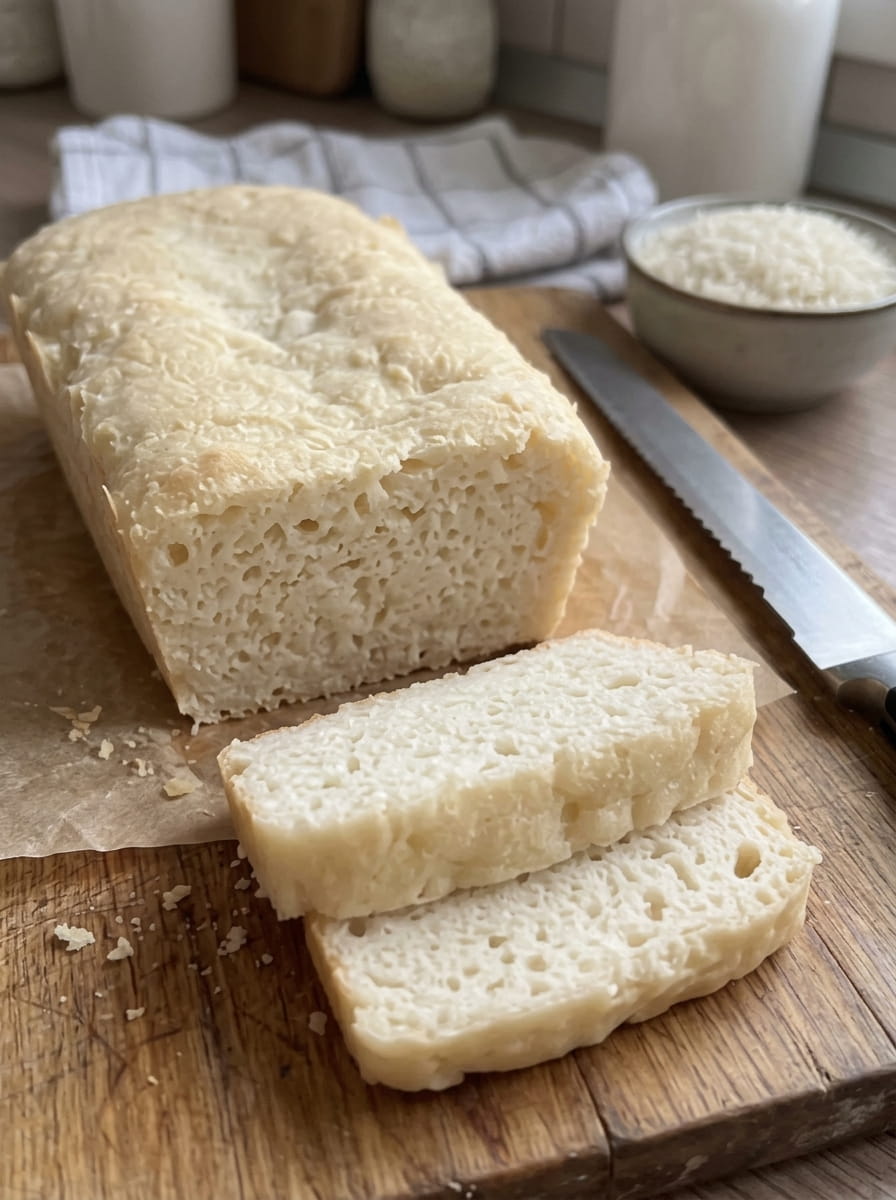
The loaf crumbles when I slice it. Make sure it has cooled completely, and use a sharp serrated knife with a gentle sawing motion.
Delicious Variations to Try
Once you’ve made the basic loaf, there are plenty of ways to put your own spin on it.
Savory ideas
- Garlic powder or onion powder
- Fresh or dried herbs such as mint, parsley, dill, or thyme
- A handful of grated cheese
- A pinch of black pepper or chili flakes
- Sesame seeds, sunflower seeds, or pumpkin seeds sprinkled on top
- A spoonful of nutritional yeast for a cheesy flavor
Fresh and bright ideas
- A teaspoon of lemon zest
- A small handful of chopped fresh mint, which pairs naturally with peas
- Chopped scallions or chives folded into the batter
Keep in mind that adding extra ingredients changes the original recipe, and wet add-ins can affect the texture, so start with small amounts.
What to Serve With Pea Bread
This bread has a mild, savory flavor that pairs well with many toppings and meals.
For breakfast
- Toasted with mashed avocado and a squeeze of lemon
- Topped with a fried or poached egg
- Spread with cream cheese and sliced cucumber
- Served with sliced tomatoes, salt, and pepper
For lunch
- As a sandwich bread with chicken, turkey, or vegetables
- Topped with hummus, roasted peppers, and fresh herbs
- Served alongside a crisp green salad
- Cut into fingers for dipping into soup
For dinner
- Served next to a warm bowl of vegetable or lentil soup
- Used as a base for open-faced toasts with roasted vegetables
- Paired with a simple omelet and greens
For snacks
- Toasted with ricotta and a drizzle of olive oil
- Spread with hummus and topped with cherry tomatoes
- Layered with smashed peas, mint, and feta for a fresh spring-style toast
Storage and Meal Prep Tips
Refrigerator. Once completely cool, wrap the loaf tightly or store it in an airtight container. It keeps for about 4 to 5 days in the fridge. Because the bread is moist, refrigeration is the safest option.
Freezer. For longer storage, slice the cooled loaf, place parchment between the slices, and freeze them in a freezer-safe bag for up to 2 to 3 months. You can toast slices straight from frozen, which makes this bread a great option for busy mornings.
Reheating. A toaster, toaster oven, or hot skillet all work well. Reheating restores a slightly crisp outside and a soft inside.
Meal prep. Bake the loaf on the weekend, slice it, and freeze individual portions. That way, you’ll have wholesome bread ready whenever you need it.
Is Pea Bread Healthy?
This loaf is a nutrient-dense alternative to many store-bought breads. Green peas provide plant-based protein and fiber, eggs add complete protein, and rolled oats contribute fiber and a hearty texture. Together, they make a slice that is typically more filling than plain white bread.
The exact nutrition depends on the size of your eggs, the brand of oats, and how thickly you slice the loaf. If you’re tracking calories or macros, enter your specific ingredients into a nutrition calculator for the most accurate numbers.
A few things to keep in mind:
- Gluten. The recipe contains no wheat flour, but oats can be cross-contaminated with gluten during processing. If you need to avoid gluten strictly, use oats that are labeled certified gluten-free.
- Allergens. The recipe contains eggs, so it isn’t suitable for people with an egg allergy.
- Sodium. If you use canned peas, choose a no-salt-added variety and rinse them well.
- Dietary needs. If you follow a special diet for medical reasons, check with your healthcare provider about whether this bread fits your plan.
Frequently Asked Questions
Can I use frozen peas?
Yes, and they’re often the easiest choice. Cook them until tender, drain them well, and let them cool before blending.
Can I use canned peas instead?
You can. Drain and rinse them thoroughly, then pat them dry so the batter doesn’t turn out too wet.
Can I make this bread without eggs?
Eggs provide most of the structure here, so an egg-free version would need a different formulation. Simple substitutes may not give the same texture.
Can I use quick oats instead of rolled oats?
Yes, quick oats will work, though the texture may be slightly softer. Avoid steel-cut oats, which won’t soften enough during baking.
Does it taste like peas?
It has a mild, earthy, slightly sweet flavor. Herbs, garlic, and savory toppings help balance it, and many people find it pairs especially well with avocado or hummus.
Can I use a blender instead of a food processor?
Yes, as long as it can handle a thick batter. You may need to stop and stir, or blend in two batches.
What size loaf pan should I use?
A small loaf pan, about 8 x 4 inches (20 x 10 cm), works best for this amount of batter. A larger pan will give you a flatter loaf.
Can I double the recipe?
Yes. Use a standard 9 x 5-inch (23 x 13 cm) pan or two small pans, and check for doneness with a toothpick, since the bake time may be longer.
Is this good for sandwiches?
Yes, especially when toasted. Slice it moderately thick so it holds up to fillings.
Final Thoughts
This High-Protein Pea Bread shows how a few simple ingredients can become a satisfying, wholesome loaf. With green peas, eggs, oats, and a handful of pantry staples, you get a soft, hearty bread that’s packed with nutritious ingredients and easy to make at home. There’s no yeast, no kneading, and no complicated technique, just a quick blend, a bake, and a little patience while it cools.
Print
High-Protein Pea Bread
Ingredients
Here’s the full ingredient list for one small loaf:
- 2 cups cooked green peas, drained and cooled
- 3 large eggs
- ½ cup rolled oats
- 1 teaspoon baking powder
- ¼ teaspoon salt
- 1 tablespoon olive oil
For equipment, you’ll need a food processor or blender, a small loaf pan, parchment paper (or a little oil for greasing), a spatula, and a wire cooling rack.
Instructions
Preheat your oven to 350°F (175°C). Line a small loaf pan with parchment paper, leaving a little overhang on the long sides so you can lift the loaf out easily. If you prefer, lightly grease the pan instead.
Add the cooked, cooled green peas and the eggs to a food processor or blender. Blend until the mixture is mostly smooth. Pause to scrape down the sides as needed so everything blends evenly.
Add the rolled oats, baking powder, salt, and olive oil. Blend until the ingredients are well combined. You can leave a little texture if you like, since tiny flecks of oats and peas give the finished bread a rustic look and feel.
Pour the batter into your prepared loaf pan and smooth the top with a spatula. Gently tap the pan on the counter to release any large air bubbles.
Bake for 40 to 50 minutes. The loaf is ready when it feels firm, looks lightly golden, and a toothpick inserted into the center comes out clean. Ovens vary, so start checking around the 40-minute mark. If the top browns too quickly, loosely cover it with foil for the last 10 minutes.
Let the bread cool in the pan for 10 minutes, then lift it out and transfer it to a wire rack. Allow it to cool completely before slicing. This step matters. The loaf continues to set as it cools, and a fully cooled loaf slices cleanly and has the best texture.