
No-Knead Soft & Fluffy Sandwich Bread
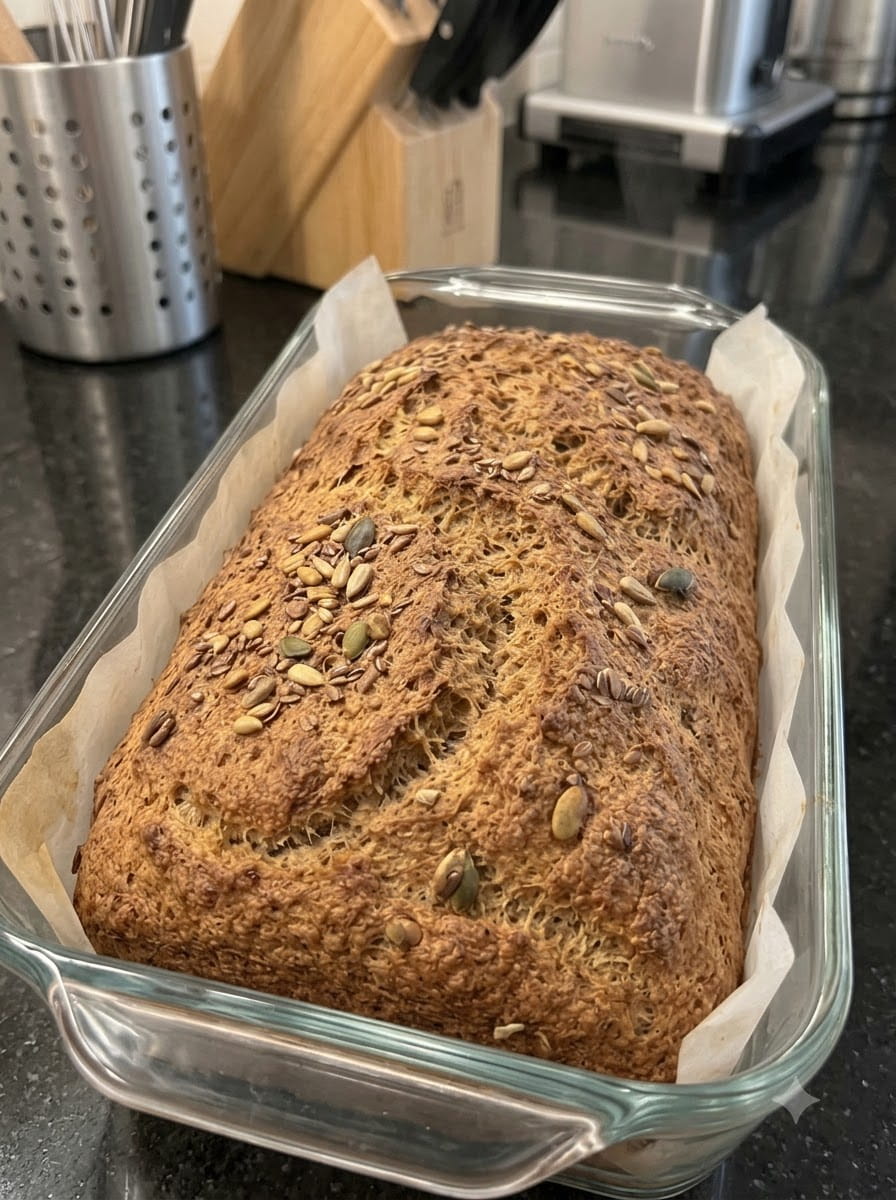
This homemade sandwich bread is wonderfully soft, fluffy and tender, with a golden crust and a light, pillowy crumb. Best of all, no kneading is required. You simply mix the ingredients in one bowl, let the dough rise and bake until beautifully golden. With just six basic ingredients, it is a perfect loaf for breakfast toast, school lunches, hearty sandwiches or enjoying warm with a little butter.
If you have ever been intimidated by bread baking, this no-knead sandwich bread is the ideal place to start. There is no stand mixer, no special technique and no shaping. If you can stir with a wooden spoon, you can bake a loaf that looks and tastes like it came from a bakery.
Below you will find the full recipe, ingredient notes, step-by-step instructions, troubleshooting tips, variations, storage advice, serving ideas and answers to frequently asked questions.
What Is No-Knead Sandwich Bread?
No-knead sandwich bread is a yeast bread made with a wet, sticky dough that develops its structure through time rather than kneading. Instead of working the dough by hand for ten minutes or more, you stir the ingredients together until combined and let the yeast do the work during the rise. The dough is then spread into a loaf pan, allowed to rise again and baked.
Because the dough is soft and wet, the finished loaf has a tender, airy crumb. The milk and butter make it richer and softer than a plain water-based bread, which is exactly what you want in a sandwich loaf.
Why You’ll Love This Recipe
No kneading required. Mixing takes about five minutes with a wooden spoon. There is no kneading, folding or shaping.
It is soft and fluffy. The combination of milk, butter and a small amount of sugar produces a tender, pillowy crumb that stays soft.
It uses simple pantry ingredients. Flour, milk, yeast, sugar, salt and butter are all you need.
It is made in one bowl. Less mess and fewer dishes to wash.
It is versatile. Use it for sandwiches, toast, French toast, grilled cheese, bread pudding or simply eaten warm with butter.
It is cheaper than store-bought. Homemade bread costs very little and has no preservatives or additives.
It makes the house smell amazing. Few things are as comforting as the scent of fresh bread baking.
Ingredients You’ll Need
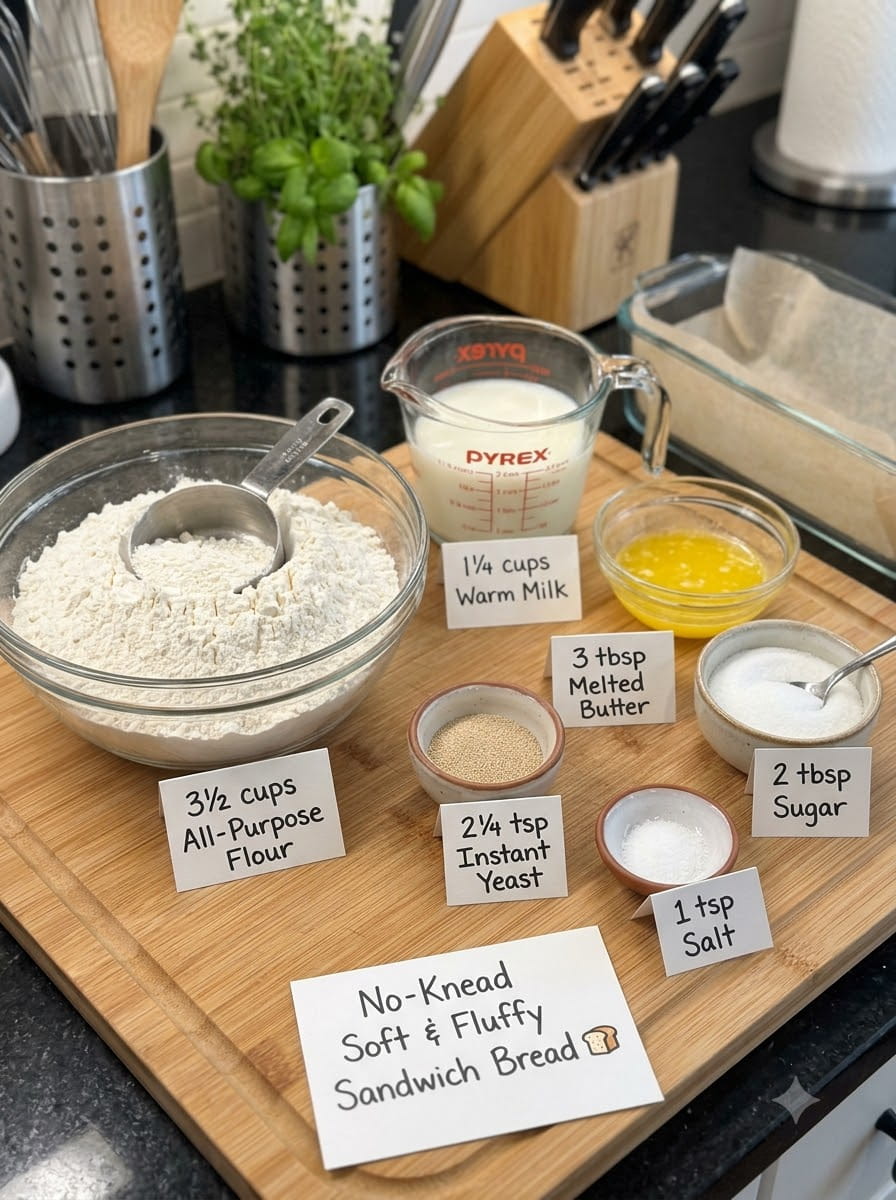
- 3½ cups all-purpose flour (about 420 g)
- 1¼ cups warm milk (about 300 ml)
- 2¼ teaspoons instant yeast (about 7 g)
- 2 tablespoons granulated sugar
- 1 teaspoon salt
- 3 tablespoons unsalted butter, melted
Ingredient Notes
All-purpose flour. All-purpose flour works well for this recipe and gives a soft, tender crumb. Bread flour will give a slightly chewier, taller loaf and may need a splash more milk. For the most accurate results, weigh your flour. If you use cups, spoon the flour into the measuring cup and level it with a knife, rather than scooping directly from the bag, which can pack in too much flour.
Warm milk. Milk gives the loaf a soft crumb, a golden crust and a subtle richness. It should be warm, not hot, about 40°C to 43°C (105°F to 110°F), which feels pleasantly warm on your wrist. Milk that is too hot can kill the yeast, while cold milk slows the rise. Whole milk gives the richest results, but low-fat milk also works.
Instant yeast. Instant yeast, sometimes labeled rapid-rise or bread machine yeast, can be mixed directly into the liquid or the flour. If you only have active dry yeast, use the same amount and let it sit in the warm milk with the sugar for 5 to 10 minutes until foamy before continuing.
Granulated sugar. Two tablespoons feed the yeast, add a hint of sweetness and help the crust brown. The loaf is not sweet, just mellow and well rounded.
Salt. Salt strengthens the dough and brings out the flavor. Do not leave it out, because bread without salt tastes flat.
Unsalted butter. Melted butter adds richness, tenderness and flavor, and helps the loaf stay soft longer. If you only have salted butter, you can use it and reduce the added salt slightly.
How to Make No-Knead Soft & Fluffy Sandwich Bread
Step 1: Activate the Yeast
In a large bowl, combine the warm milk, sugar and instant yeast. Give it a gentle stir. With instant yeast, you do not have to wait for it to foam, but if you see a bit of foam after a few minutes, it is a good sign the yeast is alive.
Step 2: Mix the Dough
Add the melted butter, flour and salt. Mix with a wooden spoon or spatula until a sticky, uniform dough forms and no dry flour remains. The dough will look shaggy and wet. That is exactly what you want, and it will smooth out as it rises. Let the melted butter cool slightly before adding it so it does not scald the yeast.
Step 3: First Rise
Cover the bowl with a lid, plate, plastic wrap or a damp towel. Let the dough rise in a warm place for 60 to 90 minutes, or until doubled in size. The dough should look puffy, bubbly and airy.
A warm spot could be a turned-off oven with the light on, a spot near a warm appliance or a sunny corner of the kitchen. The rising time depends on the temperature of your kitchen. In a cooler room, it may take longer.
Step 4: Prepare the Pan
Grease a standard loaf pan well with butter or oil. A pan of roughly 9 by 5 inches (23 by 13 cm) works well. You can also line it with parchment paper for easy removal.
Step 5: Transfer the Dough
Use a spatula, or well-floured or wet hands, to transfer the dough into the prepared loaf pan. The dough will be sticky, so a little oil or water on your hands or spatula helps. Gently spread it so it fills the pan evenly and reaches the corners. Do not deflate it more than necessary.
Step 6: Second Rise
Cover the pan and let the dough rise for another 30 to 45 minutes, until it rises near the top of the pan. You can start preheating the oven toward the end of this rise. Do not let the dough overproof, or the loaf may collapse in the oven.
Step 7: Preheat the Oven
Preheat the oven to 350°F (175°C). Place a rack in the center position so the loaf bakes evenly.
Step 8: Bake
Bake for 30 to 35 minutes, until the top is golden brown and the loaf is cooked through. The bread should sound hollow when you tap the top or bottom, and an instant-read thermometer inserted in the center should read about 190°F to 200°F (88°C to 93°C). If the top is browning too quickly, cover it loosely with foil for the last 10 minutes.
Step 9: Cool
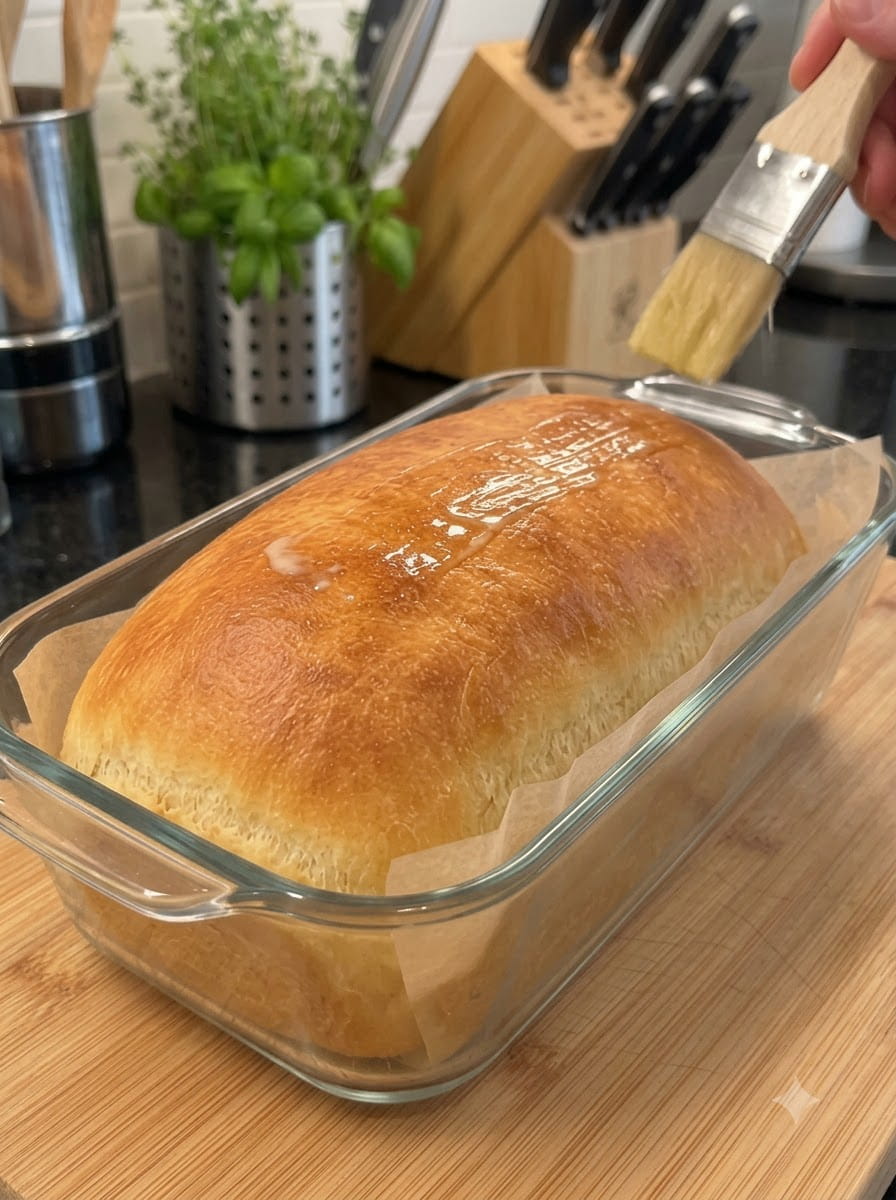
Let the bread rest in the pan for 10 minutes. Then transfer it to a wire rack to cool before slicing. For a soft crust, brush the top with a little melted butter while the loaf is still warm.
Resist the urge to cut it right away. The interior continues to set as it cools, and slicing too early can make the crumb seem doughy or gummy. Waiting at least 30 to 60 minutes gives much better slices.
Tips for the Softest, Fluffiest Loaf
Measure the flour carefully. Too much flour makes dense bread. Use a kitchen scale for accuracy.
Use warm, not hot, milk. This protects the yeast and gives a reliable rise.
Do not skip the second rise. This step gives the loaf its height and airy texture.
Watch the dough, not just the clock. Rise times vary. Look for a doubled, puffy dough in the first rise and a dough near the top of the pan in the second.
Grease the pan well. The dough is sticky, and a generous coating of butter or oil helps release the loaf.
Brush with butter. A little melted butter brushed over the warm crust makes it soft, shiny and flavorful.
Cool before slicing. A serrated knife and a fully cooled loaf give the cleanest slices.
Use a thermometer. It is the most reliable way to know when the bread is done.
Common Mistakes to Avoid
The dough did not rise. The yeast may be old, or the milk may have been too hot or too cold. Check the yeast expiration date and use warm milk. Also make sure the dough is in a warm place.
The loaf is dense. Too much flour, too little rising time or old yeast are common causes. Measure by weight and allow the dough to rise fully.
The loaf collapsed. The dough may have overproofed during the second rise. Bake as soon as it reaches the top of the pan.
The crust is too dark. Your oven may run hot. Tent the loaf with foil partway through baking.
The center is gummy. The loaf may need more baking time, or it was sliced while still hot. Check the internal temperature and let it cool.
The bread sticks to the pan. Grease thoroughly or use parchment paper.
The crust is too hard. Brush the top with butter after baking and let it rest covered with a clean towel while cooling.
Delicious Variations
Whole wheat sandwich bread. Replace up to one-third of the all-purpose flour with whole wheat flour. You may need an extra tablespoon or two of milk.
Honey sandwich bread. Swap the sugar for honey for a gently sweet, golden loaf.
Cinnamon swirl bread. After the first rise, spread the dough in the pan and swirl in cinnamon sugar for a breakfast treat.
Cheesy bread. Stir ½ to 1 cup of shredded cheddar or mozzarella into the dough.
Garlic and herb bread. Mix in dried herbs and garlic powder for a savory loaf.
Seeded top. Brush the top with milk or beaten egg and sprinkle with sesame seeds, poppy seeds or oats before baking.
Dairy-free version. Use a plain unsweetened plant-based milk and replace the butter with olive oil or a plant-based butter.
Overnight option. After mixing the dough, cover and refrigerate it overnight. Let it come to room temperature and finish the rise before baking for a more developed flavor.
Serving Ideas
Breakfast:
- Toast with butter, jam or honey
- French toast or egg-in-a-hole
- Breakfast sandwiches with eggs, cheese and bacon
- Avocado toast with a sprinkle of salt and chili flakes
Lunch:
- Classic sandwiches such as turkey and cheese, ham and cheese or egg salad
- Peanut butter and jelly for school lunches
- Grilled cheese with a crispy golden crust
- Tuna melts or chicken salad sandwiches
Dinner:
- Served warm with soup or stew
- Garlic bread, made by brushing slices with garlic butter and toasting
- Croutons or breadcrumbs from leftover slices
Snacks and desserts:
- Warm with butter and a sprinkle of cinnamon sugar
- Bread pudding with leftover slices
- Sweet toast with nut butter and banana
How to Store Homemade Sandwich Bread
At room temperature: Once completely cooled, store the loaf in a bread bag, airtight container or wrapped in a clean towel for 3 to 4 days. Homemade bread has no preservatives, so it will not last as long as store-bought.
In the refrigerator: Refrigerating bread can dry it out faster, so it is generally best only in very warm or humid weather, when mold is a risk.
In the freezer: Slice the cooled loaf and place the slices in a freezer bag with parchment paper between them. Freeze for up to 3 months. Toast slices straight from the freezer or let them thaw at room temperature.
Refreshing stale bread: A quick trip to the toaster or a few minutes in a warm oven can revive slices. Stale bread is also great for croutons, breadcrumbs and French toast.
Nutrition Notes
This bread is made from simple ingredients: flour, milk, butter, sugar, yeast and salt. It provides carbohydrates for energy along with small amounts of protein from the flour and milk. Exact nutritional values depend on your ingredients and slice size. It contains wheat gluten and dairy, so it is not suitable for people who avoid those. If you have dietary restrictions or a health condition, check with your doctor or a registered dietitian.
Frequently Asked Questions
Can I make this bread without milk?
Yes. You can use warm water or a plant-based milk. Milk makes the bread softer and richer, so the crumb may be slightly less tender with water.
Can I use active dry yeast instead of instant yeast?
Yes. Use the same amount and dissolve it in the warm milk with the sugar for 5 to 10 minutes until foamy before adding the other ingredients.
Why is my dough so sticky?
No-knead dough is intentionally wet and sticky. Do not add extra flour, as the moisture is what gives the finished loaf its soft, fluffy texture. Use a spatula or oiled hands to handle it.
Can I use bread flour?
Yes. Bread flour gives a chewier, taller loaf. You may need slightly more liquid because bread flour absorbs more water.
How do I know when the dough has doubled?
The dough should look noticeably larger, puffy and full of bubbles. You can mark the level of the dough on the bowl with tape, or press a finger gently into it. If the dent slowly springs back, it is ready.
Can I let the dough rise overnight?
Yes. A slow rise in the refrigerator develops more flavor. After mixing, cover the bowl and refrigerate for 8 to 12 hours. Let the dough warm up slightly and continue with the pan and second rise.
What size loaf pan should I use?
A standard 9 by 5 inch (23 by 13 cm) pan is a good choice. A slightly smaller pan will produce a taller loaf.
Can I make this recipe in a Dutch oven?
You can bake the dough in a Dutch oven for a rustic, round loaf with a crustier exterior, but baking times and results will differ from the sandwich loaf version.
Why is my bread dense?
Common reasons include too much flour, old yeast or not enough rising time. Weigh the flour and make sure the dough doubles in the first rise.
Can I freeze the dough?
It is best to bake the bread first and freeze the slices. Freezing unbaked dough can work, but it is less reliable for a no-knead dough.
Can I double the recipe?
Yes. Doubling the ingredients makes two loaves. Bake them in separate pans, and make sure your oven has room so they bake evenly.
How do I get a softer crust?
Brush the top with melted butter right after baking and cover the loaf loosely with a clean towel while it cools.
Final Thoughts
This no-knead soft and fluffy sandwich bread proves that fresh, bakery-quality bread does not need to be complicated. With a handful of pantry ingredients, a wooden spoon and a little patience, you can bake a golden loaf with a light, pillowy crumb that is perfect for sandwiches, toast and everything in between.
Mix the dough, let it rise and enjoy the aroma that fills your kitchen. Make it once and it may become your go-to homemade bread, a recipe you return to week after week.
Print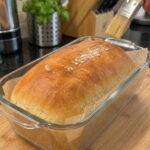
No-Knead Soft & Fluffy Sandwich Bread
Ingredients
- 3½ cups all-purpose flour (about 420 g)
- 1¼ cups warm milk (about 300 ml)
- 2¼ teaspoons instant yeast (about 7 g)
- 2 tablespoons granulated sugar
- 1 teaspoon salt
- 3 tablespoons unsalted butter, melted
Instructions
In a large bowl, combine the warm milk, sugar and instant yeast. Give it a gentle stir. With instant yeast, you do not have to wait for it to foam, but if you see a bit of foam after a few minutes, it is a good sign the yeast is alive.
Add the melted butter, flour and salt. Mix with a wooden spoon or spatula until a sticky, uniform dough forms and no dry flour remains. The dough will look shaggy and wet. That is exactly what you want, and it will smooth out as it rises. Let the melted butter cool slightly before adding it so it does not scald the yeast.
Cover the bowl with a lid, plate, plastic wrap or a damp towel. Let the dough rise in a warm place for 60 to 90 minutes, or until doubled in size. The dough should look puffy, bubbly and airy.
A warm spot could be a turned-off oven with the light on, a spot near a warm appliance or a sunny corner of the kitchen. The rising time depends on the temperature of your kitchen. In a cooler room, it may take longer.
Grease a standard loaf pan well with butter or oil. A pan of roughly 9 by 5 inches (23 by 13 cm) works well. You can also line it with parchment paper for easy removal.
Use a spatula, or well-floured or wet hands, to transfer the dough into the prepared loaf pan. The dough will be sticky, so a little oil or water on your hands or spatula helps. Gently spread it so it fills the pan evenly and reaches the corners. Do not deflate it more than necessary.
Cover the pan and let the dough rise for another 30 to 45 minutes, until it rises near the top of the pan. You can start preheating the oven toward the end of this rise. Do not let the dough overproof, or the loaf may collapse in the oven.
Preheat the oven to 350°F (175°C). Place a rack in the center position so the loaf bakes evenly.
Bake for 30 to 35 minutes, until the top is golden brown and the loaf is cooked through. The bread should sound hollow when you tap the top or bottom, and an instant-read thermometer inserted in the center should read about 190°F to 200°F (88°C to 93°C). If the top is browning too quickly, cover it loosely with foil for the last 10 minutes.
Let the bread rest in the pan for 10 minutes. Then transfer it to a wire rack to cool before slicing. For a soft crust, brush the top with a little melted butter while the loaf is still warm.