
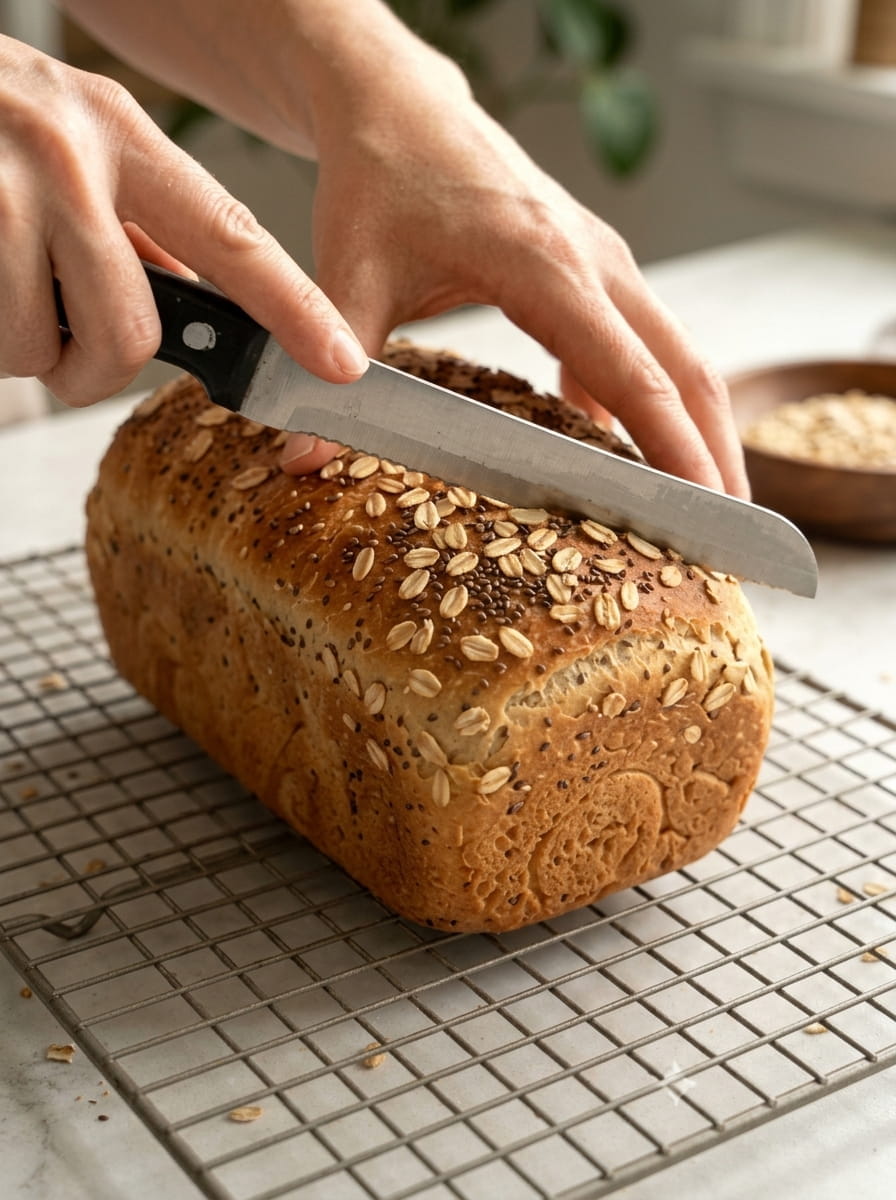
Golden Homemade Oat and Chia Bread Recipe: Soft, Wholesome, and Easy to Bake
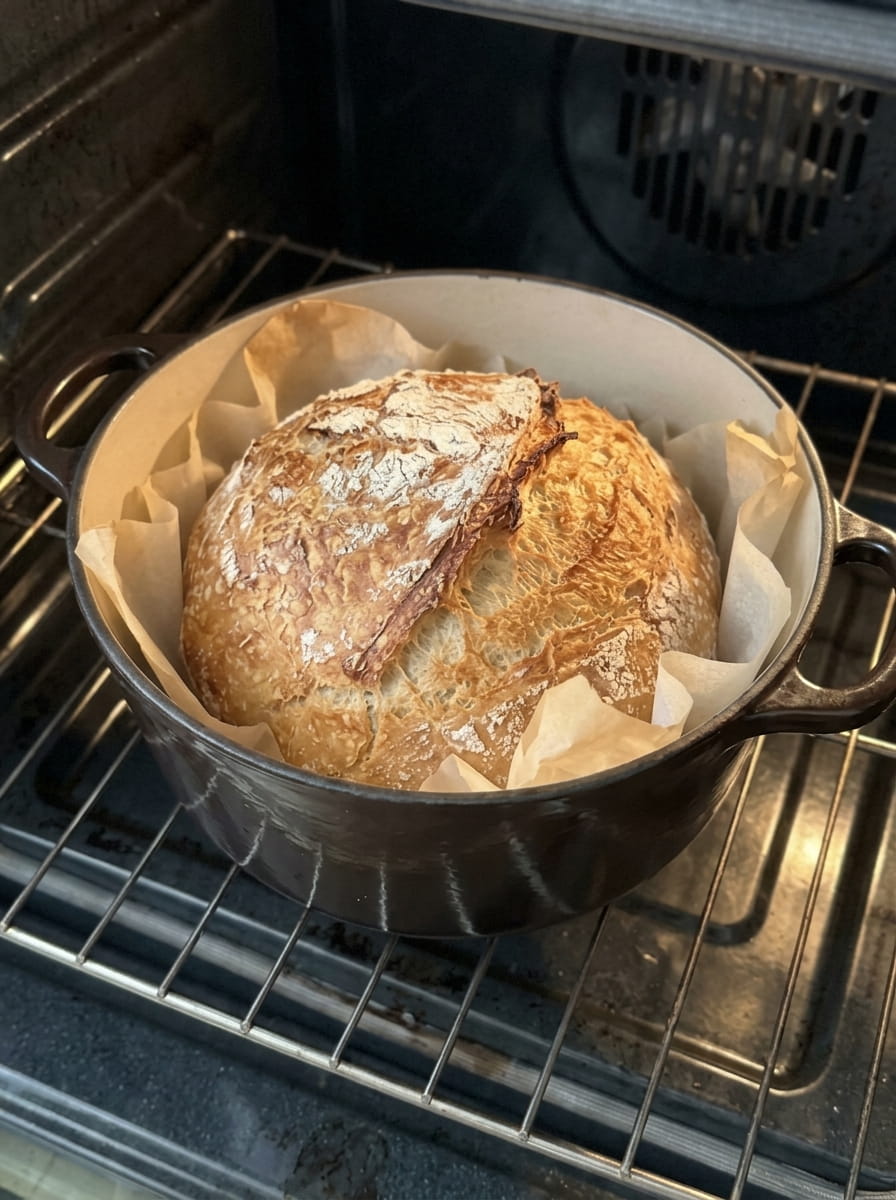
There are few things in the kitchen as rewarding as pulling a golden loaf of bread out of the oven and filling the whole house with its warm, toasty aroma. This homemade oat and chia bread is exactly that kind of loaf: soft, hearty, lightly sweetened with honey, and dotted with nutritious chia seeds. Its crust is covered in rolled oats, which gives it a rustic bakery look and a pleasant bite.
If you have ever thought homemade bread was too complicated, this recipe is a great place to start. It uses simple pantry ingredients and a straightforward method, and it rewards you with tender slices that work for breakfast toast, packed lunches, hearty sandwiches, or a warm piece with butter and jam.
In this guide, you will find the full recipe, the reasons it works, step-by-step tips for the best texture, ingredient swaps, storage advice, and answers to the most common questions about baking oat and chia bread at home.
Why You Will Love This Oat and Chia Bread
Before we get to the recipe, here is what makes this loaf worth baking.
It is incredibly soft. Many homemade whole-grain breads turn out dense or dry. This one avoids that by soaking the oats and chia seeds in warm milk before they go into the dough. The soaked oats keep moisture in the crumb, so the slices stay tender for days.
It is made with wholesome ingredients. Rolled oats and chia seeds add fiber, texture, and a subtle nutty flavor. There are no artificial additives or preservatives, only real ingredients you can pronounce.
It is lightly sweet, not sugary. Two tablespoons of honey add a gentle sweetness and help the crust brown beautifully, without turning the loaf into a dessert bread. It is just as good with turkey and cheese as it is with strawberry jam.
It looks impressive. The oat-topped crust gives the loaf a golden, bakery-style finish. Brushing the top with a little milk or water before sprinkling on the oats helps them stick, so they stay put through baking and slicing.
It is beginner-friendly. You do not need a stand mixer, a Dutch oven, or any special equipment. A bowl, a spoon, a loaf pan, and a little patience are enough.
About the Key Ingredients
Understanding what each ingredient does makes you a more confident baker. Here is how each one contributes to this loaf.
Old-Fashioned Rolled Oats
Rolled oats are steamed and flattened oat groats. They hold their shape better than instant oats and soften nicely when soaked. In this bread, they give the crumb a hearty, slightly chewy character and keep it moist. Use old-fashioned rolled oats rather than steel-cut oats, which stay too firm, or quick oats, which can turn mushy.
Chia Seeds
Chia seeds are tiny but powerful. When soaked in liquid, they form a gel-like coating and absorb many times their weight in moisture. In bread, this helps retain softness and adds a subtle crunch and a speckled look. Chia seeds are also known for their fiber and omega-3 fatty acids, which makes this loaf feel a bit more nourishing than plain white bread.
Warm Milk
Milk adds richness, softness, and a golden crust. Warming it to about 100–110°F (38–43°C) wakes up the yeast and helps the oats and chia hydrate. The liquid should feel comfortably warm, not hot, because overly hot milk can kill the yeast.
Honey
Honey sweetens the dough and feeds the yeast. It also helps keep the bread moist and adds a delicate floral note. If you prefer, you can swap it for maple syrup.
Unsalted Butter
Melted butter enriches the dough and makes the crumb tender. Using unsalted butter lets you control the salt level in the recipe.
Egg
One large egg adds structure, richness, and color. It helps the loaf rise well and gives the crumb a soft, cake-like tenderness.
Bread Flour
Bread flour has a higher protein content than all-purpose flour, which means more gluten development. That translates into better rise, a chewier structure, and slices that hold up to sandwich fillings. Since the oats and chia seeds add weight to the dough, bread flour helps the loaf stay tall and airy.
Instant Yeast
Instant yeast can be mixed directly into the dry ingredients without proofing first, which makes the process simpler. This recipe uses 2¼ teaspoons, which is one standard packet.
Salt
Salt balances the sweetness, strengthens the gluten, and brings out the flavor of the grains. Do not skip it, or the bread will taste flat.
Ingredients
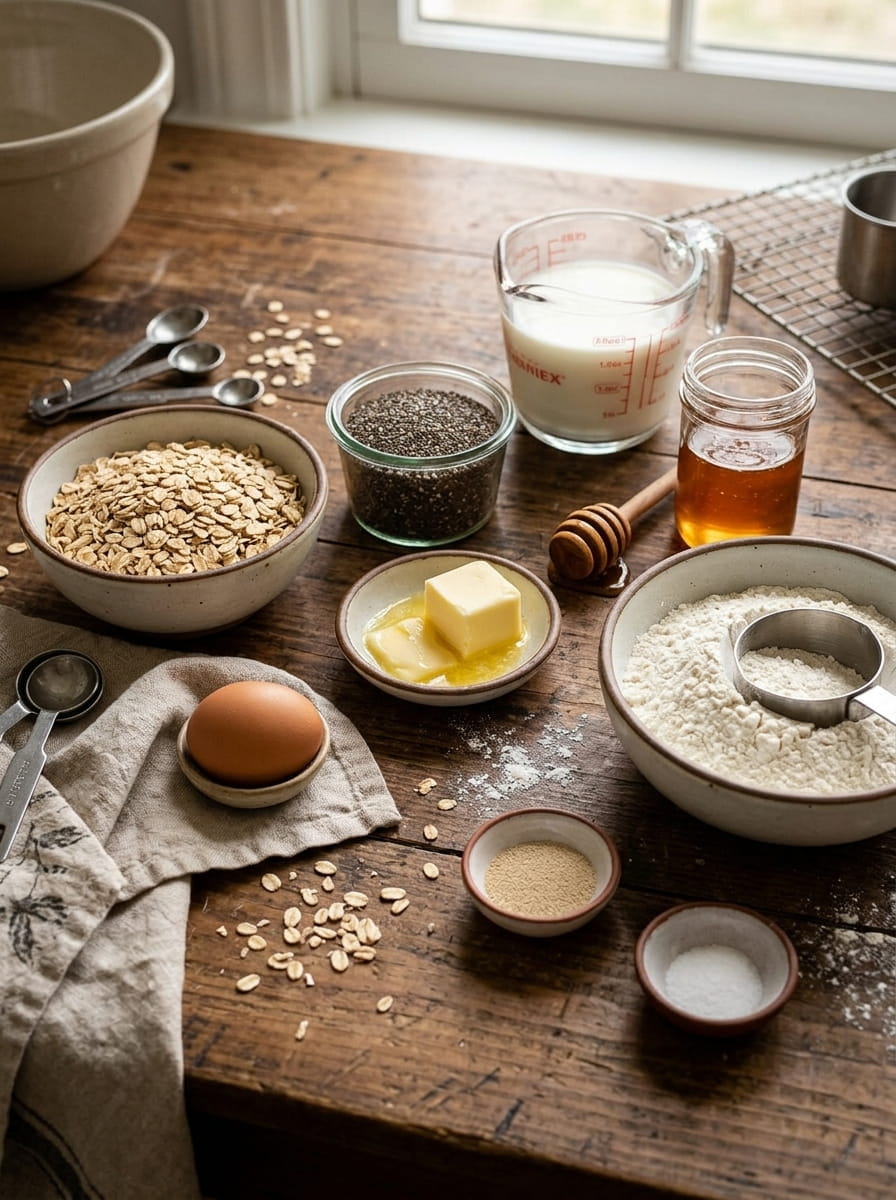
For the Dough
- ¾ cup old-fashioned rolled oats (60 g)
- 2 tablespoons chia seeds (24 g)
- ¾ cup warm milk (180 ml)
- 2 tablespoons honey
- 2 tablespoons unsalted butter, melted (28 g)
- 1 large egg
- 2¼ cups bread flour (280 g)
- 2¼ teaspoons instant yeast (7 g)
- 1 teaspoon salt
For the Topping
- 2 tablespoons rolled oats
- 1 teaspoon milk or water for brushing
Equipment You Will Need
- A small bowl for soaking the oats and chia
- A large mixing bowl
- A whisk and a sturdy spoon or spatula
- A 9 × 5-inch (23 × 13 cm) loaf pan
- A wire cooling rack
- A pastry brush
- An instant-read thermometer (optional, but helpful)
How to Make Oat and Chia Bread: Step-by-Step Instructions
Step 1: Soak the Oats and Chia
In a small bowl, combine the rolled oats, chia seeds, and warm milk. Stir well and let the mixture rest for 15 to 20 minutes. During this time, the oats soften and the chia seeds absorb liquid and thicken the mixture. This step is the secret to a moist, tender loaf, so do not rush it.
Step 2: Prepare the Wet Mixture
Add the honey, melted butter, and egg to the soaked oat mixture. Stir until everything is well combined. If your butter is very hot, let it cool for a minute first so it does not scramble the egg.
Step 3: Combine the Dry Ingredients
In a large mixing bowl, whisk together the bread flour, instant yeast, and salt. Whisking spreads the yeast evenly and keeps it from coming into direct contact with the salt in one spot.
Step 4: Form the Dough
Pour the wet mixture into the dry ingredients. Stir until a soft, slightly sticky dough forms. It should look shaggy at first and will become smoother as you knead.
Step 5: Knead the Dough
Turn the dough onto a lightly floured surface and knead for 8 to 10 minutes, until it is smooth and elastic. If it sticks badly, add a tiny sprinkle of flour, but resist the urge to add too much. Extra flour is the most common reason homemade bread turns out dry.
The windowpane test: Pinch off a small piece of dough and gently stretch it between your fingers. If it forms a thin, translucent membrane without tearing, the gluten is well developed and you are ready for the first rise.
Step 6: First Rise
Place the dough in a lightly greased bowl and turn it once to coat the top. Cover the bowl with a clean towel or plastic wrap. Let it rise in a warm spot for 60 to 90 minutes, until doubled in size. The time depends on your kitchen temperature, so judge by the dough, not the clock.
Step 7: Shape the Loaf
Gently punch down the dough to release the air. Press it into a rectangle, then roll it up tightly into a log, pinching the seam closed. Place it seam-side down in a greased 9 × 5-inch loaf pan. Tucking the ends under slightly helps create an even, rounded top.
Step 8: Second Rise
Cover the pan loosely and let the dough rise for another 30 to 45 minutes, until it crests just above the edge of the pan. Be careful not to over-proof. If the dough rises too far, it may collapse in the oven.
Step 9: Add the Topping
While the oven preheats, gently brush the top of the loaf with milk or water. Sprinkle the remaining rolled oats evenly over the surface and press them in lightly so they stick.
Step 10: Bake
Preheat your oven to 350°F (175°C). Bake the loaf for 35 to 40 minutes, until it is deep golden brown and sounds hollow when tapped on the bottom. For perfect results, check that the center reaches about 190°F (88°C) on an instant-read thermometer. If the top browns too quickly, tent the loaf loosely with foil for the last 10 minutes.
Step 11: Cool Completely
Remove the bread from the pan right away and set it on a wire rack. Let it cool completely before slicing. Cutting into warm bread is tempting, but the crumb is still setting inside, and slicing too early can make it seem gummy.
Step 12: Slice and Enjoy
Use a serrated bread knife and a gentle sawing motion to cut tender slices. Serve with butter, honey, jam, or your favorite sandwich fillings.
Expert Tips for the Best Oat and Chia Bread
Measure flour by weight if you can. A kitchen scale is the most reliable way to get consistent results. If you use cups, spoon the flour into the measuring cup and level it off instead of scooping, which packs in too much.
Check your yeast. If the yeast is old or has been stored badly, your bread may not rise. Store opened yeast in the refrigerator or freezer and check the expiration date.
Keep the milk warm, not hot. Aim for about 100–110°F (38–43°C). It should feel like a warm bath.
Do not over-flour. The dough should feel soft and slightly tacky. A well-hydrated dough makes a softer loaf. Use a bench scraper to help handle the dough instead of adding more flour.
Find a warm spot for rising. If your kitchen is cool, place the covered bowl in the oven with only the light on, or next to a warm (not hot) appliance.
Use the poke test. Gently press a floured finger into the dough. If the dent springs back slowly and only partway, the dough is ready. If it springs back immediately, it needs more time. If it does not spring back at all, it may be over-proofed.
Let it cool fully. Patience pays off here. A fully cooled loaf slices cleanly and has the best texture.
Common Problems and How to Fix Them
My bread did not rise. This is usually caused by expired yeast, milk that was too hot, or a room that was too cold. Try fresh yeast, check your milk temperature, and give the dough a warmer environment.
My loaf is dense. Too much flour, too little kneading, or an under-proofed dough are common causes. Knead until the dough passes the windowpane test, and let it rise until it has visibly doubled.
The top browned too fast. Ovens vary. Tent the loaf with foil during the last 10 to 15 minutes of baking, and consider moving the rack one position lower.
The center is gummy. This usually means the loaf was under-baked or sliced too soon. Use a thermometer to confirm it reaches 190°F (88°C), and let it cool completely.
The oats fell off. Make sure you brush the top with enough milk or water so the oats stick, and press them gently into the dough before baking.
Variations and Substitutions
One of the nicest things about this bread is how easily you can adapt it.
Swap the sweetener. Maple syrup works well in place of honey, and it gives a slightly different flavor. For a deeper, molasses-like note, try a spoonful of brown sugar.
Use plant-based milk. Unsweetened almond, soy, or oat milk can replace dairy milk. The texture will be a little less rich, but still soft.
Add more seeds. Mix in a tablespoon or two of sunflower seeds, pumpkin seeds, flaxseed, or sesame seeds for extra crunch and flavor.
Make it a little more whole-grain. Replace up to ½ cup of the bread flour with whole wheat flour. The loaf will be slightly denser, so you may need an extra tablespoon of milk.
Add dried fruit. A handful of raisins, chopped dates, or dried cranberries turns this loaf into a breakfast bread that is wonderful toasted with cream cheese.
Dairy-free option. Replace the butter with olive oil or a plant-based butter, and use a non-dairy milk.
Using all-purpose flour. You can use all-purpose flour in a pinch, though the loaf may be a little less tall and chewy.
How to Store Homemade Oat and Chia Bread
At room temperature: Keep the cooled loaf in a bread bag, a bread box, or wrapped in a clean kitchen towel. It stays fresh for 2 to 3 days. Store it cut-side down on a board to protect the crumb.
In the refrigerator: Refrigeration can dry out bread faster, so it is best only in very warm or humid climates. If you do, wrap it tightly.
In the freezer: For longer storage, slice the completely cooled loaf, place parchment between the slices, and freeze in an airtight bag for up to 3 months. Toast slices straight from the freezer, or thaw them at room temperature for about 30 minutes.
Delicious Ways to Serve Oat and Chia Bread
This loaf is versatile enough for every meal of the day:
- Breakfast toast with butter and a drizzle of honey
- Avocado toast topped with a soft egg, chili flakes, and a pinch of salt
- Peanut butter and banana slices for a filling morning bite
- Classic sandwiches with turkey, cheese, lettuce, and tomato
- Grilled cheese with a crisp, buttery crust
- French toast, since the soft crumb soaks up custard beautifully
- Alongside soup for dipping on a cold evening
- Cream cheese and jam for an easy afternoon snack
Is Oat and Chia Bread Healthy?
While no single food makes a diet healthy, this bread has a lot going for it. Oats provide soluble fiber, which is associated with heart health and steady energy. Chia seeds add fiber, plant-based omega-3 fats, and a bit of protein. Because the recipe uses real ingredients and a modest amount of honey, it fits well into a balanced eating pattern. As with any bread, portion size matters, and one or two slices at a meal is a sensible serving for most people. If you have allergies or specific dietary needs, check each ingredient and consult a qualified professional for personal advice.
Frequently Asked Questions
Can I make this oat and chia bread without a stand mixer?
Yes. The recipe is written for hand mixing and kneading, and it takes about 8 to 10 minutes of kneading. A stand mixer with a dough hook also works. Knead on medium-low speed for about 6 to 8 minutes.
Can I use quick oats instead of old-fashioned oats?
You can, but the texture will be softer and less distinct. Old-fashioned rolled oats give the best chewy texture and the nicest look on the crust.
Do I need to soak the chia seeds?
Yes. Soaking prevents the chia seeds from stealing moisture from the dough and helps keep the crumb soft.
Can I make the dough ahead of time?
Yes. After kneading, you can place the dough in a lightly greased, covered bowl in the refrigerator for up to 12 to 18 hours. Let it come to room temperature and finish rising before shaping.
Can I bake this in a different pan size?
A 9 × 5-inch pan gives a classic loaf. An 8½ × 4½-inch pan will produce a taller loaf, and baking time may increase by a few minutes. Always check for a golden crust and an internal temperature of about 190°F (88°C).
How do I know when the bread is done?
Look for a deep golden color and a hollow sound when you tap the bottom. The most reliable method is an instant-read thermometer showing about 190°F (88°C) in the center.
Why is my bread crumbly?
Crumbly bread is usually caused by too much flour or by slicing before the loaf has cooled. Measure carefully and let the bread cool fully.
Can I make this recipe vegan?
You can come close. Use plant-based milk, replace the honey with maple syrup, use oil or vegan butter, and replace the egg with a flax egg (1 tablespoon ground flaxseed mixed with 3 tablespoons water). The texture will be slightly different, but the loaf will still be tasty.
Final Thoughts
This homemade oat and chia bread proves that baking from scratch does not have to be intimidating. With a short soak for the oats and chia, a bit of kneading, and two gentle rises, you get a soft, golden loaf with a hearty texture and a lovely oat-covered crust. It is wholesome enough for everyday toast and special enough to share with friends and family.
Once you have baked it, you will probably find yourself making it again and again, trying new add-ins and serving it with everything from soup to jam. Bake a loaf this weekend and enjoy the simple pleasure of fresh bread from your own oven.
Print
Golden Homemade Oat and Chia Bread with Tender Slices
Ingredients
For the Dough
- ¾ cup old-fashioned rolled oats (60 g)
- 2 tablespoons chia seeds (24 g)
- ¾ cup warm milk (180 ml)
- 2 tablespoons honey
- 2 tablespoons unsalted butter, melted (28 g)
- 1 large egg
- 2¼ cups bread flour (280 g)
- 2¼ teaspoons instant yeast (7 g)
- 1 teaspoon salt
For the Topping
- 2 tablespoons rolled oats
- 1 teaspoon milk or water for brushing
Instructions
In a small bowl, combine the rolled oats, chia seeds, and warm milk. Stir well and let the mixture rest for 15 to 20 minutes. During this time, the oats soften and the chia seeds absorb liquid and thicken the mixture. This step is the secret to a moist, tender loaf, so do not rush it.
Add the honey, melted butter, and egg to the soaked oat mixture. Stir until everything is well combined. If your butter is very hot, let it cool for a minute first so it does not scramble the egg.
In a large mixing bowl, whisk together the bread flour, instant yeast, and salt. Whisking spreads the yeast evenly and keeps it from coming into direct contact with the salt in one spot.
Pour the wet mixture into the dry ingredients. Stir until a soft, slightly sticky dough forms. It should look shaggy at first and will become smoother as you knead.
Turn the dough onto a lightly floured surface and knead for 8 to 10 minutes, until it is smooth and elastic. If it sticks badly, add a tiny sprinkle of flour, but resist the urge to add too much. Extra flour is the most common reason homemade bread turns out dry.
The windowpane test: Pinch off a small piece of dough and gently stretch it between your fingers. If it forms a thin, translucent membrane without tearing, the gluten is well developed and you are ready for the first rise.
Place the dough in a lightly greased bowl and turn it once to coat the top. Cover the bowl with a clean towel or plastic wrap. Let it rise in a warm spot for 60 to 90 minutes, until doubled in size. The time depends on your kitchen temperature, so judge by the dough, not the clock.
Gently punch down the dough to release the air. Press it into a rectangle, then roll it up tightly into a log, pinching the seam closed. Place it seam-side down in a greased 9 × 5-inch loaf pan. Tucking the ends under slightly helps create an even, rounded top.
Cover the pan loosely and let the dough rise for another 30 to 45 minutes, until it crests just above the edge of the pan. Be careful not to over-proof. If the dough rises too far, it may collapse in the oven.
While the oven preheats, gently brush the top of the loaf with milk or water. Sprinkle the remaining rolled oats evenly over the surface and press them in lightly so they stick.
Preheat your oven to 350°F (175°C). Bake the loaf for 35 to 40 minutes, until it is deep golden brown and sounds hollow when tapped on the bottom. For perfect results, check that the center reaches about 190°F (88°C) on an instant-read thermometer. If the top browns too quickly, tent the loaf loosely with foil for the last 10 minutes.
Remove the bread from the pan right away and set it on a wire rack. Let it cool completely before slicing. Cutting into warm bread is tempting, but the crumb is still setting inside, and slicing too early can make it seem gummy.